
Mail Art: Altered Envelopes with Inky Friends
Get ready to be inspired! I’m Priss (@atful.layers) and today’s post is on me. It’s all about transforming ordinary envelopes into enchanting messages of art using the lovely stamps from the Inky Friends stamp set.
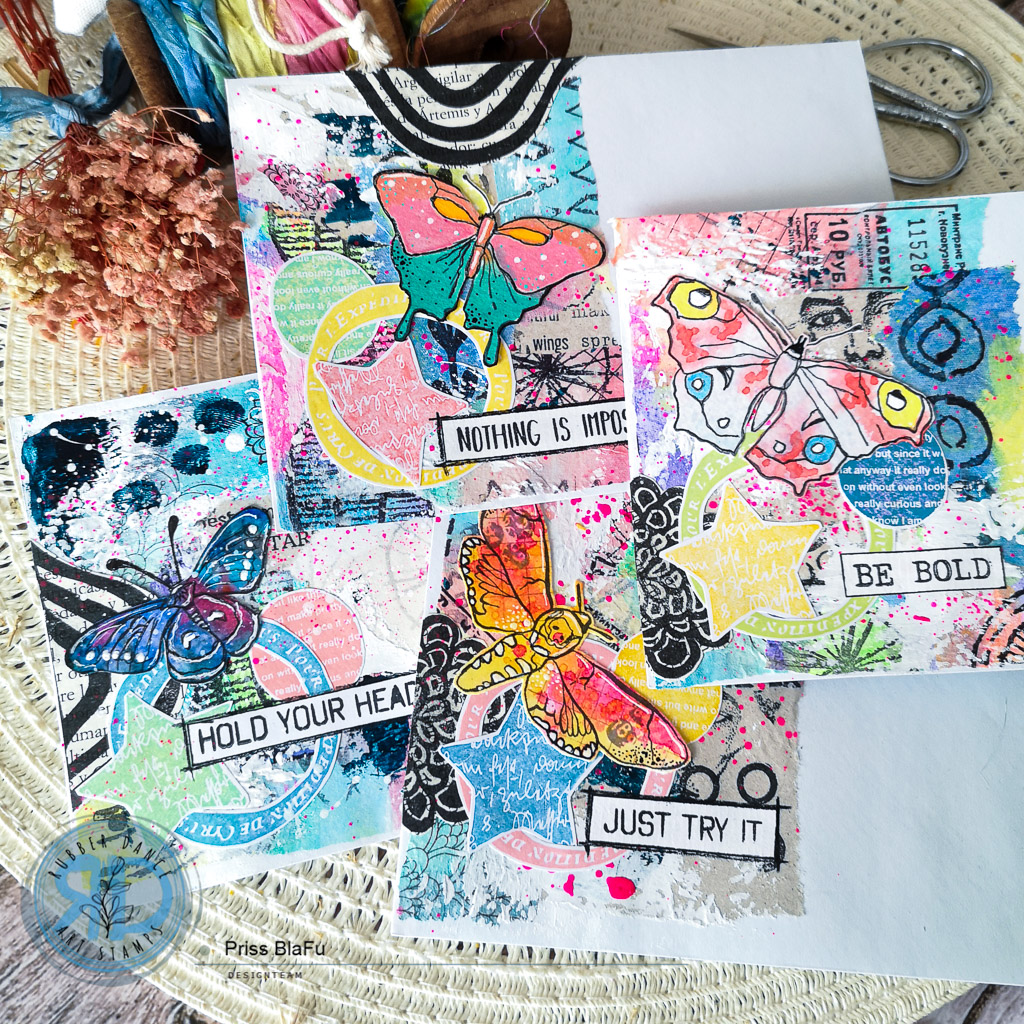
I took my painted tissue papers from a previous tutorial and used them to embellish the front half of each envelope. Then, with the help of our brand’s beautifully designed stamps, I added intricate details and motivational sentiments. Get ready to unleash your creativity as you browse through the photos and discover endless possibilities for your own stamping projects. Let’s dive into a world of altered envelopes and let our imagination run!
Previously, I take all the tissue papers that I showed you in my old tutorial video. If you want to know how to make them go to the post How to design your own tissue paper for Mixedmedia in our old blog or visit the video on my youtube channel.

I’m excited to share with you the step-by-step process I followed to alter my four white envelopes.
Step 1: Collage Magic – To start, I carefully selected a variety of hand-painted papers from a previous project. With adhesive in hand, I artfully arranged and layered the papers onto the envelopes, creating a patchwork of colors and patterns.
Step 2 – Soften the Edges – To soften the hard lines and blend the collage smoothly, I applied a touch of white gesso. Using a small spatula, I gently capped the edges, allowing the papers to blend into each other.

Step 3: Adding Extra items: While the glue and gesso were drying, I took the opportunity to stamp my beloved images from Mix It Up 2 and Mix It Up 1 using the lovely array of colors from my oxide inks. After fuzzy cutting them, I strategically placed these elements over the envelopes. This allows me to add colorful details with a touch of magic for the focal point stamp and sentiment to rest on.
Step 4: Focal Points: Once the base composition was complete, I selected from my treasure box the already painted Inky Friends that best matched the background collage and composition. These flying friends’ stamps became the focal points, enhancing the charm of each envelope.
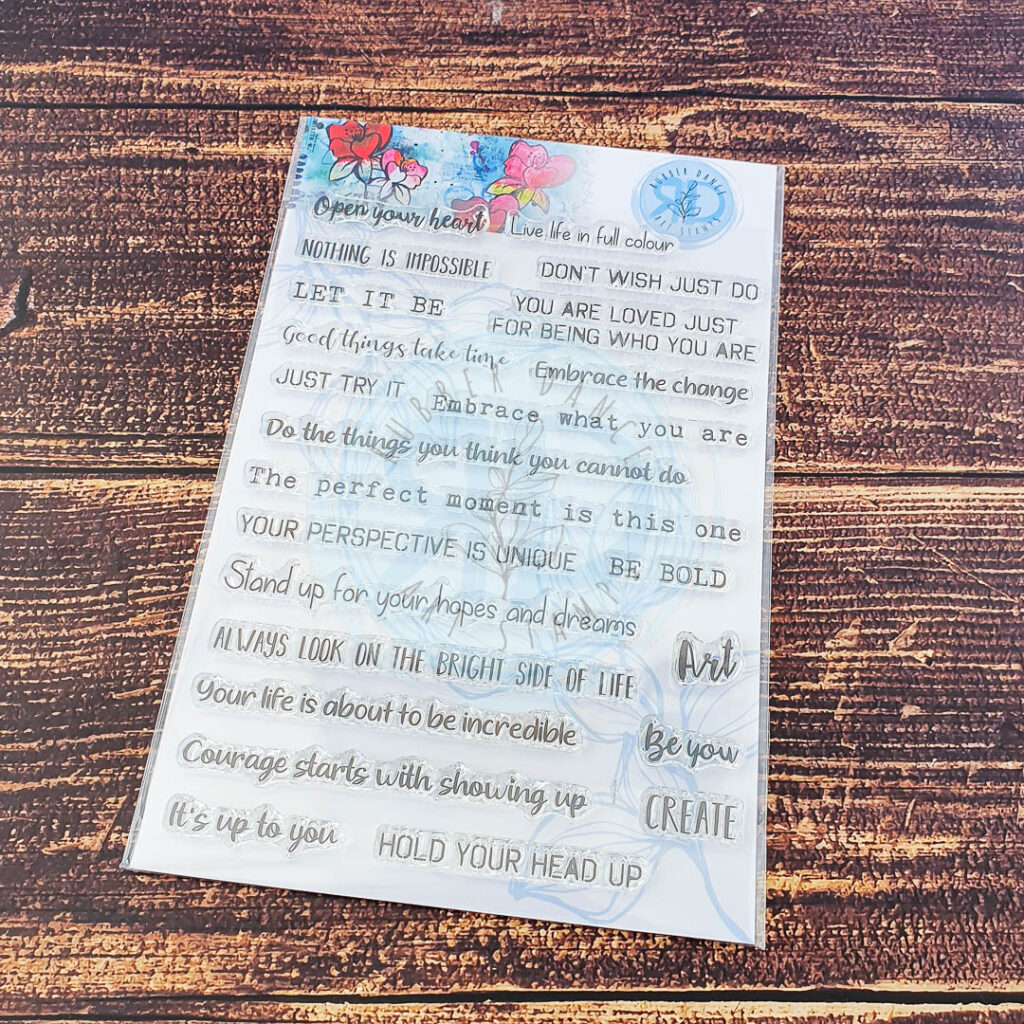
Step 5: Final Touches – As usual, I did a few splashes for the final touch. This time I used neon pink liquid paint. I then carefully chose the sentiments I want to say from the Mixed Sentiments 1 stamp set.
Now, as you scroll through my photos of these altered envelopes, I invite you to let your imagination run. Let them serve as a springboard for your own creative projects. Enjoy the freedom to experiment with different papers, techniques, and stamps, and watch your own unique style emerge.


Remember, in the world of Mixed Media, there are no rules—only endless possibilities waiting to be explored. So grab your papers, paints, and stamps, and let your creativity take flight!
I hope this journey through my creative process inspires and ignites your passion for altered envelopes. If you have any questions or would like to share your own artistic adventures, please feel free to leave a comment below.
Until next time, happy creating!
Hugs, Priss
(My Posts | Instagram | Facebook)
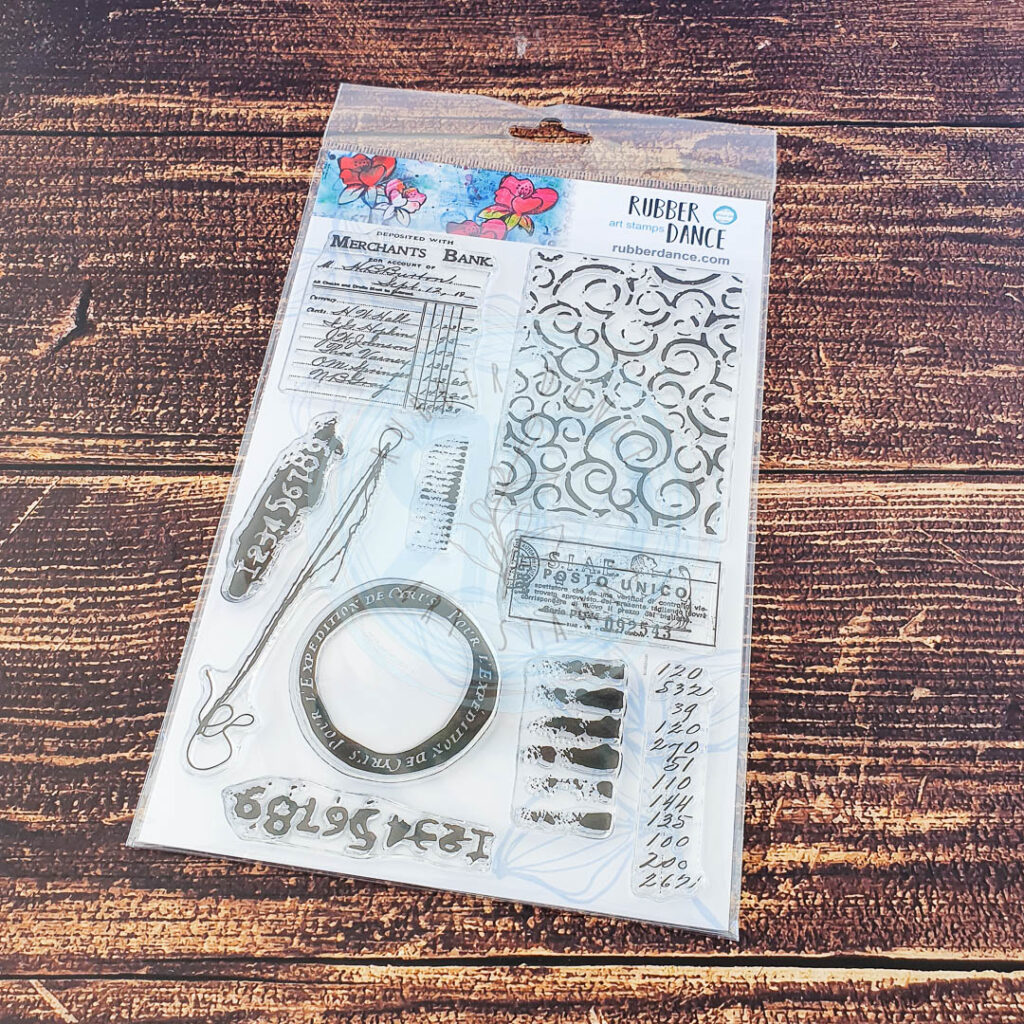
These are the stamps I used

Subscribe to our Newsletter


Comments are closed for this post.