
ATC with Spray Inks and Stencils
Hey there, Isa Dor here! Today, let’s dive into the wonderful world of making Artist Trading Cards (ATC’s) using the whimsical designs of the Textured Flowers stamps and Dylusions Sprays.
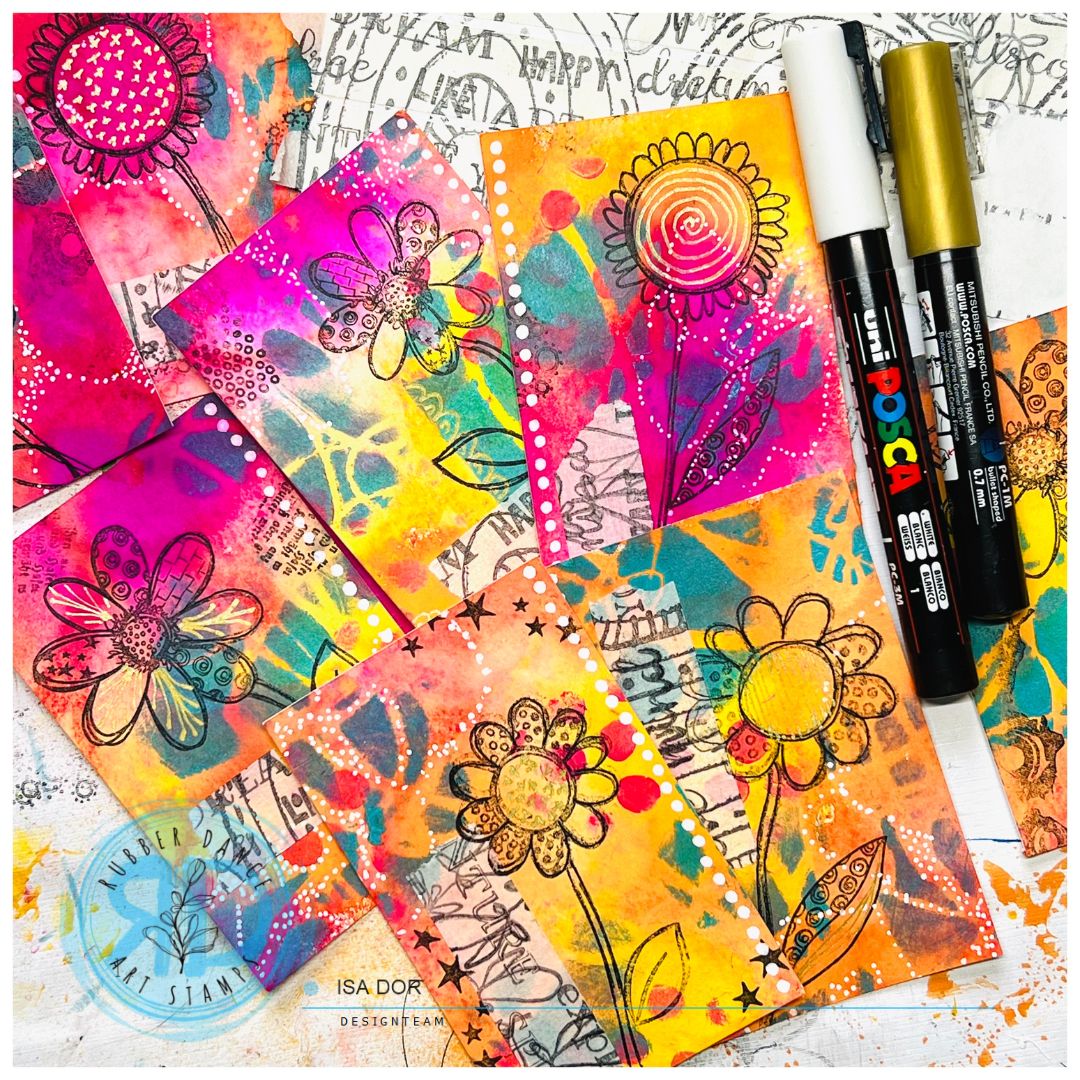
I started by picking three vibrant colors from my Dylusions Sprays, all on the same side of the color wheel. Then, I sprayed them randomly onto an A4 mixed media sheet of paper. It was so much fun to see the colors come to life!
Next, I grabbed the Big Circles stencil, placed it on top of the sprayed page, and gave it a little spritz of water. Once I removed the stencil, I used a kitchen paper roll to soak up the excess ink and water, which revealed the beautiful pattern created by the stencil.


For some added texture and interest, I used the Ink Dots stencil and applied paint with a make-up sponge in various areas of the page. I didn’t cover the entire stencil, just focused on specific spots for a unique effect.
Continuing the stenciling adventure, I went for a contrasting color and used the Scribbles 1 stencil. Again, no need for perfection, just some playful marks to enhance the card.


Now came the exciting part—cutting the page into ATC’s! While the usual size is 2.5’’x3.5’’, I decided to have some fun and cut my page into 8 equal pieces.
To add a touch of flair, I used a piece of handmade washi tape. It’s just plain masking tape that I inked with two layers of stamps. It’s incredible how such a simple addition can bring a whole new dimension to the cards.
Using a white Posca pen, I outlined some of the shapes left by the Big Circle stencil and created areas with more concentrated dots. With a gold Posca pen, I painted dots on the heart of the flower. These little details really make the design pop!


For the focal point of this particular ATC, I stamped one of the lovely flowers from the Textured Flowers stamp set and added a big leaf from the same set, using StazOn black ink. The results are absolutely delightful!
To balance the composition, I incorporated some stamping from the Mix It Up 2 set. It added an extra layer of depth and cohesion to the overall design. And to top it all off, I drew some white dots along the edge of the card with a Posca marker.

Now, the fun part—repeating the process for the other cards! Each one can feature a different flower and unique balancing pattern.
I must say, I’m in love with how colorful and textured these cards turned out, especially with the addition of the washi tape. It’s amazing what a little creativity can achieve!


I hope this tutorial has sparked your imagination, and you’re now inspired to unleash your creativity with bold colors and create your own set of mighty ATC’s! Happy crafting!
Be Bold and Shine,
Isa
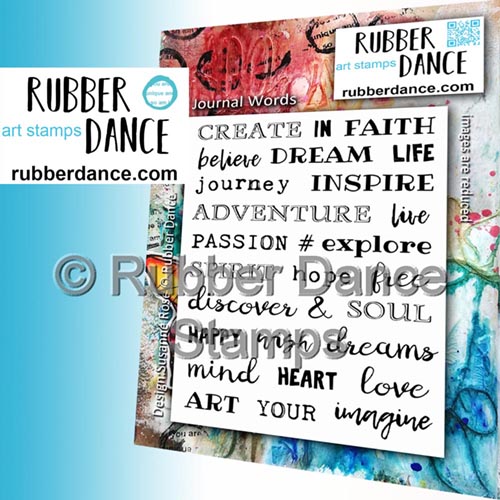
Here are the stamps and stencils I used:


Share this post:

Subscribe to our Newsletter


Comments are closed for this post.