
Mixed Media Bookmarks with Autumn Leaves
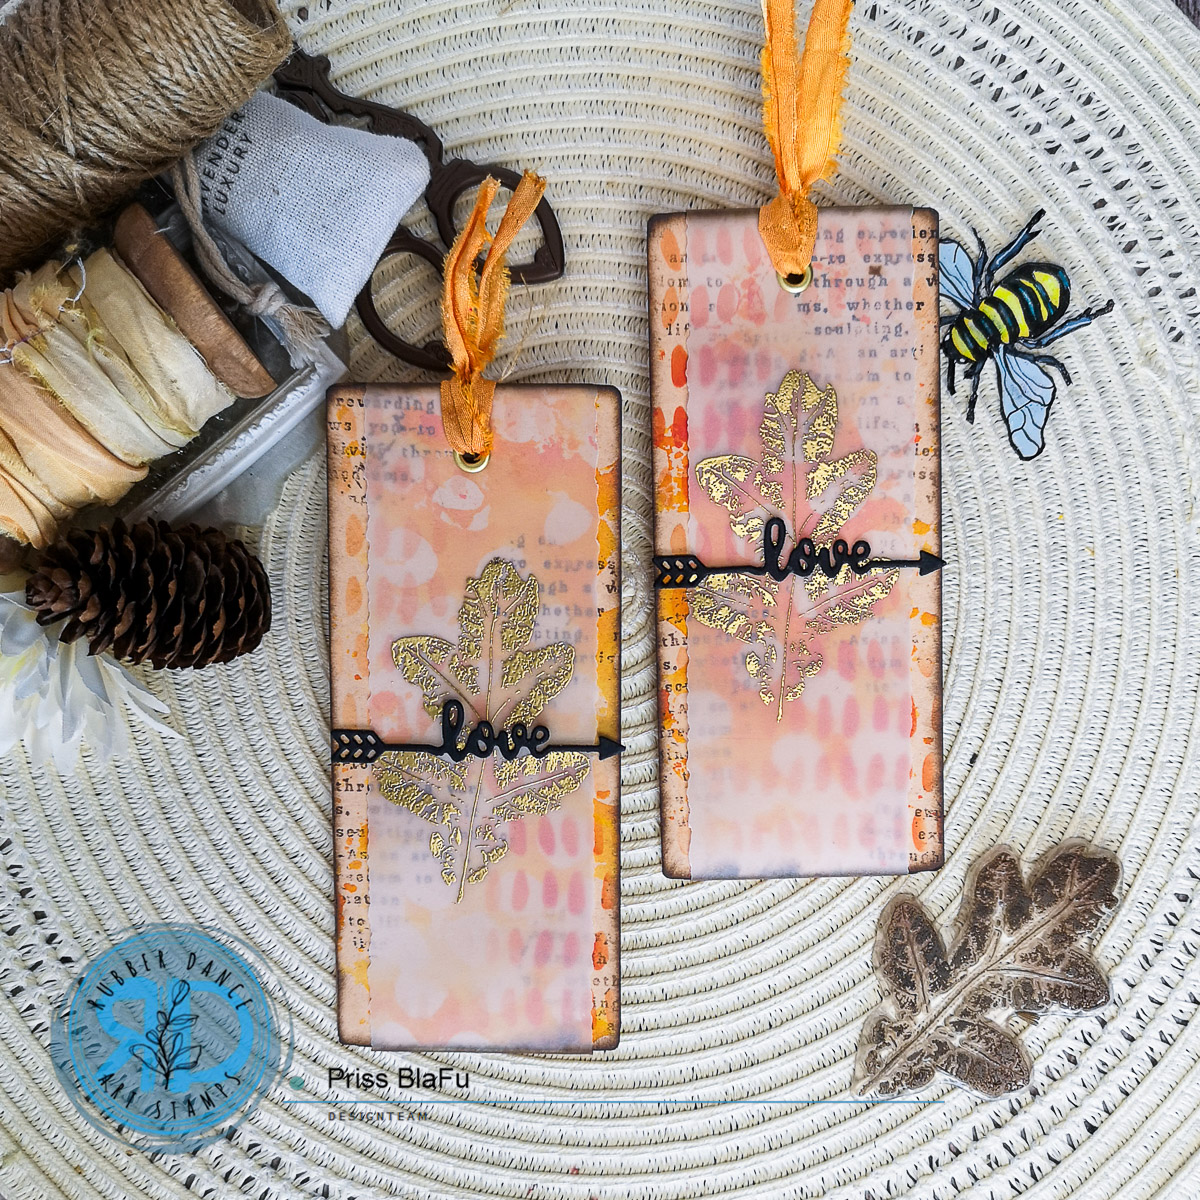
Hello friends!!! Ready for another week full of inspiration on the blog? Priss here (@atful.layers) with you today using the lovely Autumn Leaves stamps for some tags. Explore the magic of mixed media with my latest project – romantic bookmarks adorned with warm colors of fall.
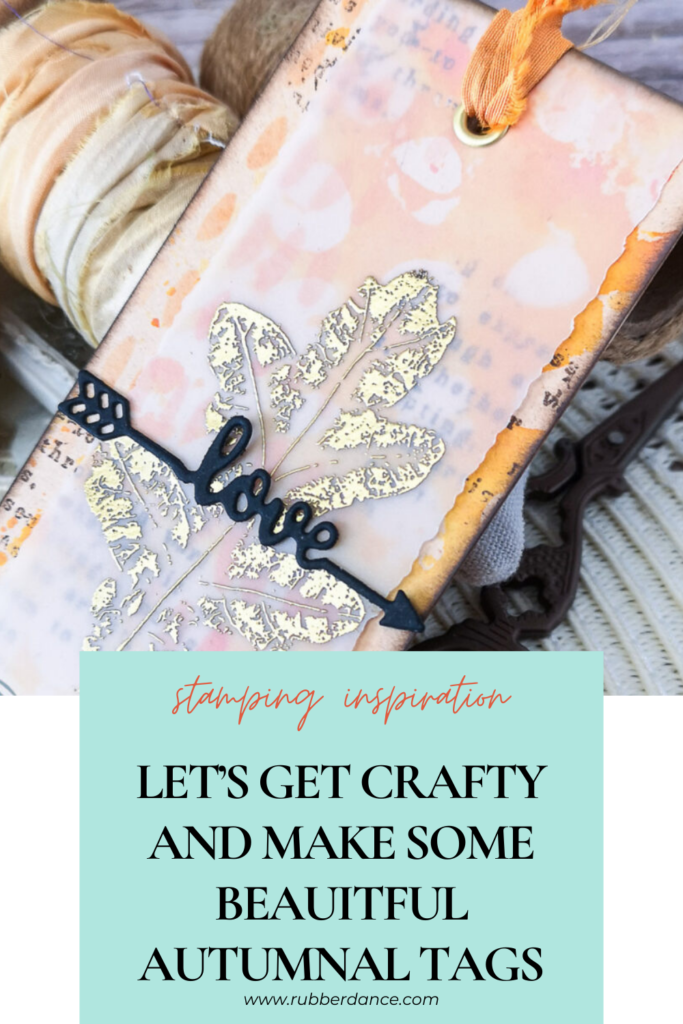
Using Rubber Dance stencils and stamps, I’ve captured the essence of this cozy season with a delicate vellum strip showcasing beautifully embossed gold leaves and an arrow-shaped ‘love’ die-cut. Join me on this artistic journey and let’s craft together with Rubber Dance!
Here’s a step-by-step guide on how I made these bookmarks. They are very simple and you can also apply these steps to any background you want to make.
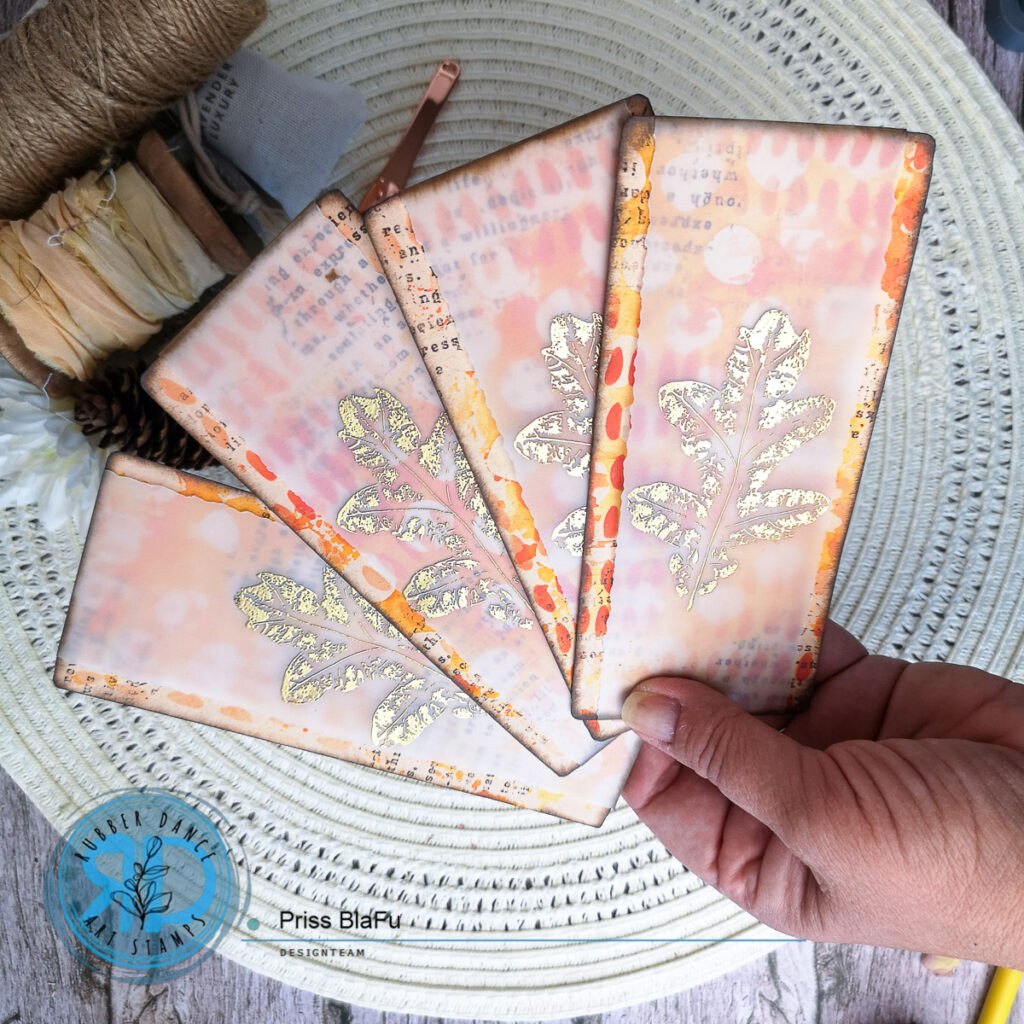
Step 1: Choosing the format
I cut four cardboard sized 2.5 x 6 inches. I have used some cardboard that already has a texture and tone that will help me make my bookmarks more cozy. I also round the corners with a very small corner chomper.
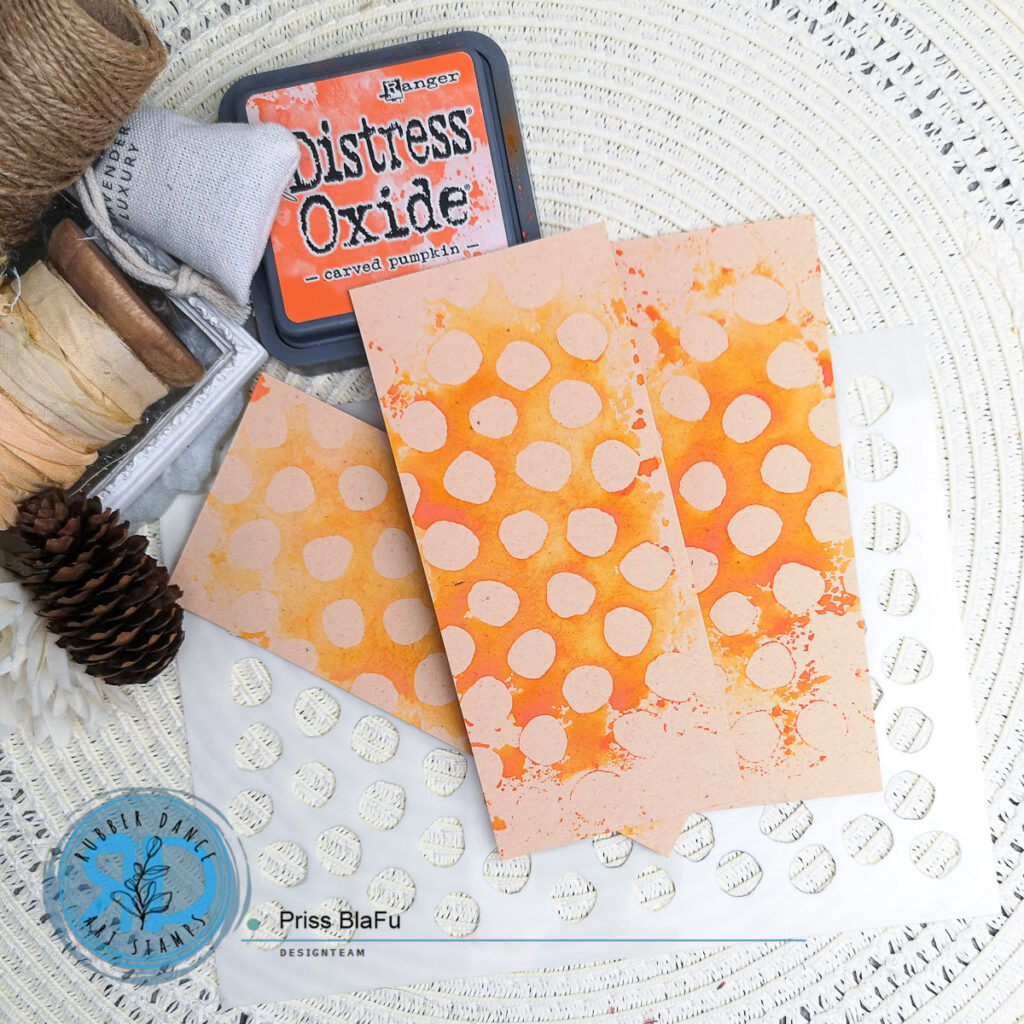
Step 2: Stencil Monoprinting
Discover the technique of Stencil Monoprinting, a technique that adds a nice watercolor-like effect to your mixed media backgrounds.
You will need a stencil and water-based inks, I chose Ink Dots Stencil and distress oxide. Place the stencil and apply the inks to it, making sure to cover some parts of the design. Here’s where the magic happens – spritz the inked stencil lightly with water, allowing the colors to blend and soften. The water reacts with the inks, creating a fluid pattern.
Now, press the stencil onto the surface of your marker, similar to using a stamp, transferring the design in ink. The result is a unique monoprint that beautifully captures the essence of the chosen stencil and the full intensity of the ink.
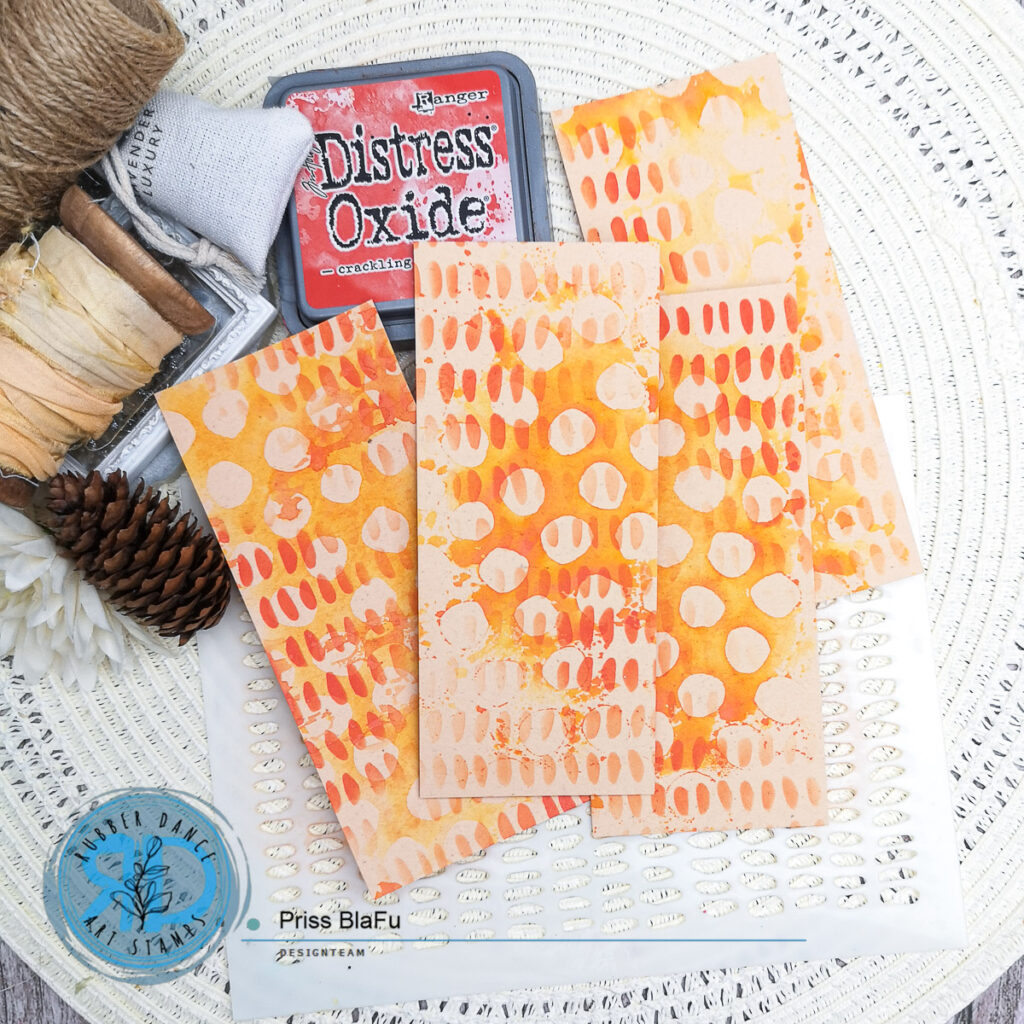
Step 3: Stencilling with inks
In this step, we’ll add depth and contrast with another stencil and distress inks, I chose Marks 1 Stencil. Try to choose an ink color slightly darker than the one used in Step 2. Secure the stencil to your bookmark surface. With gentle and even hand, apply the ink over the stencil here and there. Try using different pressures to make the design more organic. The darker ink will complement the watercolor effect from the previous step, enhancing the visual interest.
This stenciling process adds a new layer of texture and design to your bookmarks, making them all the more captivating.
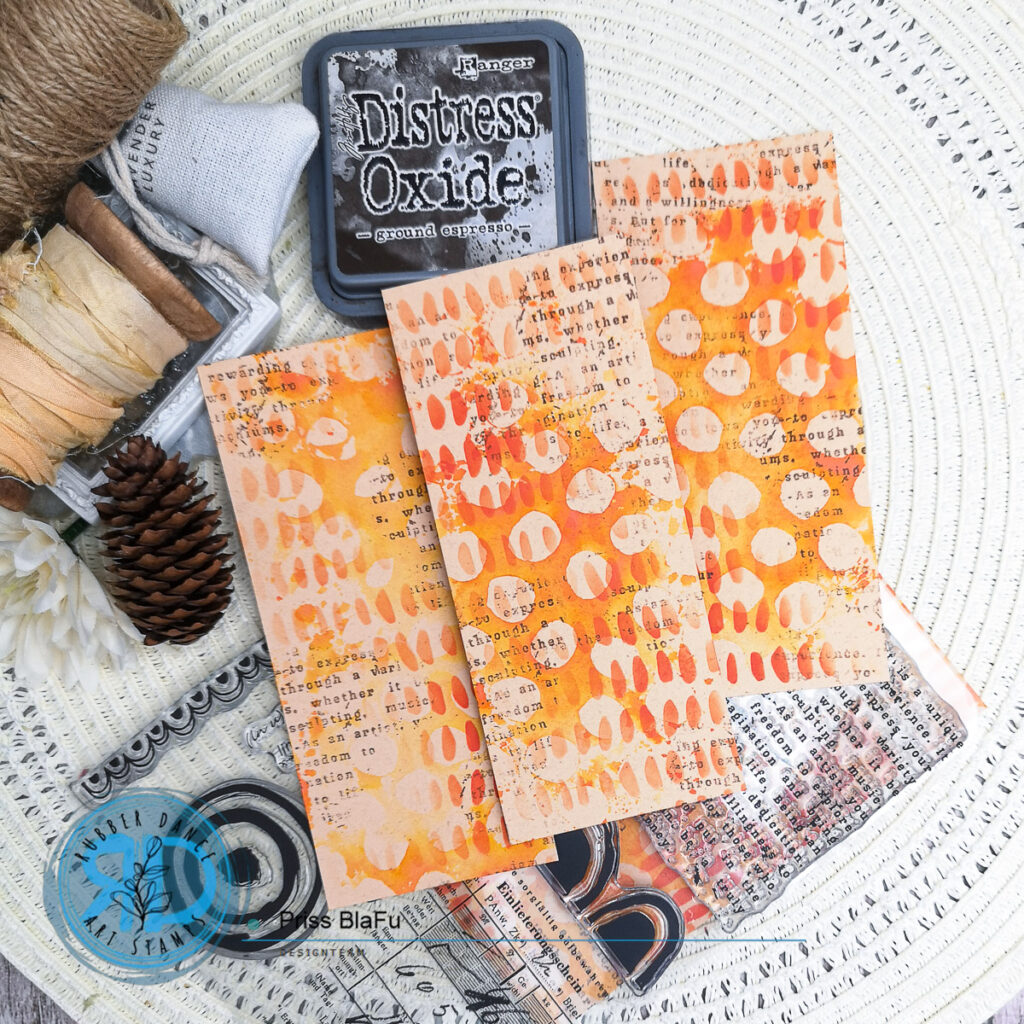
Step 4: Stamping with Mix it Up 4
For this step, we’ll incorporate the new Mix it Up 4 stamp set, which features delightful text stamps. These stamps add a unique character and a touch of sentiment to your bookmarks. I’ve chosen a brown darke Ink for this step, a shade darker than the inks used in the previous steps.
Select the text stamp from the set and gently ink it with the Ink. Carefully stamp over your bookmark’s surface here and there, applying different pressures. The deeper hue of the ink adds an extra layer of depth to the topmost layer of your design.
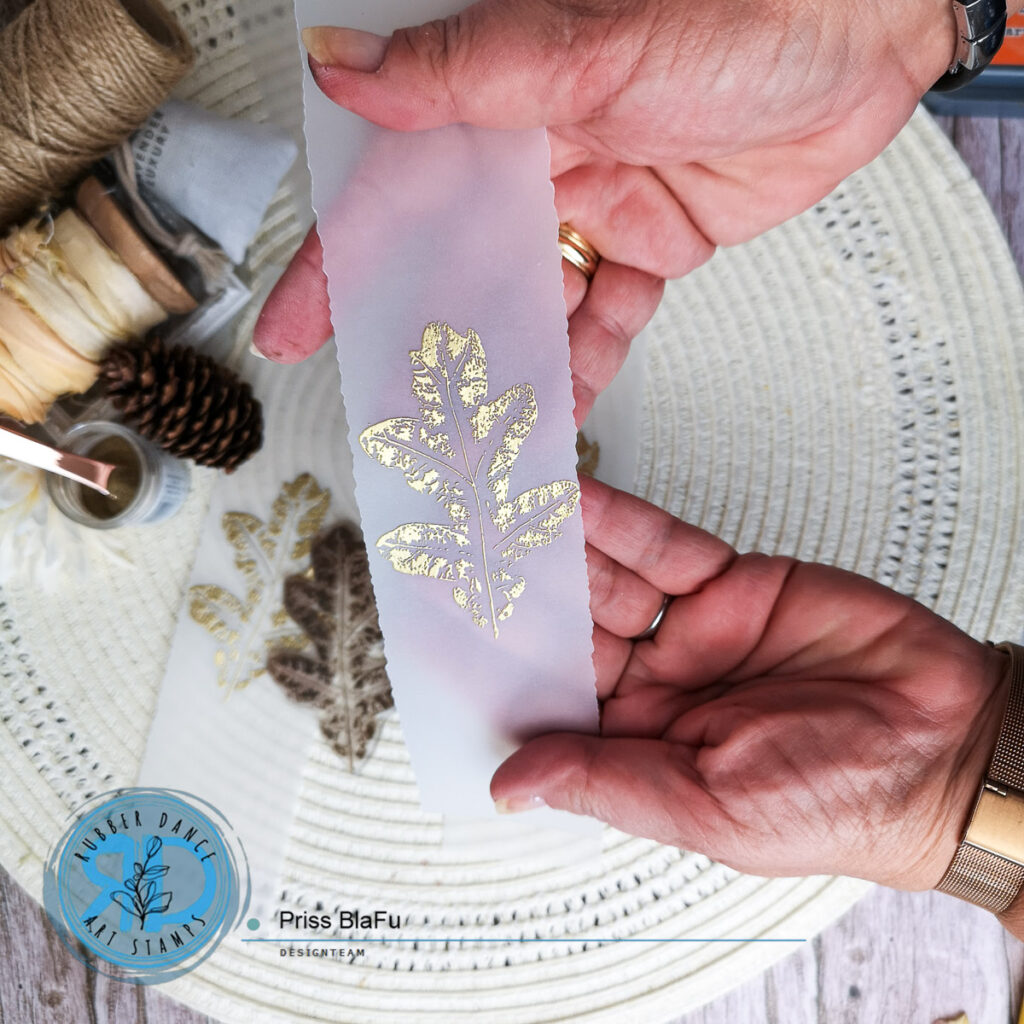
Step 5: Adding Vellum and Embossed Gold Leaf
In this step, we introduce a touch of elegance to our bookmarks. Begin by cutting a strip of vellum measuring 8 x 2 inches, with the sides gently torn for an organic feel. This vellum strip serves as a delicate canvas for our next element.
Select the large oak leaf stamp from the Autumn Leaves set and prepare it for embossing. Using golden embossing powder, create a stunning and shiny focal point. The embossed oak leaf adds a royal touch, contrasting beautifully with the rustic background.
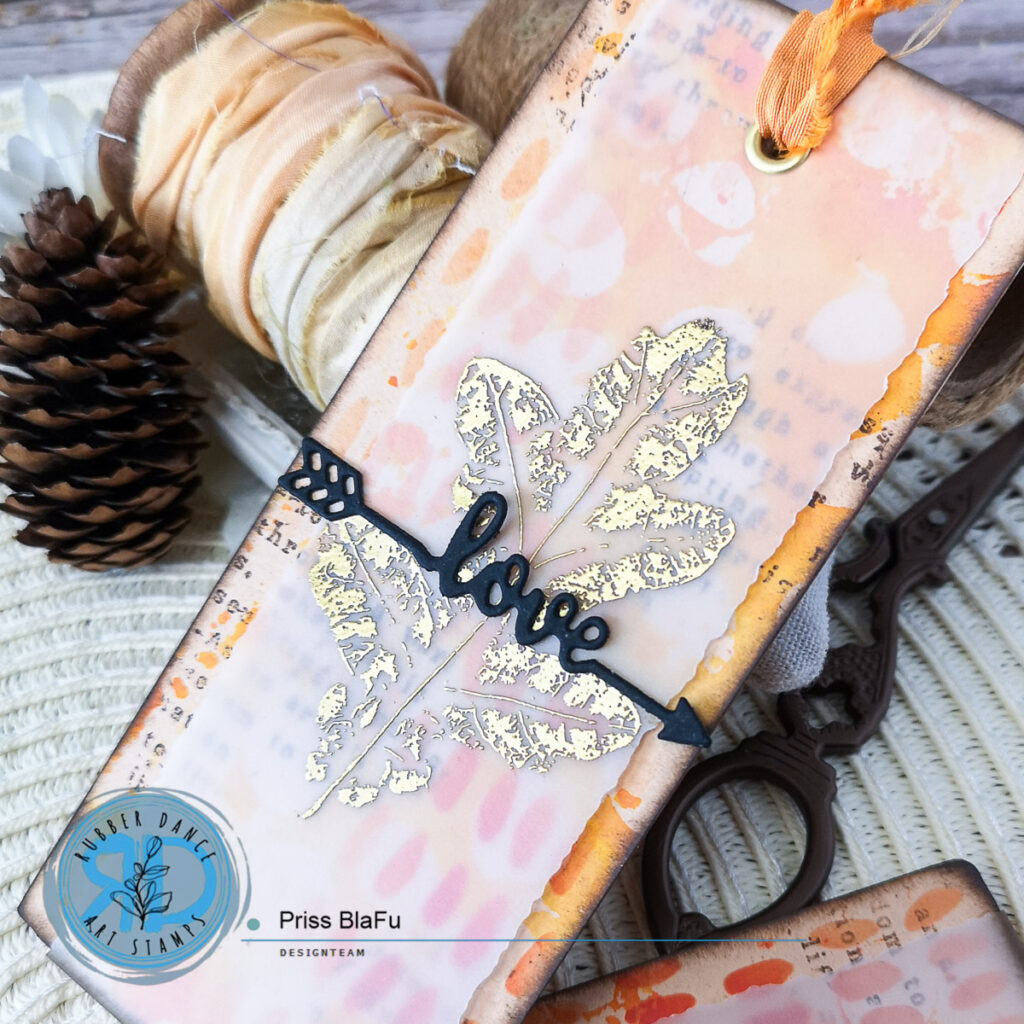
Step 6: Final Composition
As we approach the final steps, it’s time to bring all the elements together. Gently adhere the vellum strip onto your bookmark, serving to both soften and create contrast with the colorful background.
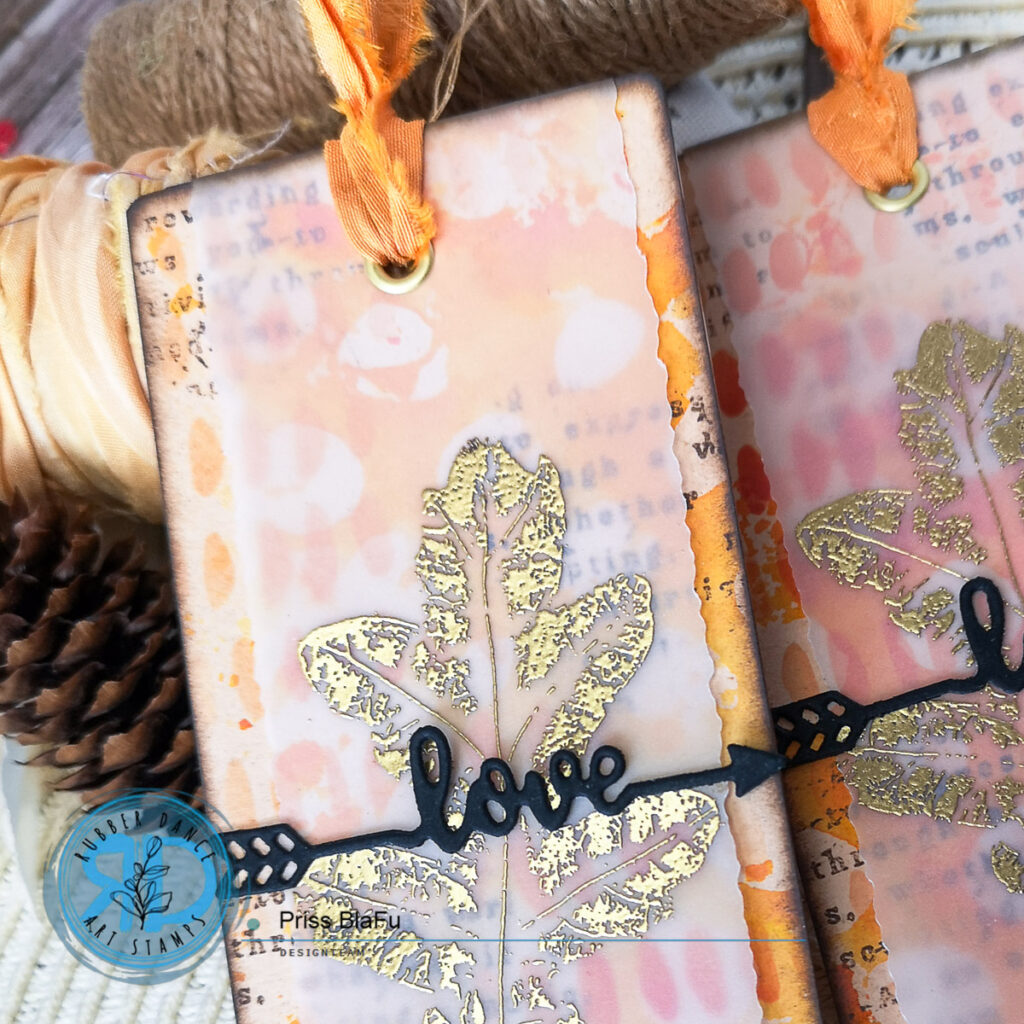
Next, at the center of the vellum strip, place the sentiment. I chose a die-cut in black cardstock with the word “Love,” cleverly shaped like a horizontal arrow. This sentiment adds a heartfelt touch to your bookmarks.
To complete the style, ink the edges with the dark ink for a integrated look. Add an eyelet to the top hole and thread a piece of vibrant orange sari ribbon. The ribbon adds a pop of color and a tactile dimension to your bookmarks.
These final touches make your mixed media bookmarks a true work of art, blending the beauty of autumn with your unique creativity. A small detail to give to your pen pals.
Remember, as a mixed media artist, feel free to adapt and modify these steps to suit your own artistic style and preferences. Let your creativity flow and have fun exploring the endless possibilities that stencils, stamps, and color offer in your mixed media projects.
Thank you for joining me on this artistic voyage, and may your creativity continue to flow.
And finally, don’t forget to share your creations with us in our FB group (Rubber Dance Stamping Lounge), we’d love to see them!
Until next time, happy creating!
Hugs, Priss
(My Posts | Instagram | Facebook)
These are the products I used


Share this post:
Subscribe to our Newsletter


Comments are closed for this post.