
Stencil Background for Greeting Cards with Small Ink Dots and Textured Flowers
Let’s dive into the joy of card making with a super easy stencil technique – One Stencil, Two Ways! Join me as we create vibrant backgrounds and charming focal points using the Small Ink Dots stencil and the Textured Flowers stamp set.
For this technique, I opted for acrylic paints, aiming to layer without any smudges. I chose three analogous colors to infuse a harmonious vibe into the project.
Starting with a blank sheet of A4 watercolor paper split into two A5 pieces, the magic begins! Placing the Small Ink Dots stencil on the left A5 sheet, I brushed over it with watered-down acrylic paint.
Next up, the stencil dance! Flipping it face down onto the right sheet, I pressed it with a kitchen paper roll to ensure a playful transfer of the pattern. A little spray action if needed, and voila! A roll of kitchen paper helps speed up the drying party.


I repeat this for all three colors, ensuring a merry mix by moving the stencil around. The goal? Cover both sheets until they’re a canvas of color and joy!


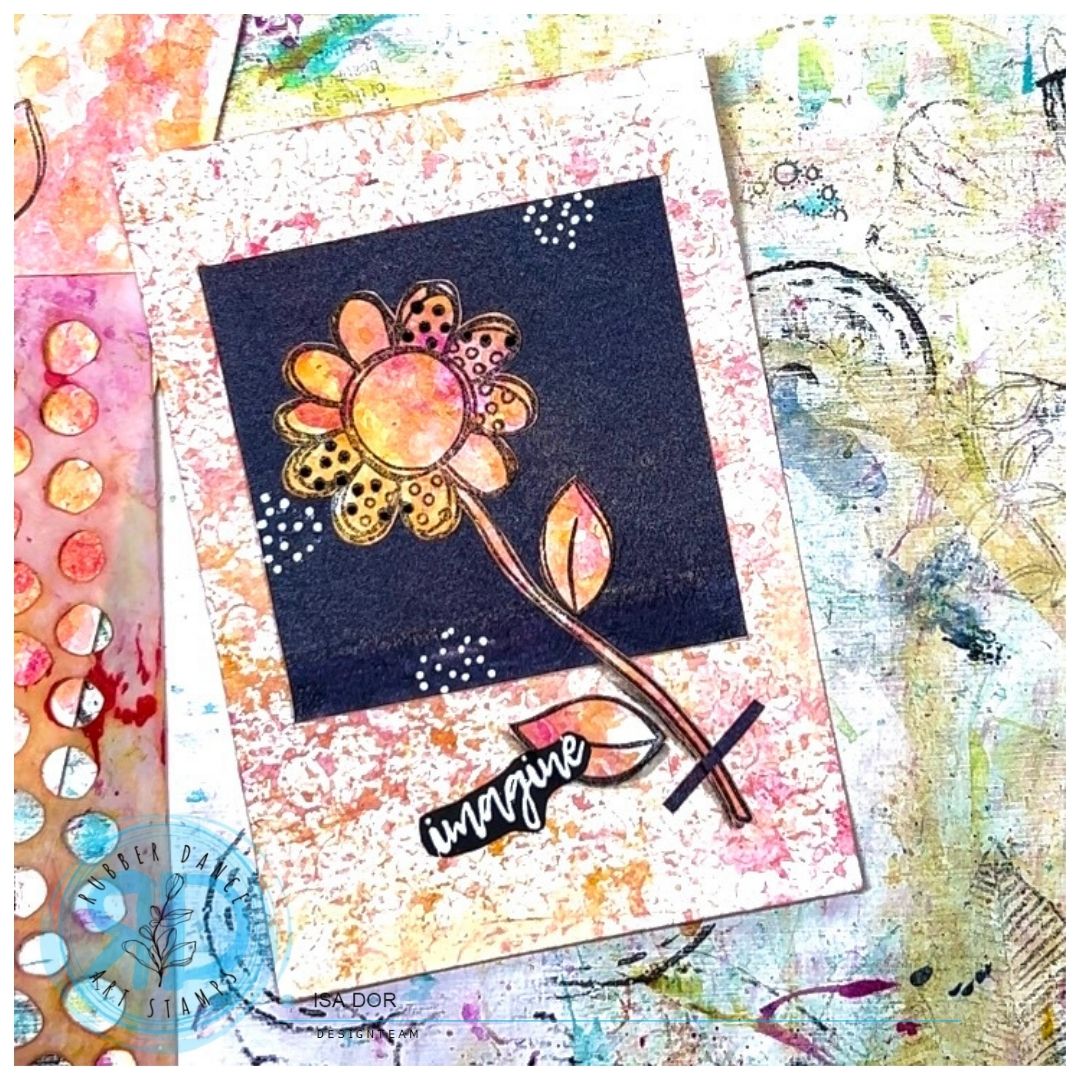
Now, the fun part! I chose one sheet, cutting it to my desired format (10x15cm), and adding a window for a sneak peek. On another cardstock piece, I glue down a contrasting gel-printed paper from my stash, creating a delightful window surprise when the cards come together.


The second stenciled paper takes center stage! Stamping Textured Flowers becomes the star, fussy cut and glued onto the card. A little spotlight on the stem and leaves with Stabilo All activated by a damp brush adds that extra touch of depth.


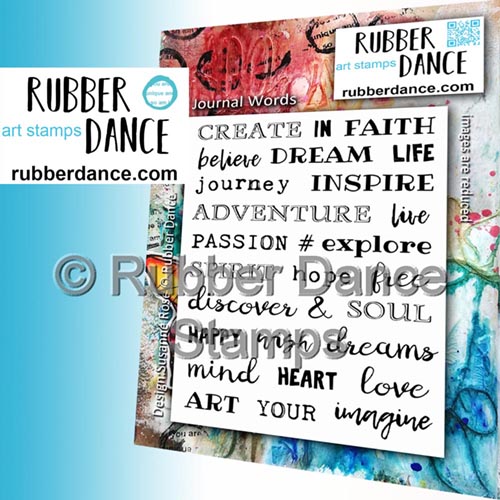
And now, for the finishing touches! Adding whimsical dots with a white Posca pen and a sentiment from the Journal Words stamps ties everything together.

Ready to be inspired? Let the joy of easy card-making with this fantastic technique light up your creative spirit!
Be Bold and Shine!
Isa
Stencil and stamps I used:
Products from Rubber Dance:


Subscribe to our Newsletter


Comments are closed for this post.