A Gelli Printing Session with Stencil Textures

Hi there, Susanne here with a gelli printing video using stencil textures. The exciting thing is, that I am going to create the stencil patterns on the gel plate without getting any paint onto the stencil! How this works… keep on reading and watch my video tutorial!
Instead of using the stencil directly on the gel plate I am dry embossing a piece of heavy weight paper with the stencil in my die cutting machine. I am using a Sizzix Big Shot and I have to make the following sandwich to do that:
I use the base plate on Tab 1 and then build up the following:
- Clear cutting plate
- Stencil
- Cardstock
- Silicone Rubber
- Impression Pad
That’s it!

Instead of heavy weight cardstock I am using the backing papers from our stencils! They are perfect for that! Mine are already quite colourful, because I’ve used them so much. I cut them to a tag shape, that makes it easy to handle them on the gel plate. Watch my video an see how these work on the gel plate: https://youtu.be/vYQVwJa4KlA
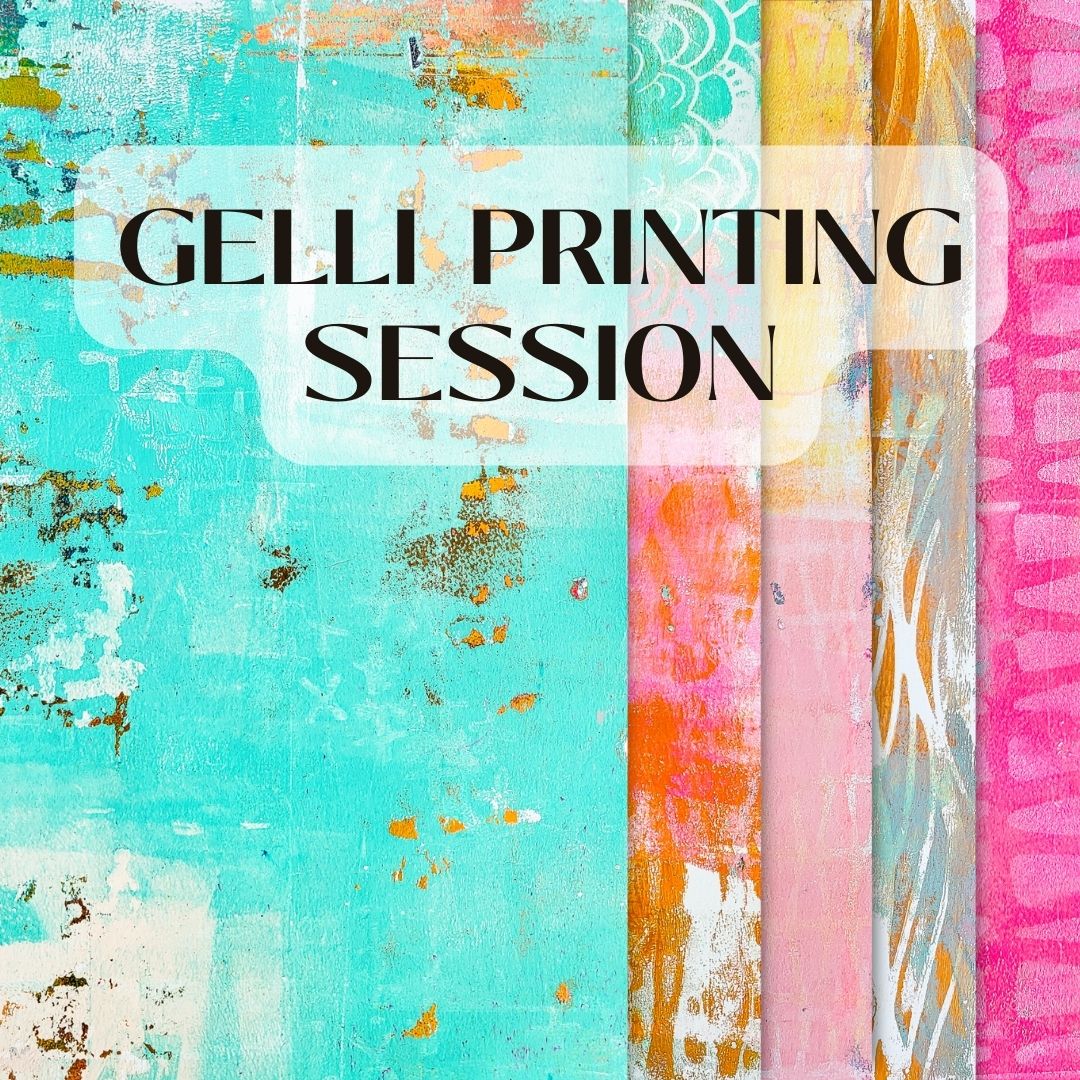
Here is an overview on the prints I have made:


The last two ones are my favourites! Here is a list of the colours I’ve used:
Amsterdam Paints: Venezian Rose, Quinachridone Rose, Greenish Blue, Naples Yellow Redish
Daler Rowney System 3: Raw Sienna, White
Turquoise Mix: Phtalo Turquoise (Daler Rowney) + Naples Yellow Redish (Amsterdam) + Primary Yellow (Schmincke)
The stencils that I’ve used are linked below!
I hope I could inspire you a little bit, thanks for stopping by today!
xx Susanne
Products from Rubber Dance:
Share this project:

Subscribe to our Newsletter
Comments
Respond


I love this idea of not using stencils directly on the gel plate. Cleaning them is the last thing I want to be doing. I will be trying this technique during my next gel print session. I have some of your lovely stencils so will use those. I love the colour choices for your prints btw. Specially the turquoise ☺️
Dear Amy, happy you like this idea! Enjoy experimenting with this technique!