Create amazing Ephemera with Air Dry Clay and Stamps!
Hello, Samantha here today and I’m sharing with you a tutorial using clay, just a little paper clay which is readily available and simply air dries so no need for an oven or kiln! With the technique you can create your own ephemera pieces for your art and papercrafting projects! I’ve applied the stamps to the clay using two different methods as you will see…..

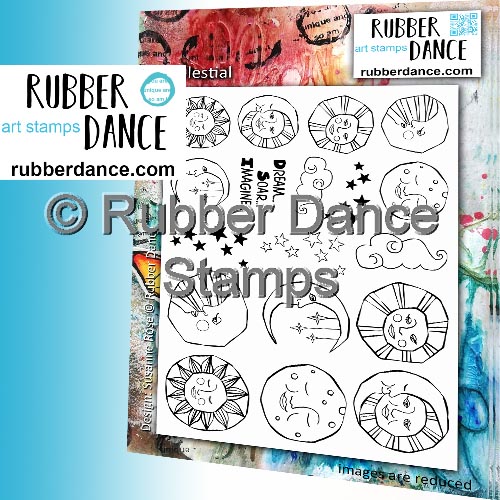
Originally for this post I was only going to make a pendant using this lovely stamp from the Celestial stamp set. I stamped directly in to the clay making a debossed impression.

Once the clay was dry I coloured using watercolours until I was happy with the result, this photo was taken part way through as you can see by the eyes!

When I was happy with my pendant I added some extra sparkle and gave it a protective coat using clear embossing powder which gave it a really nice, strong finish.
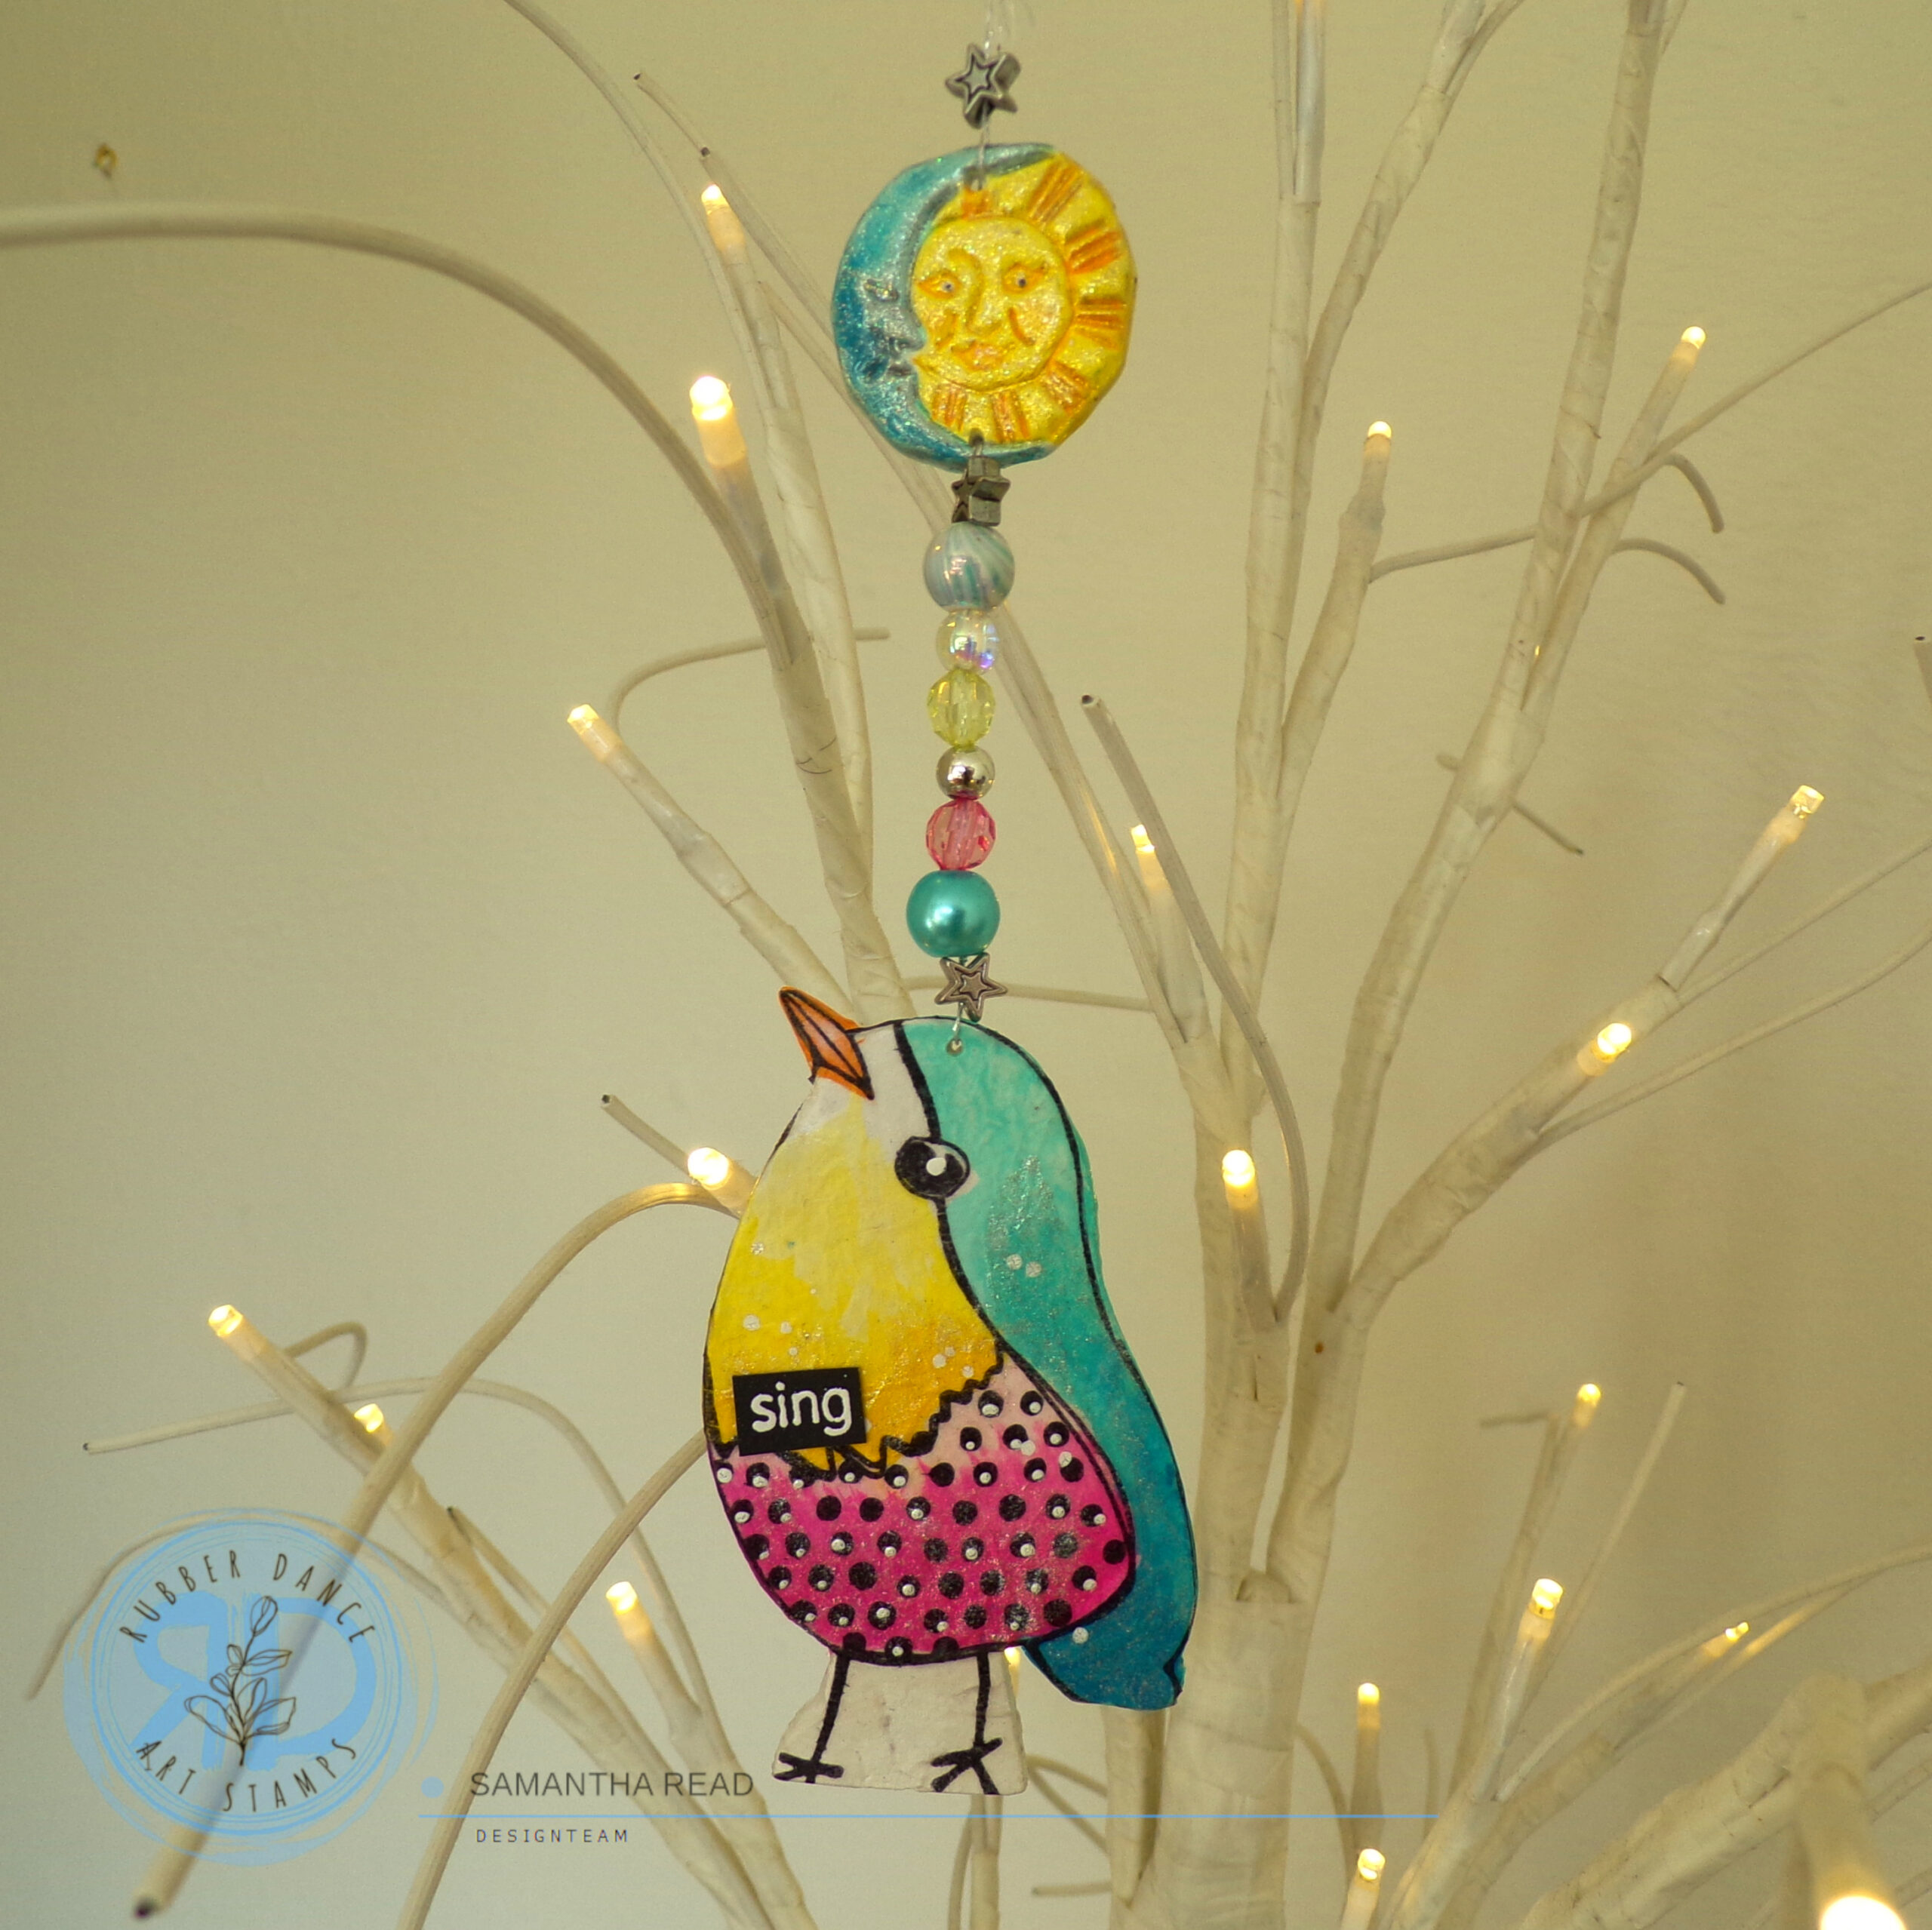
Then I changed my mind and decided to make a home hanging decoration….

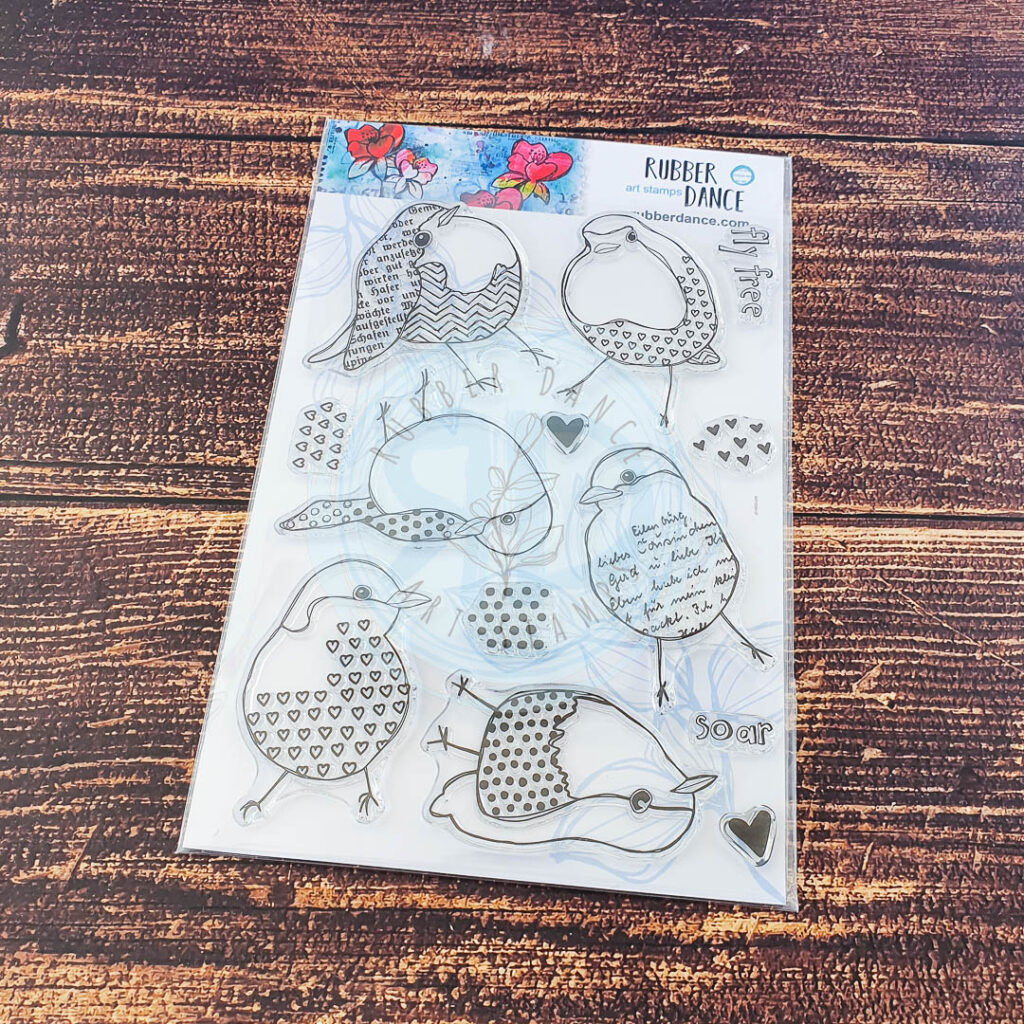
I got the clay out again and using my favourite bird from the Textured Birds stamp set, I stamped the bird on some white paper as a template for my clay.

After rolling the clay I simply cut around the template leaving a little extra all the way around because clay shrinks a little when it dries.

When the clay had dried I gave it coat of white gesso and stamped the bird again, this time on tissue paper.

When the gesso had dried I painted the bird using acrylic paints, it would have been wrong to use a watercolour paint at this time because when applying the stamped tissue paper bird this would have got wet and the colours would run. To apply the stamped tissue paper bird I used PVA glue and water in a 50/50 mixture, when this dries it dries clear.

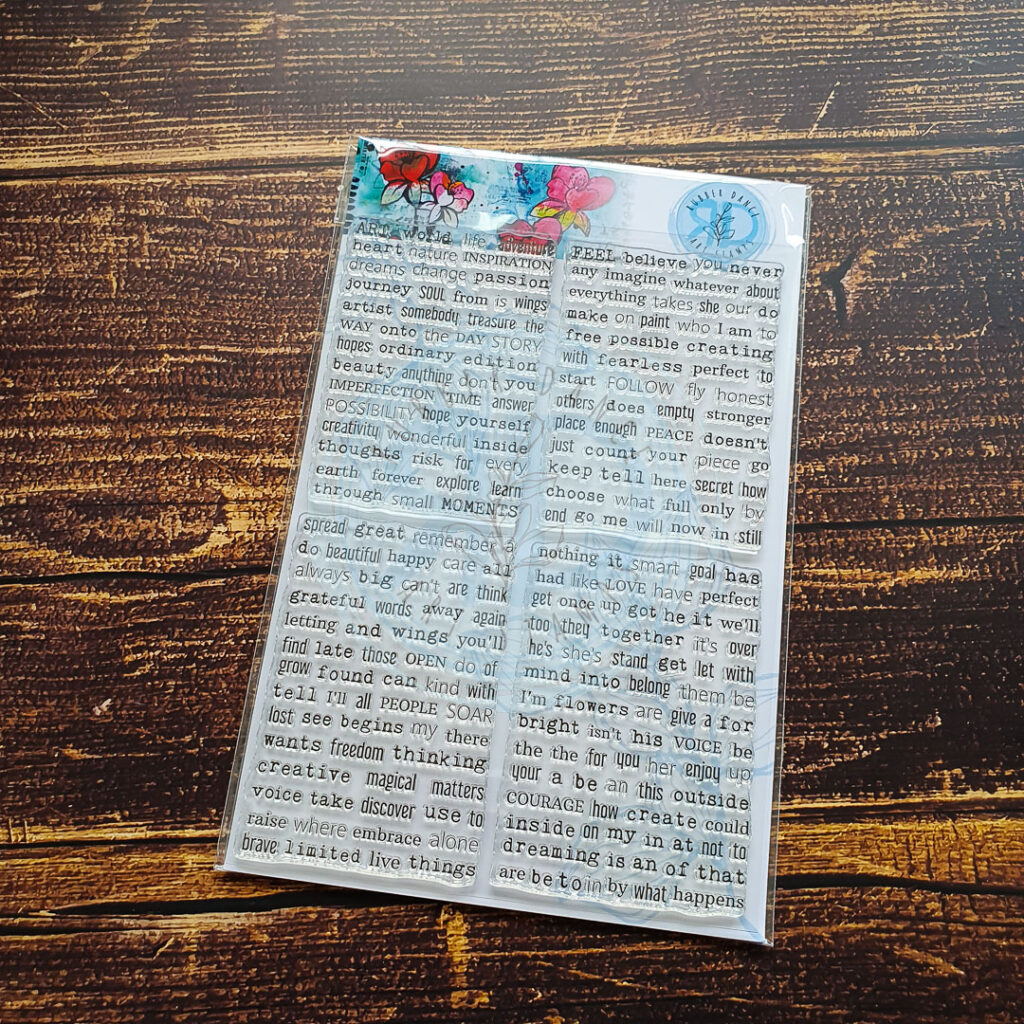
To finish I added the thread and beads for hanging, some white highlights and a bit of sparkle on the birds wing and a word from the Mix a Sentiment 2023 stamp set.
Thanks for looking, Sam x
Comments
Respond
Hello Samantha,
this is a beautiful idea and I love your bird hanging!
Many greetings from Erika
Thanks so much Erika 😉