
Art Journal page with stencil & molding paste
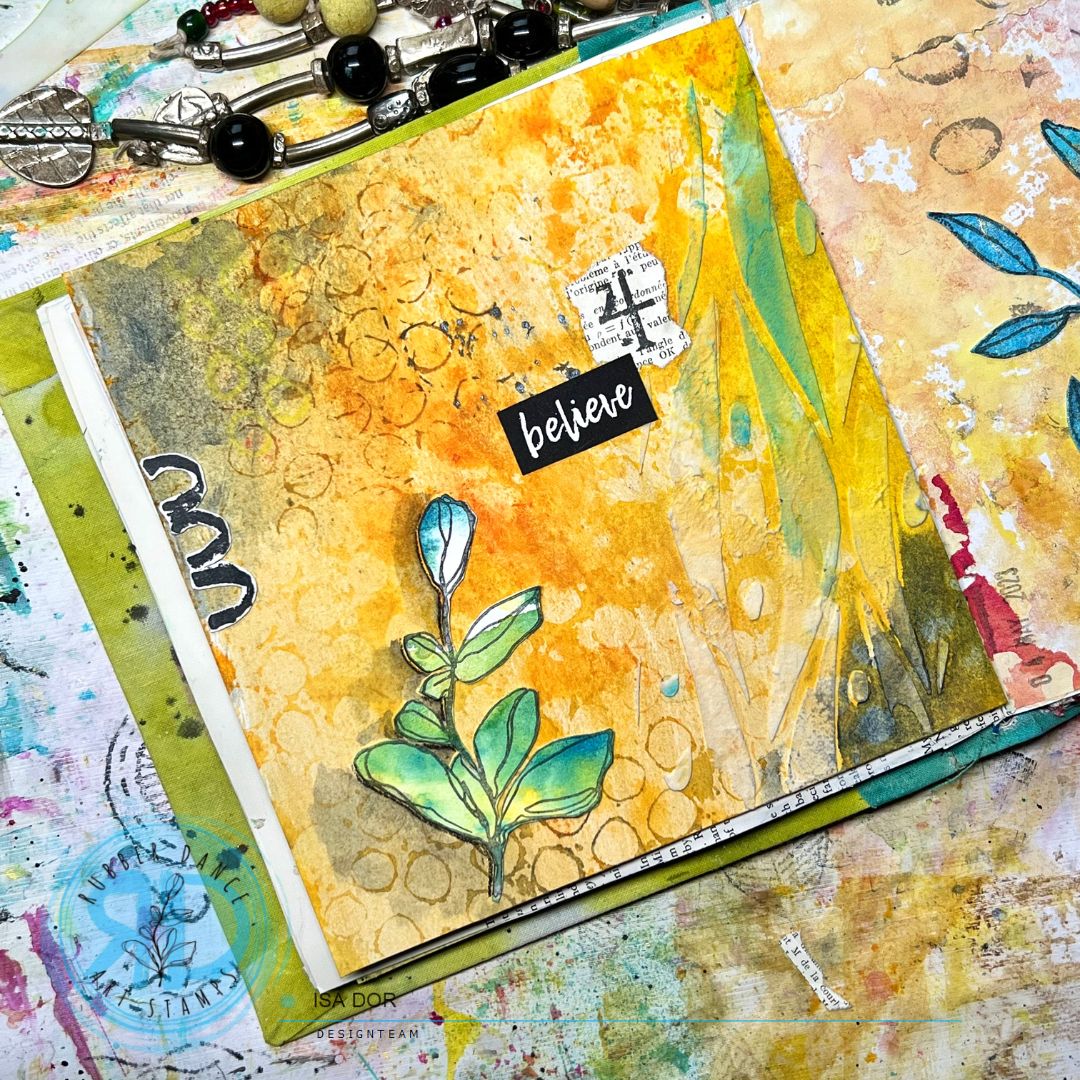
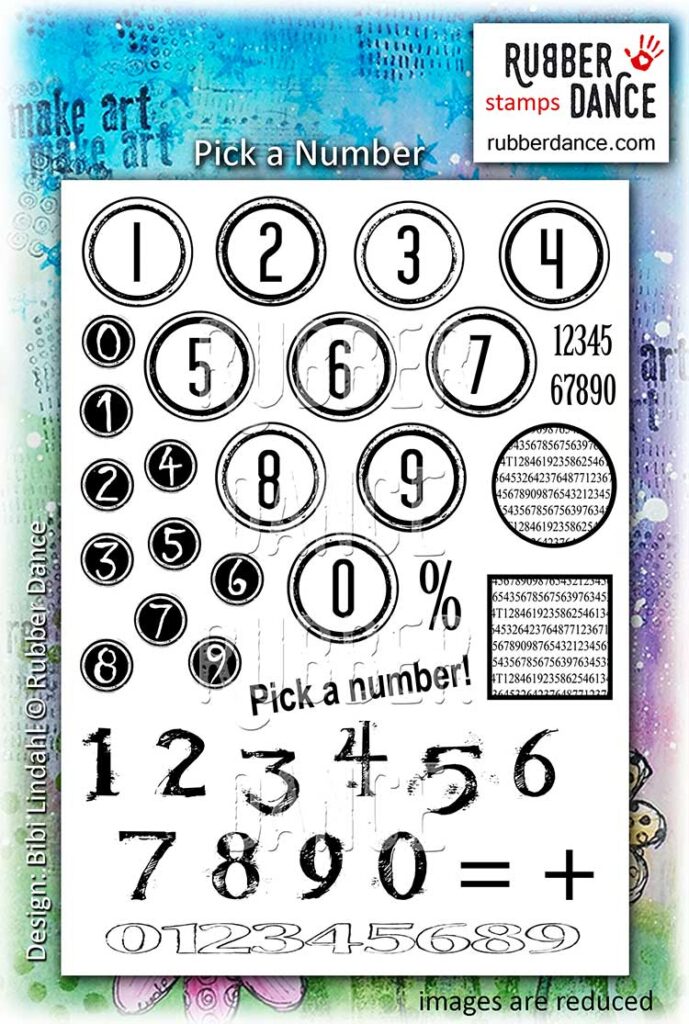
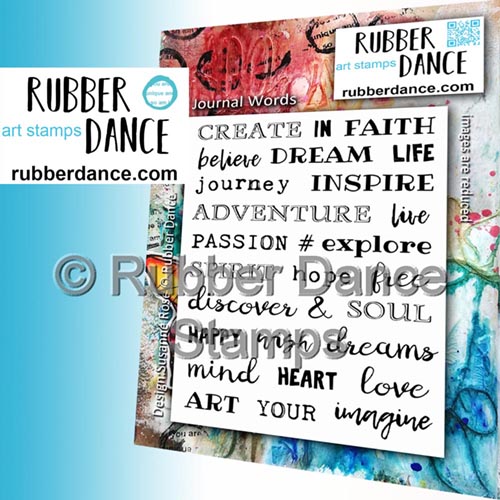
Hi there, Isa here with a textured journal page tutorial using the Leaves 1 stencil and stamps from the Sketchy Leaves and Pick a Number sets. The background is a piece of mixed media paper smooshed with Distress Oxides and Distress Inks, and I’m also using crayons and acrylics. I’m adding a final touch with a word from the Journal Words stamp set.
Let’s start with the background! Remember my tutorial about using one stencil two ways ? I made a lot of those papers and the one I’m glueing here as a background on my home made journal page was made with Distress Oxides and Inks. So I know from the get go that it will be reactivated by any water-based medium that I’ll put on top of it, and that’s what I’m looking for.


With a palette knife, I then apply a thin layer of molding paste through the Leaves 1 stencil, to create texture. While drying, the molding paste is absorbing the color underneath and the result is a gorgeous raised surface in the same hues as the background.
Next step is bringing some darker tone in the opposite corner with acrylics. I’m glueing down a focal point from the Sketchy Leaves stamp set, that I created out of the papers made in a previous tutorial, as well as another point of interest at the edge of the page, from the Pencil Marks 3 stamp set.


As I want to echo the color of the focal point, I’m rubbing my Neocolor II crayon over the surface of the molding paste pattern before wetting it with a clean brush. I also add a dash of dark color in the same corner, to add a more dramatic effect.


To fill in the space that’s left and that feels a bit too big, I’m gluing down a piece of book page where I stamped numbers from the Pick a Number set. It gives the page that touch of vintage and out of style kind of look that I’m looking for.

Time to add dimension to the focal point with my Stabilo All crayon, and a water brush.
And a last word from the Journal Words set to help you believe you can make anything you set your mind to!


Hope you enjoyed this tutorial! You can find an Instagram reel to help you follow the process here:
Be Bold and Shine!
Isa
Products from Rubber Dance:


Share this post

Subscribe to our Newsletter


Comments are closed for this post.