
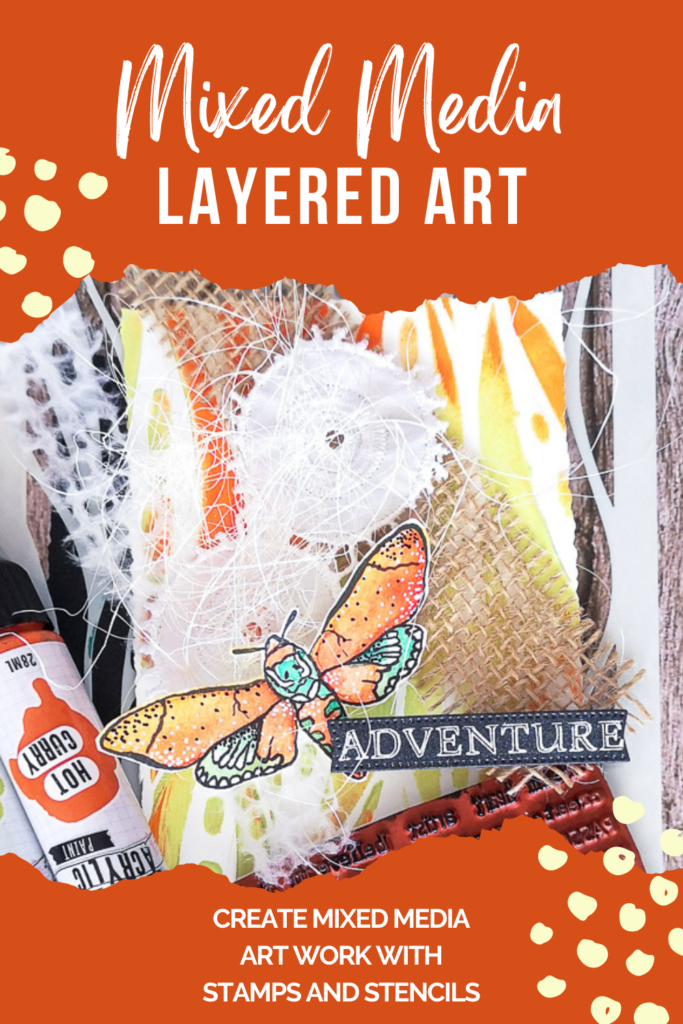
Mixed Media Card with Inky Friends

Hello friends!!! Get ready for another inspiring week! Priss here (@artful.layers) showing you how to use the backgrounds we made last month with this tutorial. I’ve created a beautiful card using a background with Leaves 1 stencil and the fantastic moth of the set Inky Friends set. This card is full of layers and textures, so come with me and let me inspire you.
In my video tutorial from last month, I presented 7 Creative Ideas for Using our Brand-New Stencils. However, if you’re a beginner in Mixed Media, just learning how to use stencils is insufficient. You also need to know how to utilize those backgrounds. So today, I’ll explain how I created this card to inspire you and help you create your own.
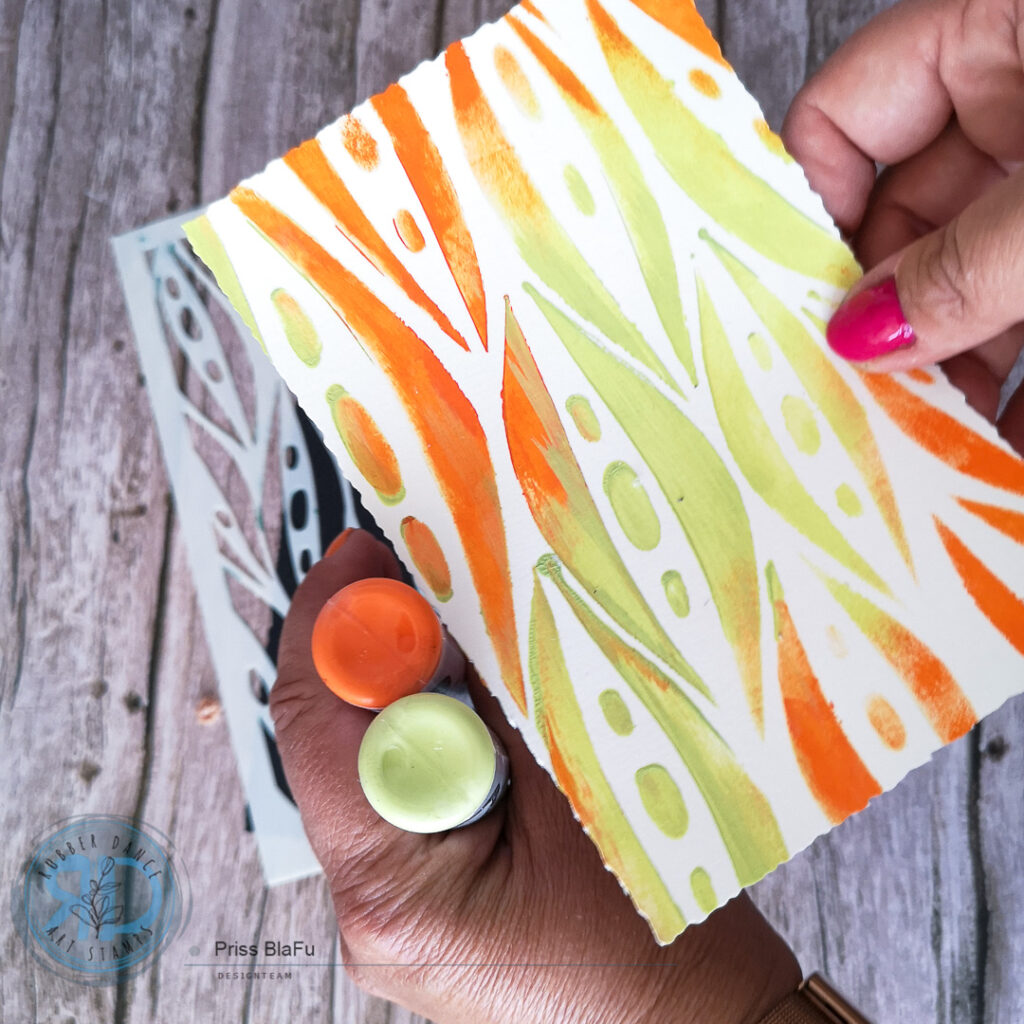
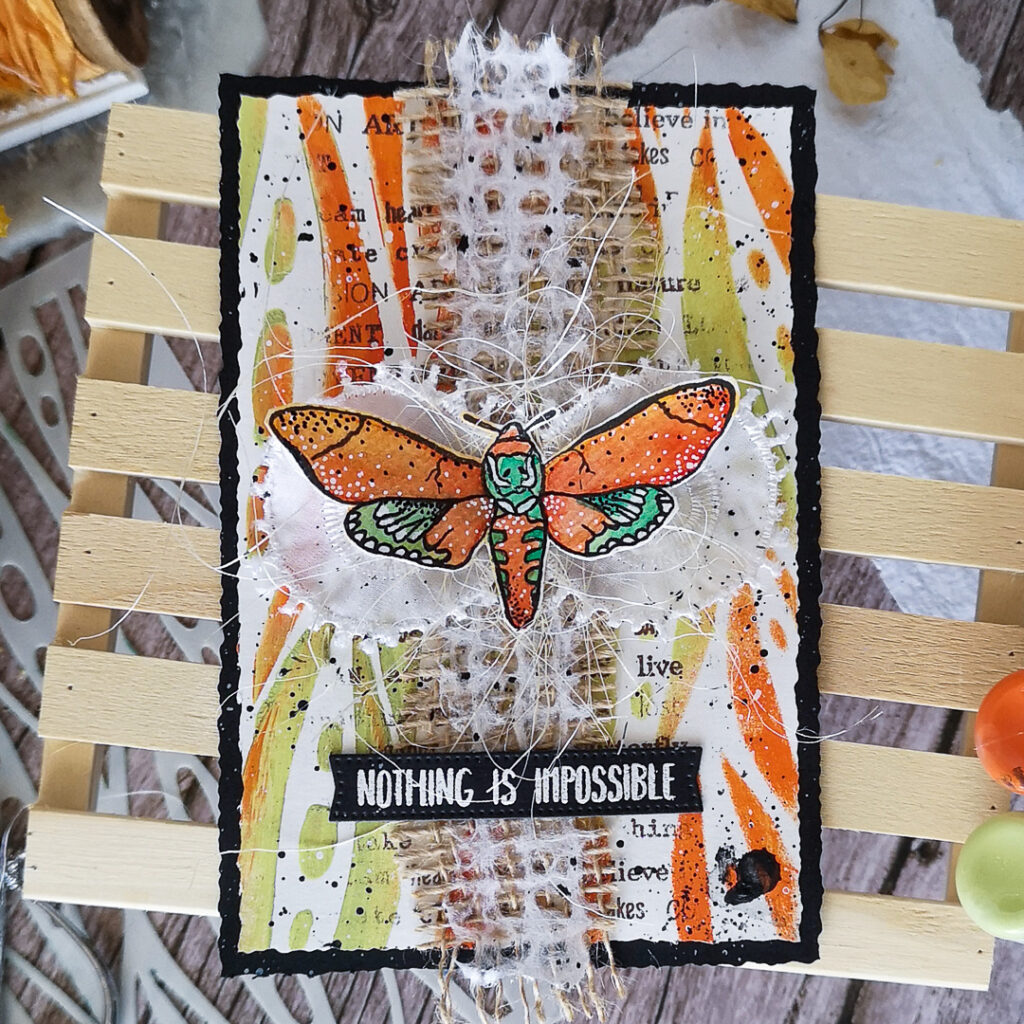
For this background, I used the stencil Leaves 1 and two acrylic paints that match together. You could watch the short process for this background here. I then chose the best part and cut it to the size 6×4 inches with a distressed deckle edge.
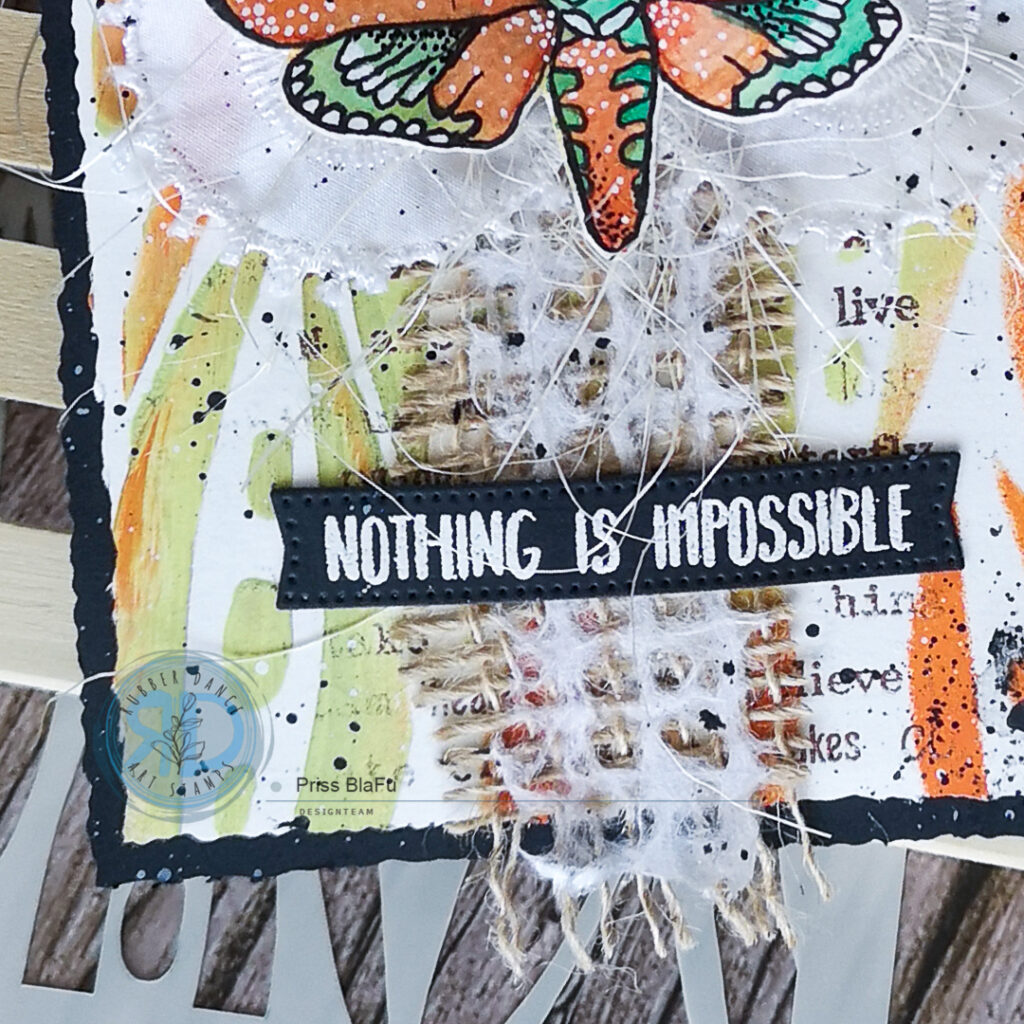
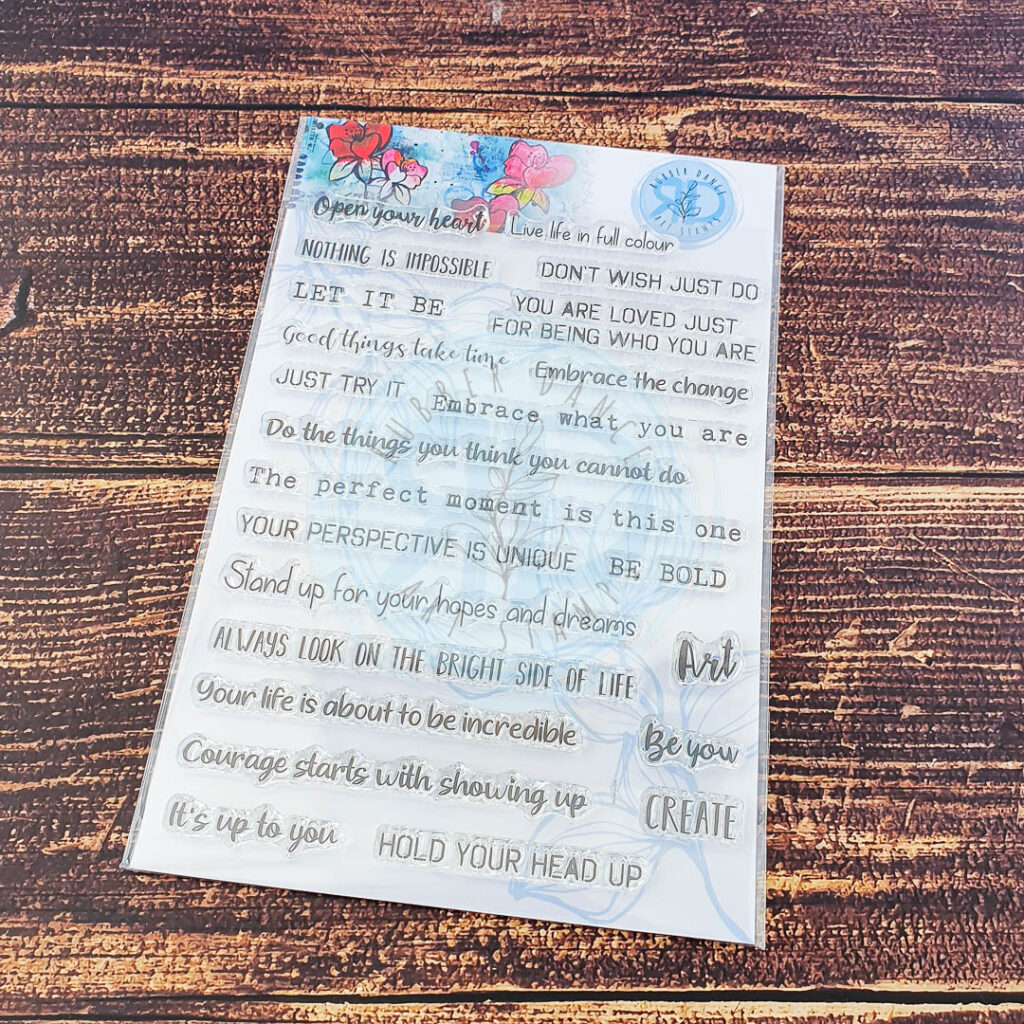
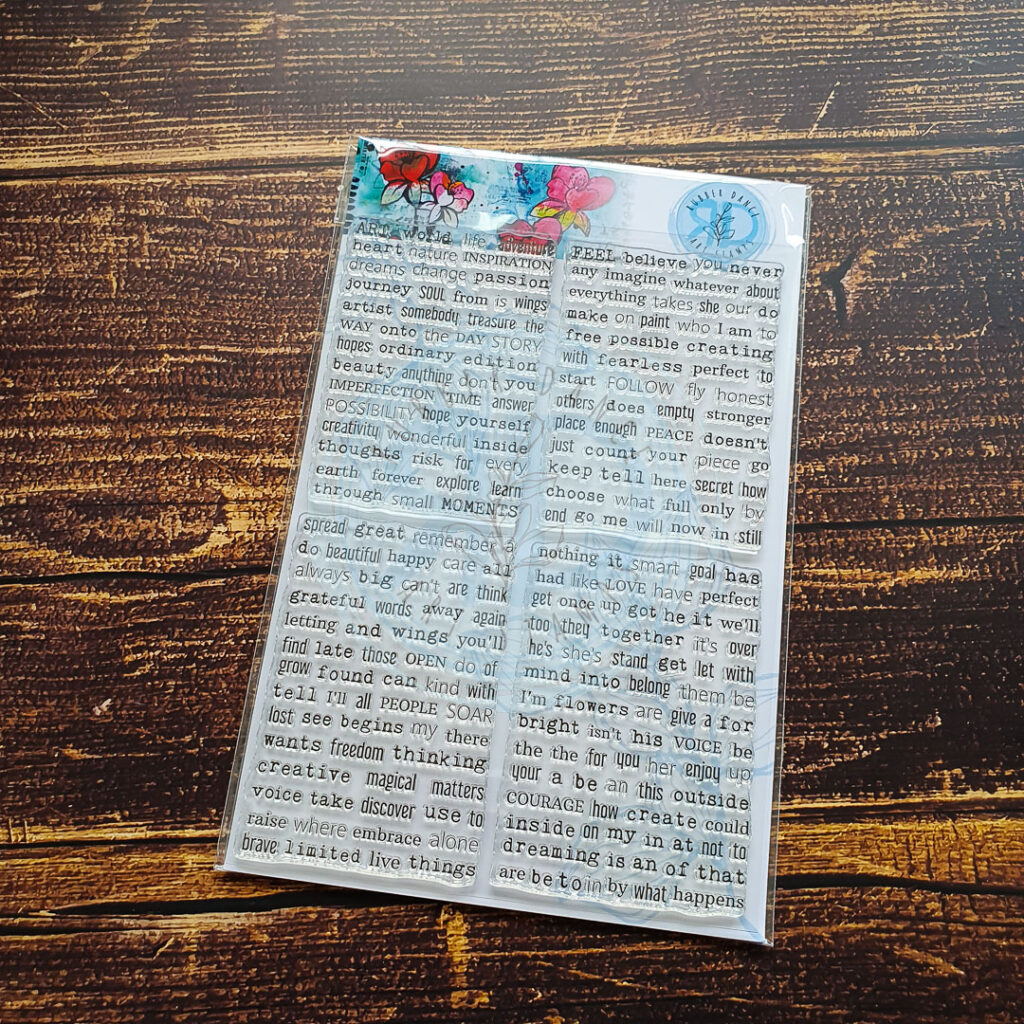
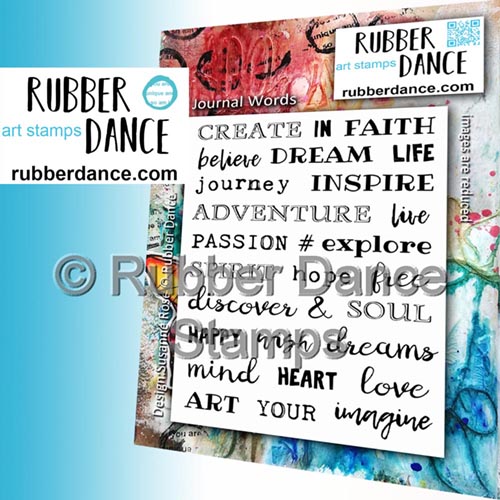
Adding a second layer to the background is the next step, creating contrast without overshadowing the beautiful design of the leaf stencil. For this purpose, a set of small design stamps is the perfect option. In my case, I find that the addition of text or words adds a contrast effect against the colored background that I love. That’s why I opted for one of the Mix a Sentiment stamp and put it in the center of my card carefully to make sure not to create a solid block with sharp edges; instead, I aimed for a smooth fade effect at the end of the words. To enhance the effect, I applied embossing powder in copper tones, maintaining a balanced contrast.
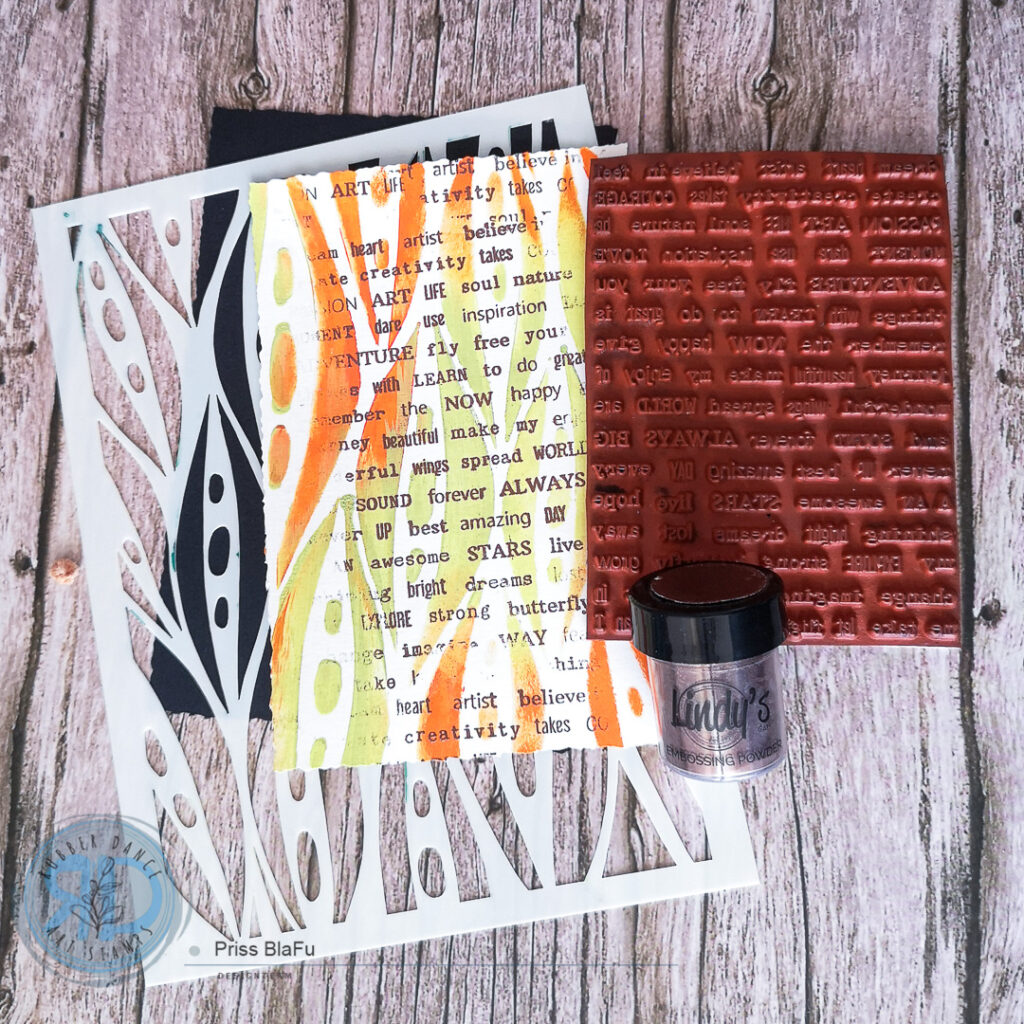
To enhance this nice background, it’s a great idea to frame it with black. You can achieve this by applying black ink around the edges or, as I did, by gluing it onto a slightly larger piece of black cardstock. I usually cut it about 1/4 inch larger on each side, giving us an outer frame of 1/8 inch.
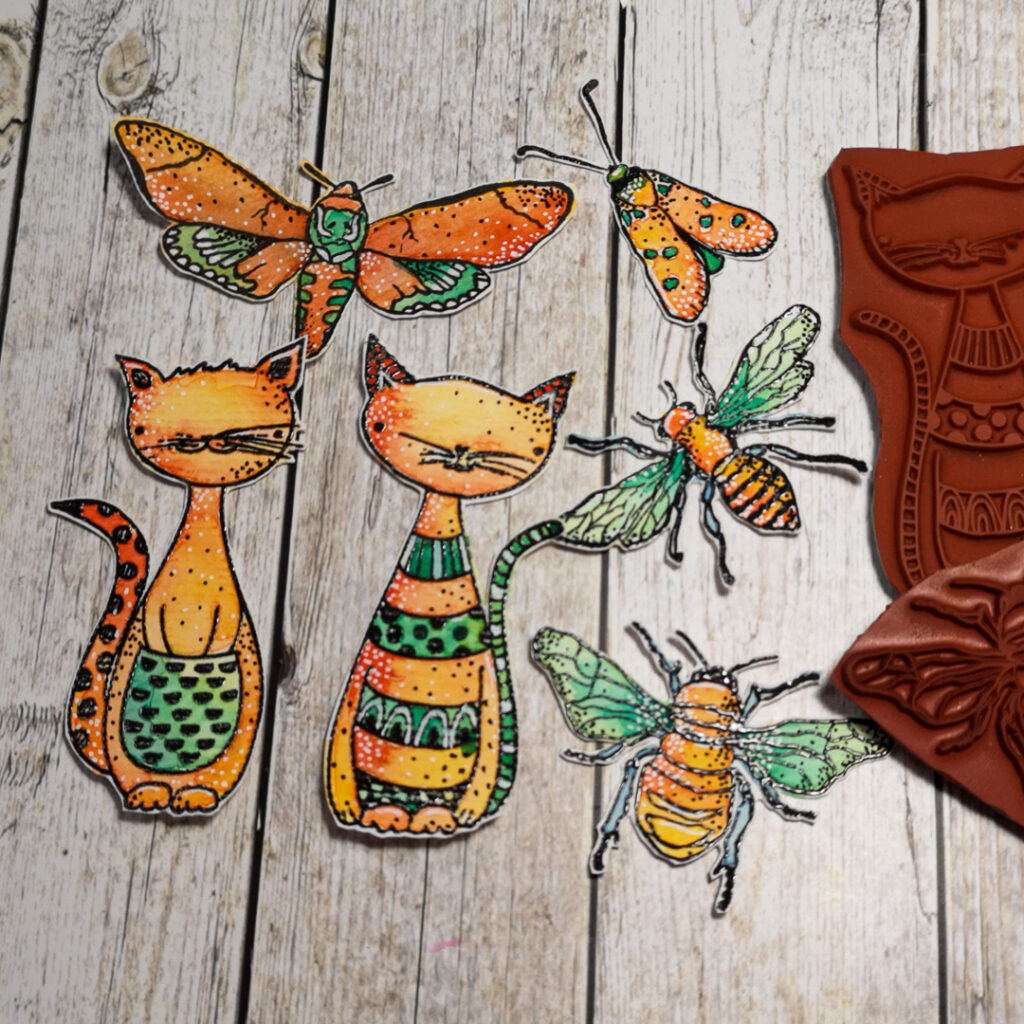
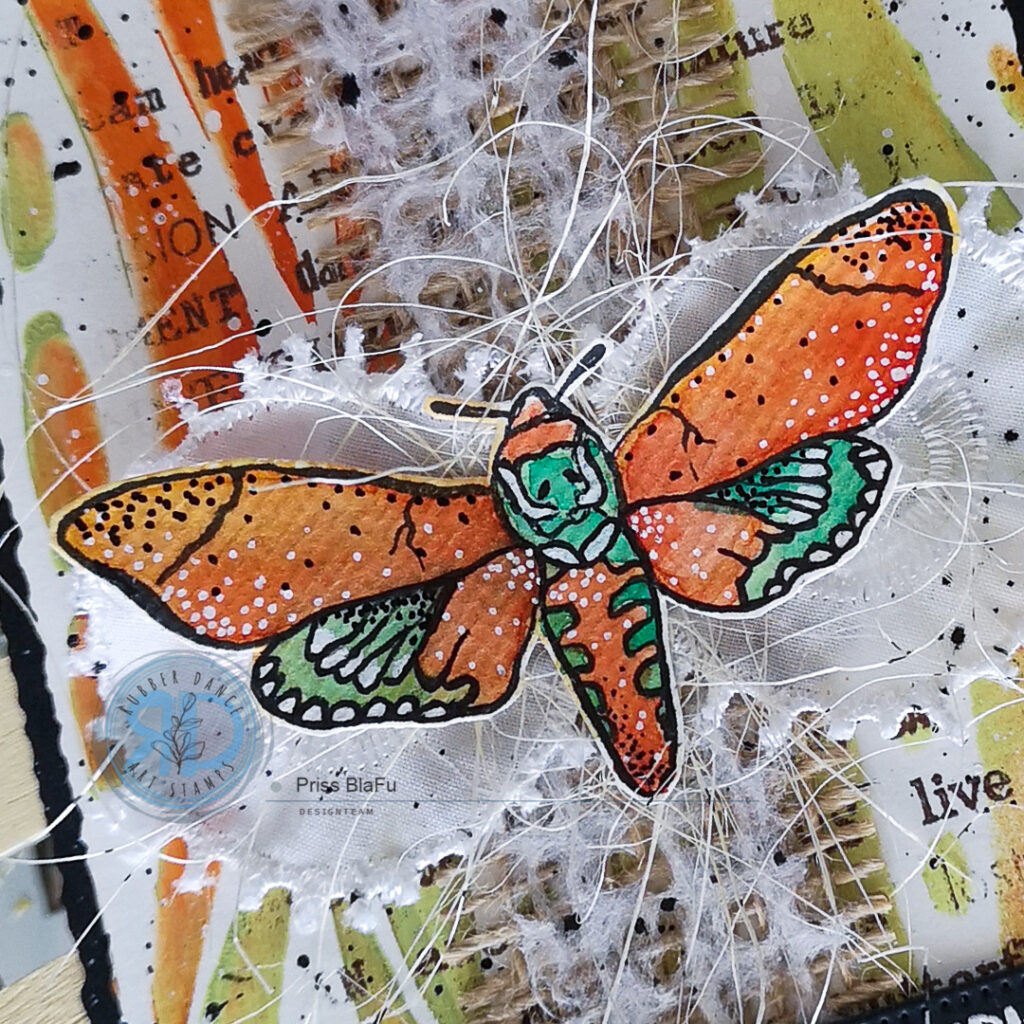
For my card, I’ve chosen the charming moth from the Inky Friends set as the focal point. This stamp holds a special place in my heart; it’s one of my absolute favorites. In fact, it was the set that introduced me to the brand and turn on my love for all the Rubber Dance Stamps.
I stamped this onto watercolor paper and brought it to life with vibrant hues using my Tropicals watercolors. And of course, I added my signature touch with black and white acrylic markers. As you might remember, I painted different designs, including this one, for this particular post.
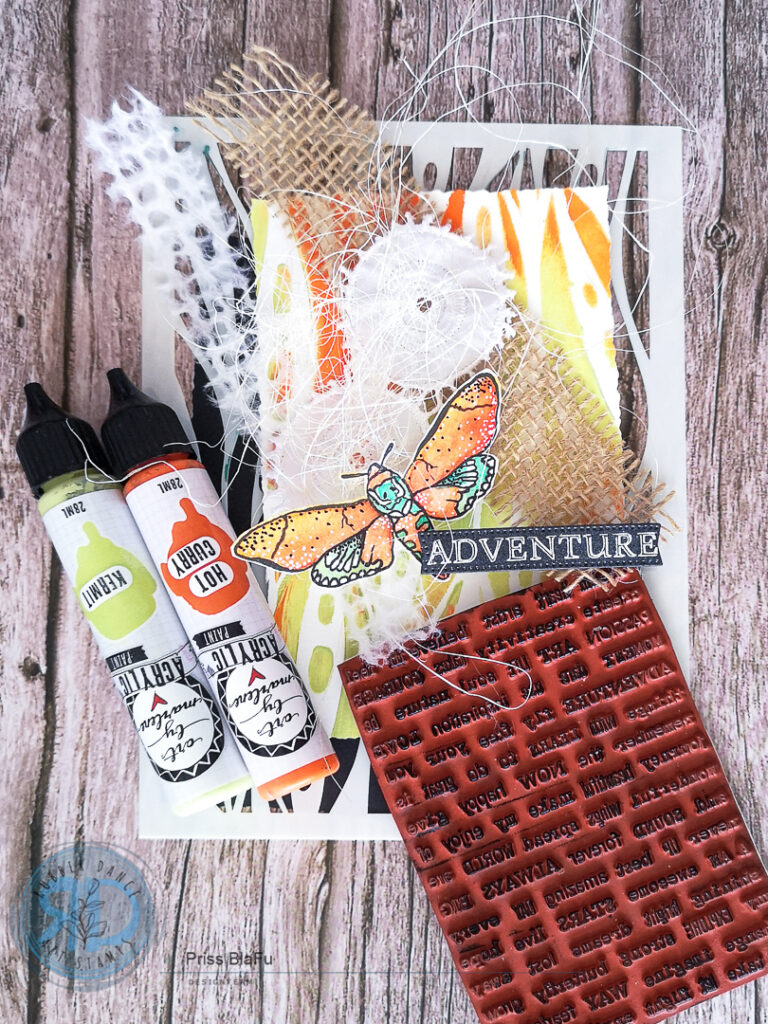
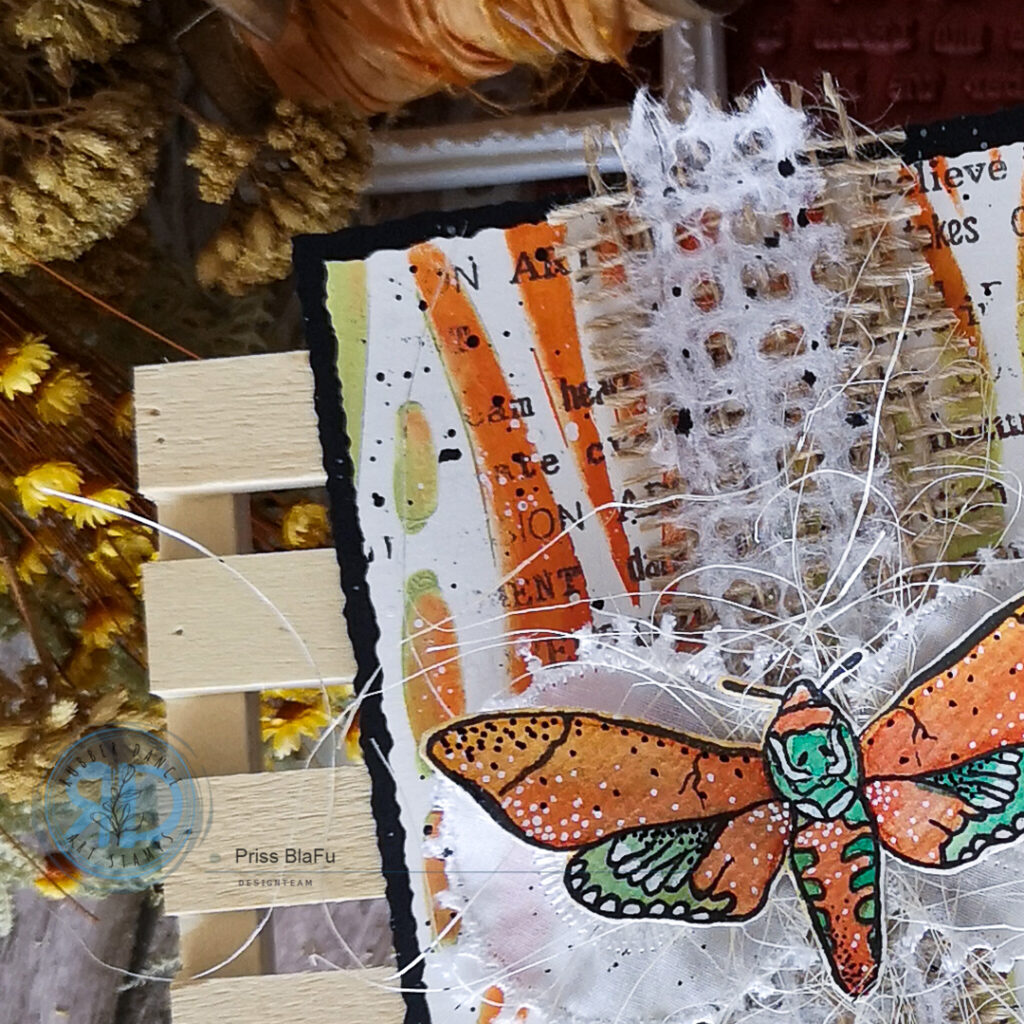
I selected attractive paper and fabric materials to use as the base for my artwork, placing them at the center and below my focal point. Initially, I opted for the phrase “Adventure,” but upon further consideration, I discovered a more suitable alternative from the Mixed Sentiments 1 collection that complemented my project better.
Here are some photos of the project with accompanying details. I hope you enjoy them and encourage you to create some nice cards using the stenciling backgrounds.
To tie the entire project together and add an extra layer of contrast, I’m a super fan of splatters – sometimes in white, sometimes in black. And for this project, it’s no different; I decided to go with both. I absolutely adore the visual effect these splatters bring, even though one of the black droplets got a little bold and decided to take more of the limelight than expected. But that’s the beauty of the handmade world and my journey as an artist – what might seem like a flaw suddenly transforms before my eyes into an artful and interesting stain.
Hope you enjoyed this mini tutorial and feel inspired to create your own cards. You could see more inspiration using these stamps here.
And finally, don’t forget to share your creations with us in our FB group (Rubber Dance Stamping Lounge), we’d love to see them!
Until next time, happy creating!
Hugs, Priss
(My Posts | Instagram | Facebook)
These are the products I used

Share this project:
Subscribe to our Newsletter


Comments are closed for this post.