
Stamped Gift Tags Flowers Gone Wild
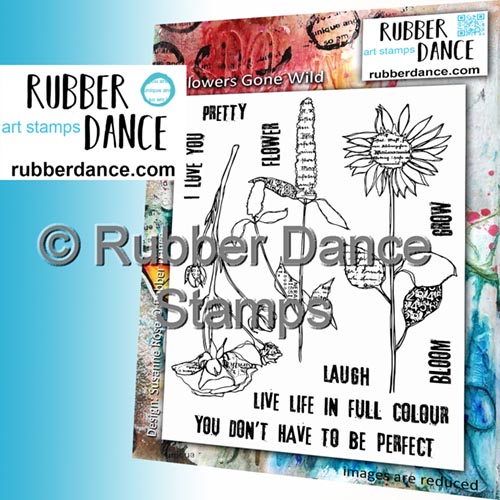
Welcome to a fun tutorial featuring the beautiful rose from the Flowers Gone Wild stamp set.
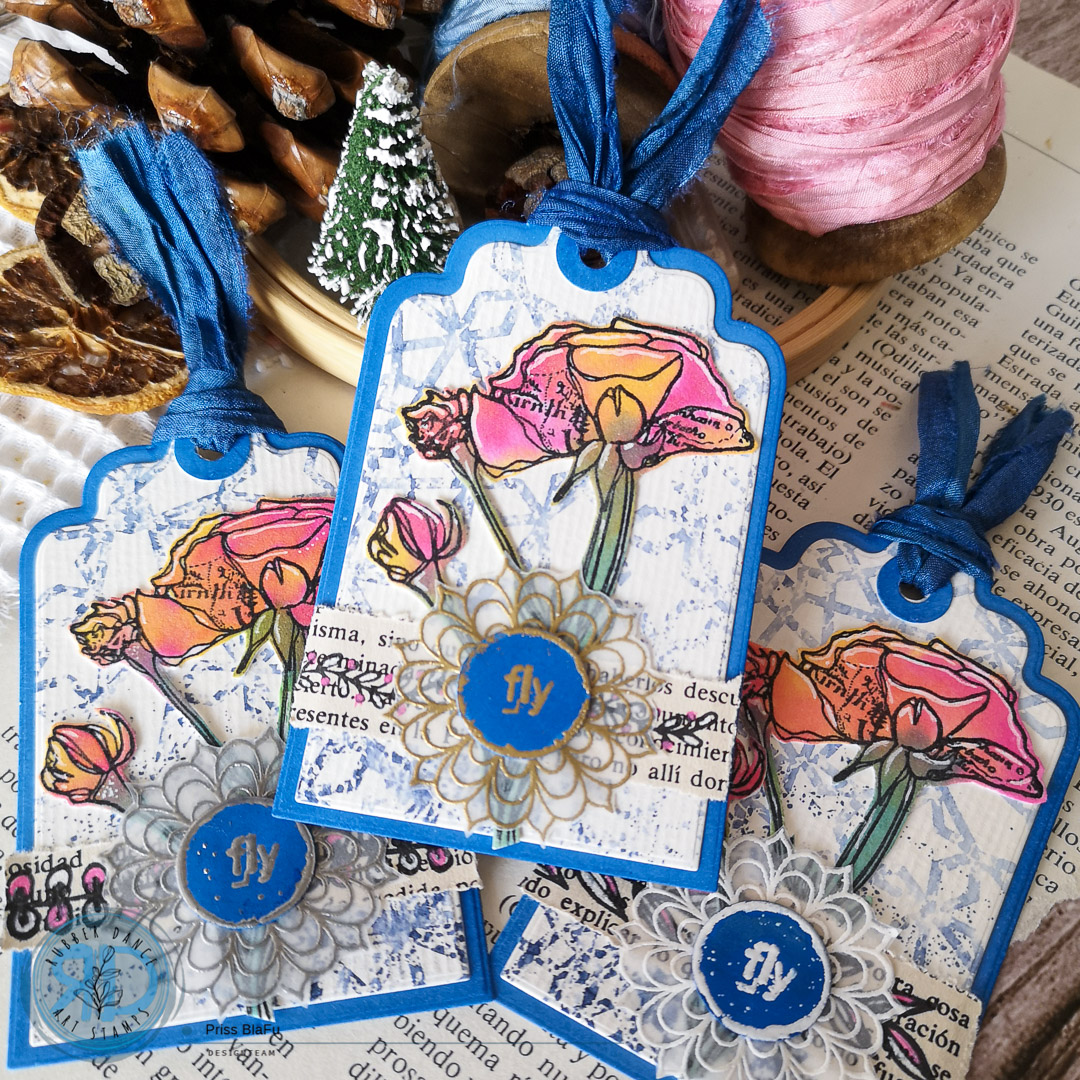
I think these little tags are great to accompany our happy mail to our crafty friends.
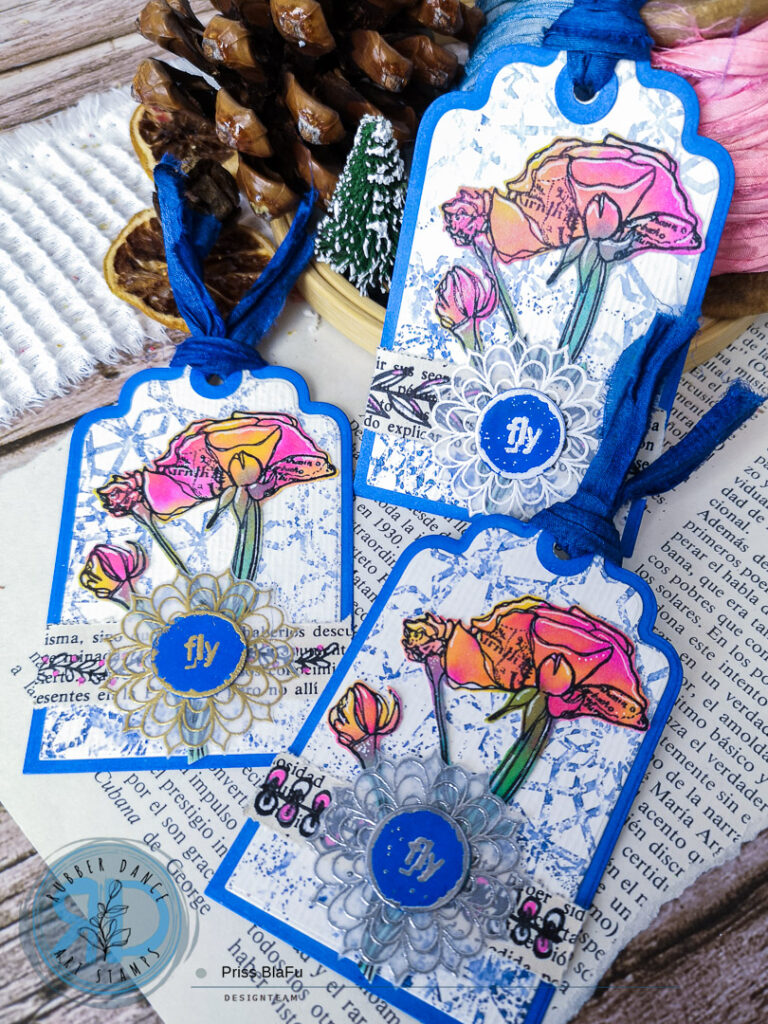
I had these little tags from another project from the last year. To make them, you just need a tag die-cut in two different sizes.
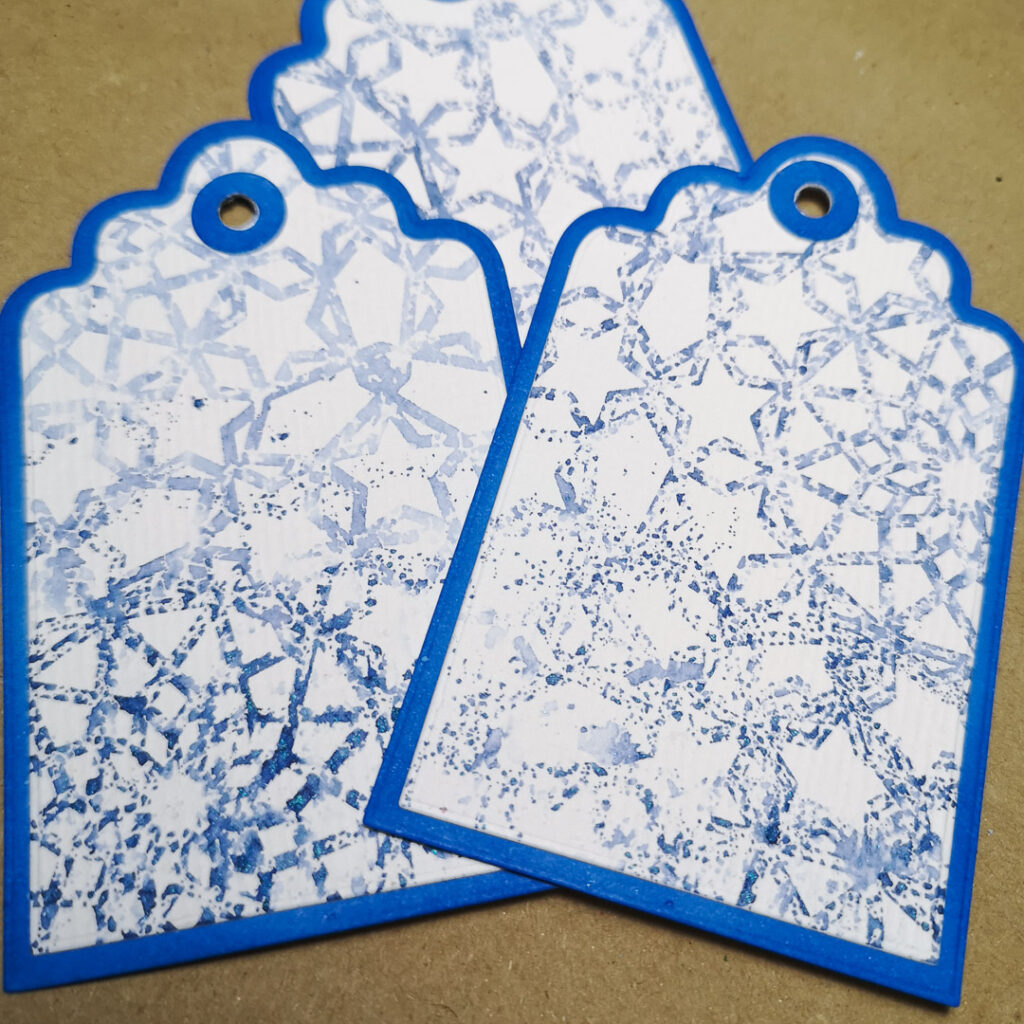
Stamp with a stencil over the watercolor paper with blue oxide inks and some water sprayed. With the little die-cut tag, cut the watercolor paper.
Then take the big die-cut tag and cut a white watercolor cardstock. With the same blue ink paint on the border of these tags. They will be a colorful frame for your tags.
Now, glue the little tag over the big one, crop a hole, put the eyelet, and tie a ribbon.
My focal point will be the gorgeous Roses of the set Flowers Gone Wild, so I stamped them on watercolor cardstock and painted them with pigments as they were watercolors.

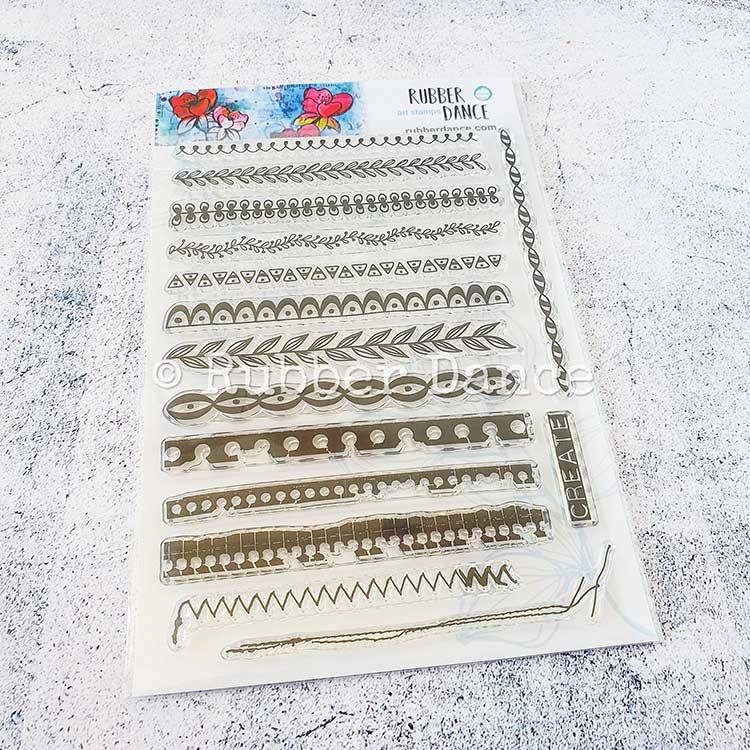
On the other hand, I took an old book page and stamped on it with black ink some of the wonderful stamps from the Mixed Media Borders set.
I fill in the empty spaces on the stamps with a white gel pen and a pink acrylic pen. Then I tore strips of paper for each border stamp.

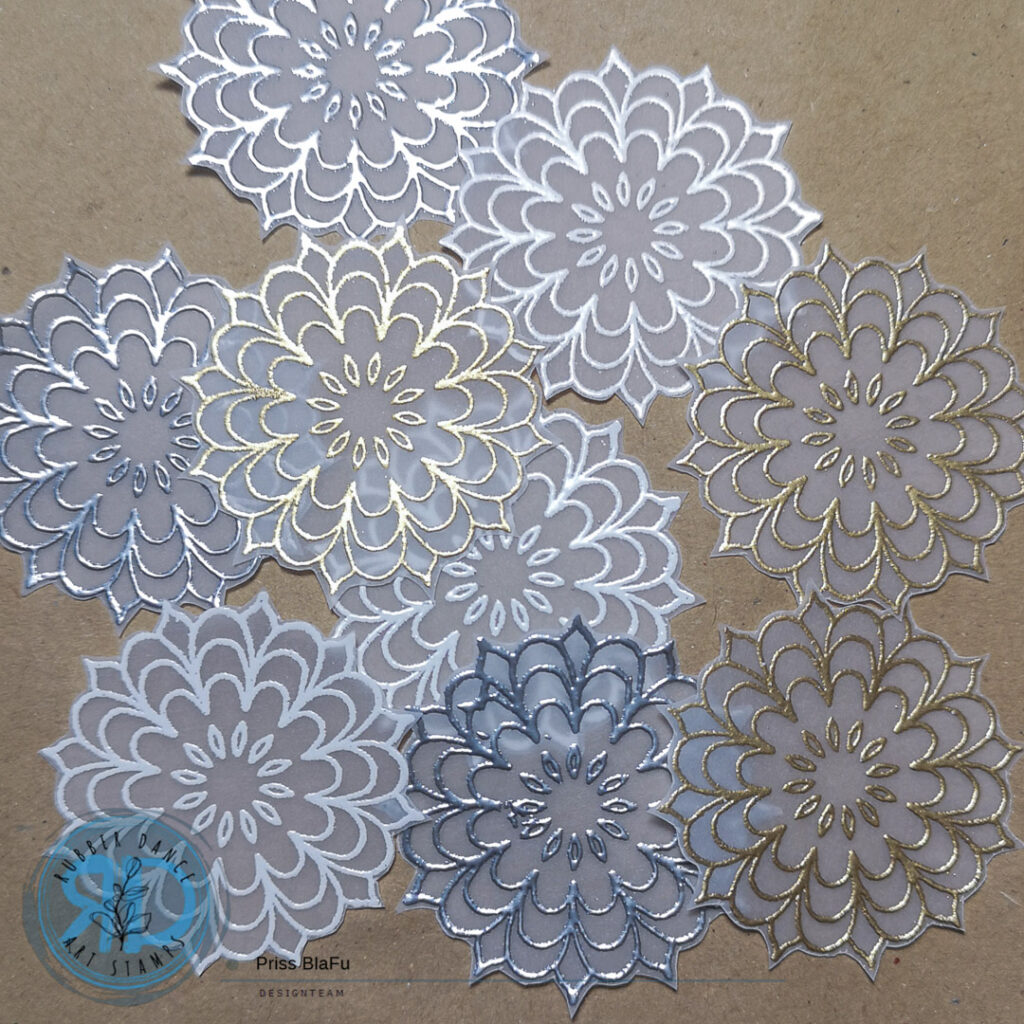
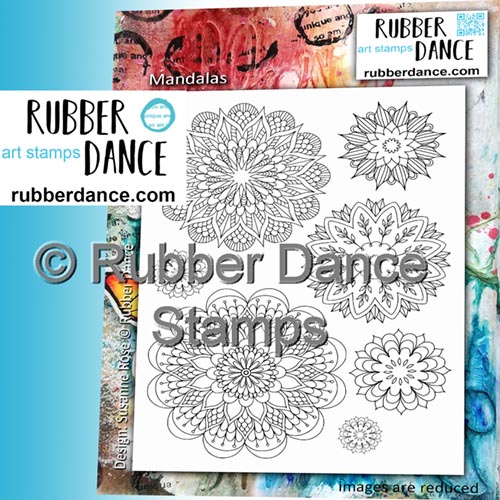
Another element that I used was a small Mandala, stamped on tracing paper with embossing powder.
Since I couldn’t decide, I stamped it in three different colors (silver, gold, and white).
After cutting all this, it was time to make our composition with all the previous elements and a sentiment stamped, embossed, and cut in circles.
Now I leave you some photos with details of the project. I hope you like it as much as I do when making it.


Please check out the other blog posts for a lot of inspiration from the team.
Hugs, Priss
(My Posts | Instagram | Facebook)
Stamps from Rubber Dance:
Subscribe to our Newsletter


Comments are closed for this post.