
Mixed Media Index Cards with Distress Ink Background

Hi there, Susanne here with a step by step tutorial for a set of altered index cards using Distress Inks for the background together with a bit of collage and images from our Collage Leaves 2 and Textured Birds 2!
You might have already heard that the Index Card a Day Challenge has started on June 1st. I do not really play in this challenge, but I was super inspired to make some index cards.
I started the backgrounds by smooshing the inks onto my craft mat, spritzing it with water and dipping the index cards into it. I used Distress Ink in: dried marigold, rusty hinge, fossilized amber and worn lipstick. To bring extra texture to the background I am using the harlequin stamp from Mix It Up 5 together with worn lipstick.


After everything was dry I applied some Distress Glaze through the Marks 2 and Cross It stencils to the cards. The Glaze acts as a resist and will show up once I add Distress Ink, in chipped saphire and brushed corduroy, with the same technique, that I’ve used in my first step. If you don’t have Distress Micro Glace you can use heat embossing with clear powder instead.


For even more interest I added also some Distress Oxide bundled sage. Oxide inks are opaque and will work on top of darker colours. After everything was dry I adhered some collage paper bits


For the collage paper I used some chinese calligraphy paper, which is a thin brown rice paper with a big grid printed on it. I stamped the paper with images from Mix It Up 5 and Mix It Up 6 using Versafine Clair ink in black. This paper is perfect for backgrounds, especially when you want to work quickly. All the stamping is already done, you just have to adhere bits and pieces to your project.
I made some white splatters with the Viarco Art Graf Tailor shape crayon. You can use any white paint instead!


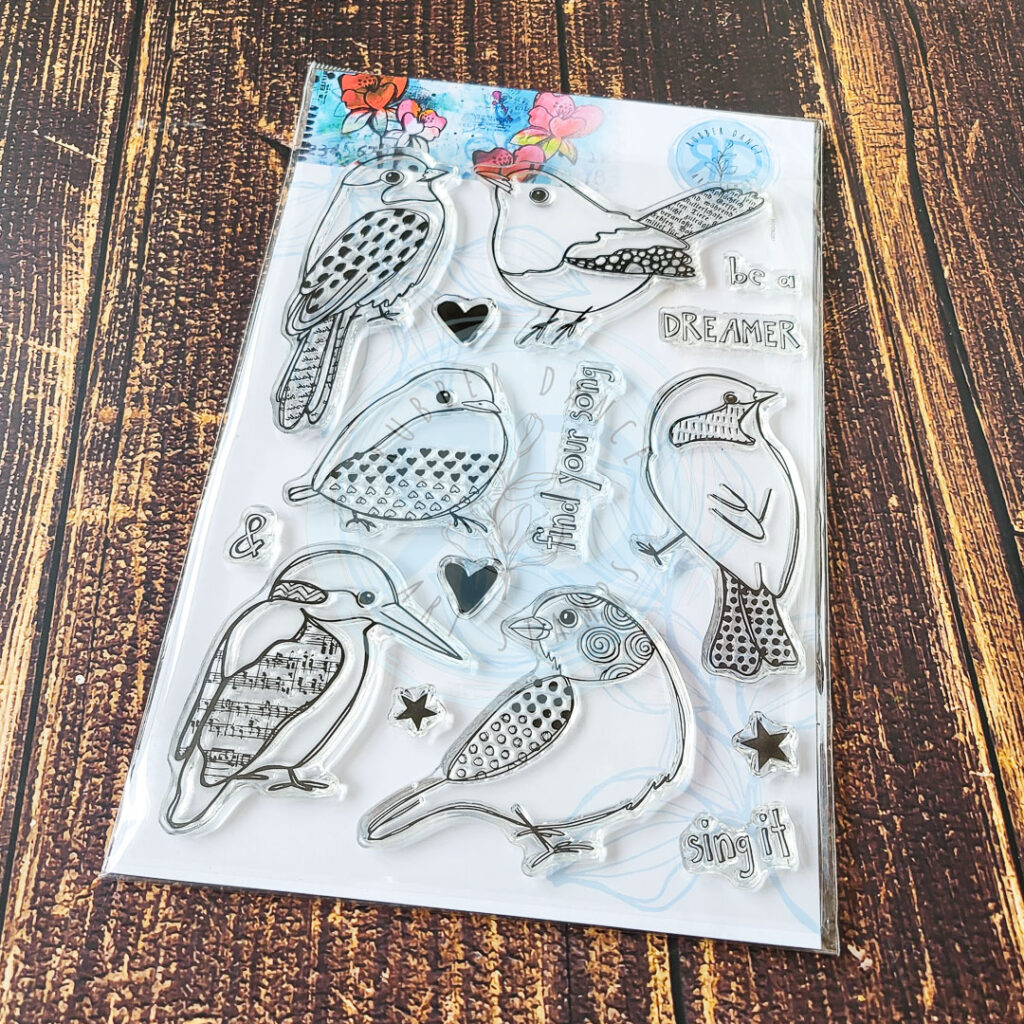
For my focal images I stamped motives from Collage Leaves 2 and Textured Birds 2 to mix media paper and cut them out. I coloured them with carved pumking and worn lipstick in Distress inks with the same technique I used in my first step for the index cards. I made sure to have some white spots left on the images! These give them more depth and interest.

Here are some close-ups of the finished cards:


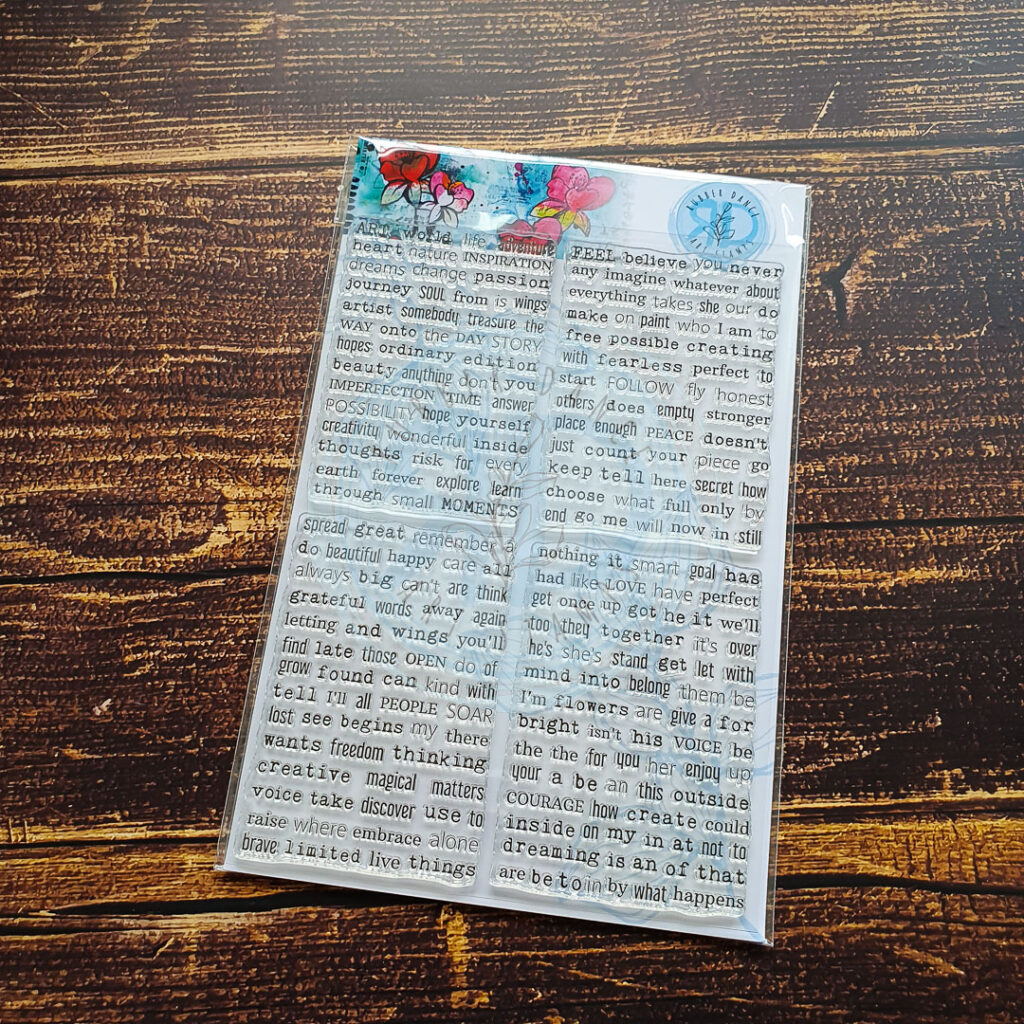
I added a word to each card as kind of a style element from our Mix A Sentiment stamp set.

I hope I could inspire you a little bit, thanks for stopping by today!
xx Susanne
Products from Rubber Dance:


Share this project:

Subscribe to our Newsletter


Comments are closed for this post.