
Mixed Media with Alcohol Inks – Tutorial
Hi you all, Ellie here!
I had a nice play with alcohol ink onto some heat resistant transparent sheet.
I used another piece of plastic to swipe the alcohol inks.
If you’d like to learn this technique, go watch Tim Holtz’s latest “Alcohol Ink and surfaces” video! The technique I used is starting at about the 1h: 7m mark.
My tutorial starts where I end up with some nice backgrounds onto the heat resistant transparent sheet …

The backgrounds can be used with the ink on the top side, or downward of course.
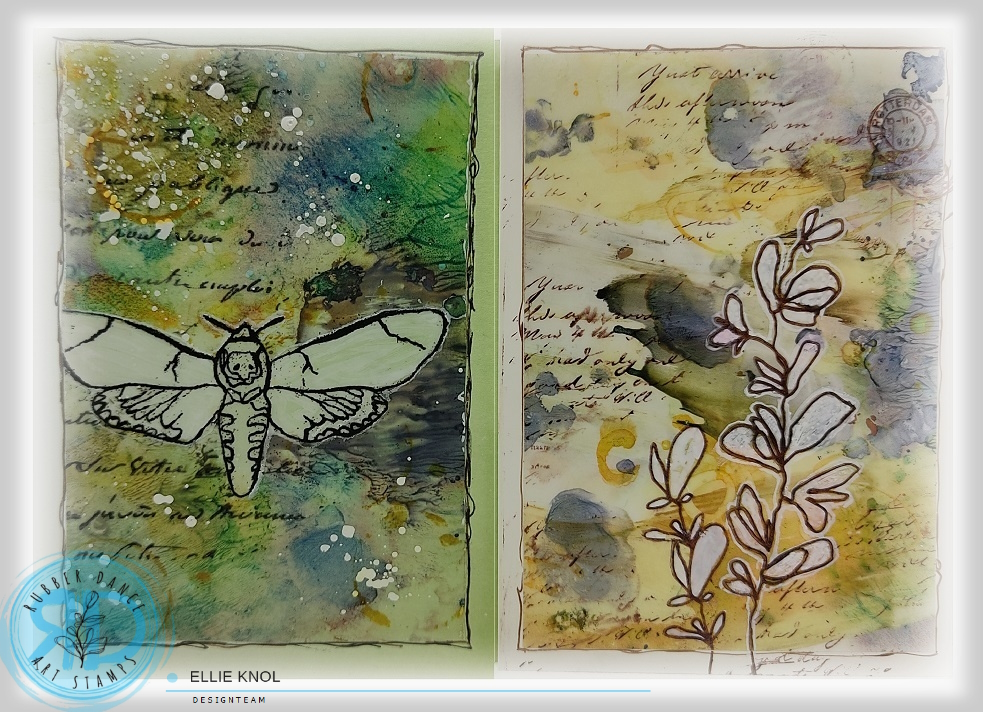
Experimenting on my first background (on the right) I chose to heat emboss the image and the script on the side without the alcohol ink. After heat embossing I removed the alcohol inks from within the image and filled it with a diluted white acrylic so the image would pop more. I had to splatter white acrylic to the front of the background of course.

As the background is transparent, it really matters to what color cardstock it will be adhered to. I pictured it so you can see what a huge difference the backdrop makes to the overall colors.

This is a close-up of the background onto a white backdrop… the shimmer is amazing as I also used a pearl Mixative, and the yellow has some mica in it. The purple-blue color is from the Denim alcohol ink.
Where the colors mixed it turned to a beautiful green.

I chose to adhere it to a green card as I wanted to do the second one onto a white cardstocl, for them to be a little different. I used a glue spray to adhere it to the card-front.
This was an experiment that did not turn out quite well, as I initially adhered it with red tape. I had to cut it off, as it would not lay flat, AND the tape was visible. So what you see on the finished card is a smaller version of the initial background, lol.

The second background is beautiful all on its own. I only stamped a script onto it and adhered it to the card front with glue spray.

Again, a visible difference in the backdrop of course, and as you can imagine I had picked the white backdrop.

But at this stage I chose to take it a bit further ..

I stamped some foliage and a postage cancel stamp in brown : yes! I put the card into a stamping platform for the stamping phases of the foliage. I stamped it in brown, then added white (Posca acrylic marker) to the image, let it dry and re-stamped with brown StaZon. The second (left image) was created by stamping the smaller image twice, on top of each other. I needed to do some masking of course.

All finished now..

This card is the my favorite of the two.. what do you think?
I really love this technique; the only negative side to it is that it is difficult to photograph and the shimmer is not visible on the pictures. Believe me, in real life it is so beautiful!
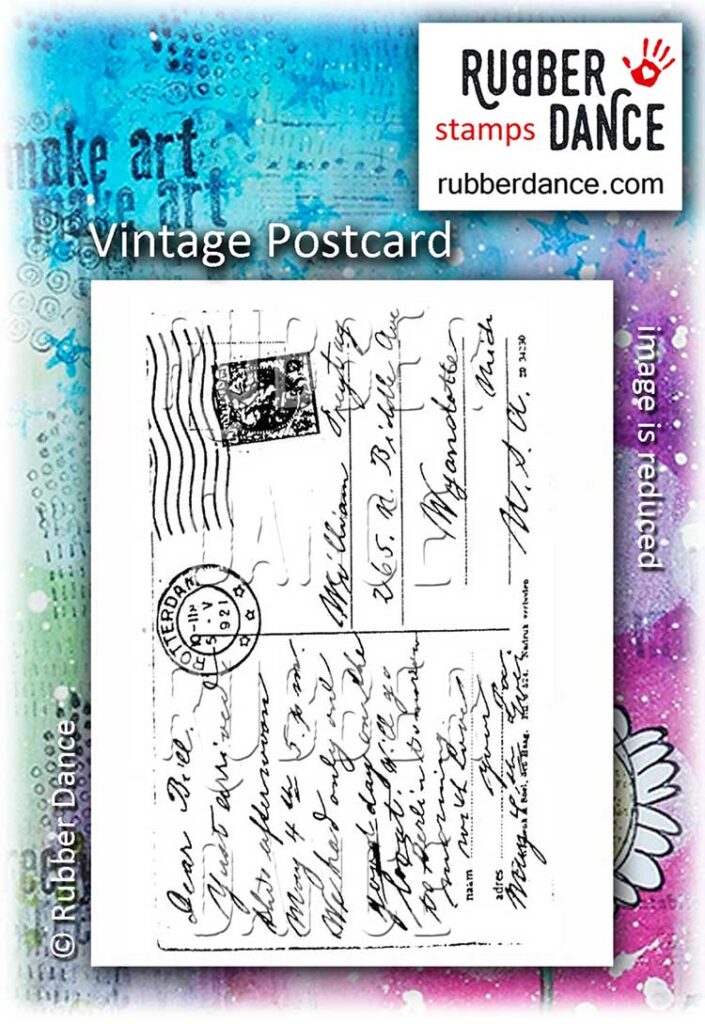
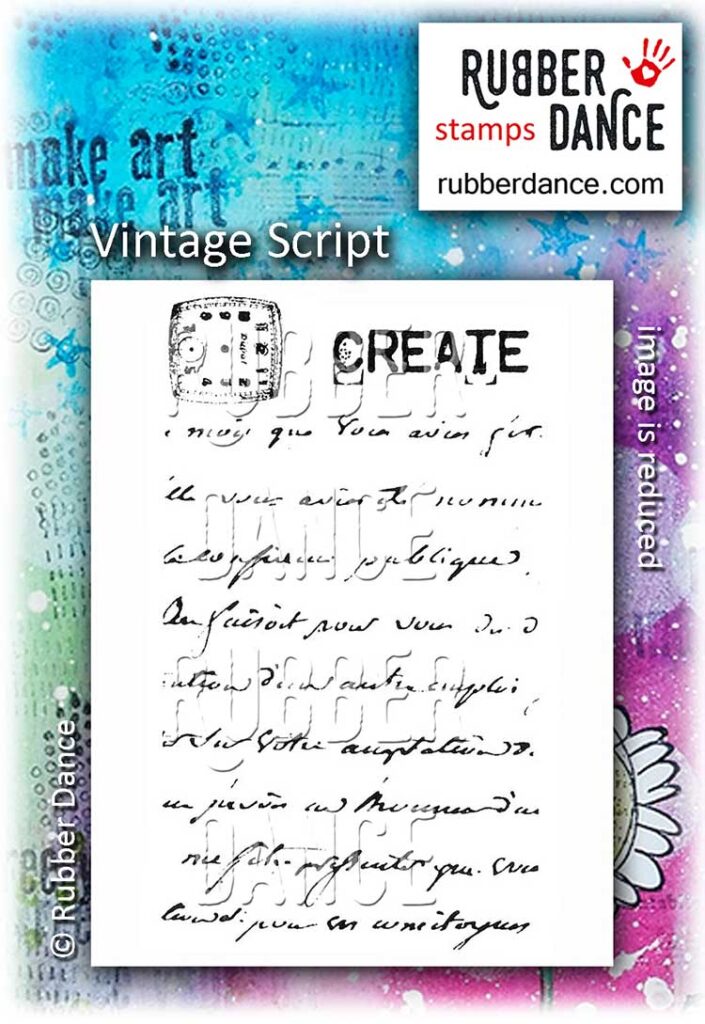
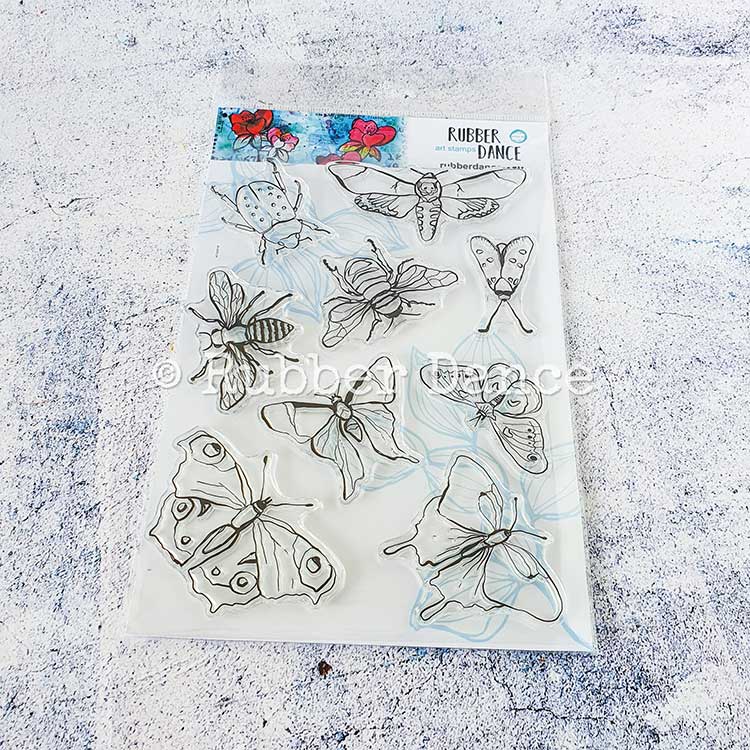
Rubber Dance Stamps:


Comments are closed for this post.