
Creating Layers using Stencils and Embossing Powders

Hi everyone! It’s Laura on the Rubber Dance Blog today and I have a tutorial showing you how to add layers to your backgrounds using embossing powders with stamping and stencilling. I am using one of the backgrounds to create a card with the lovely Loose Florals stamps.
First of all choose your colour palette. I find choosing a colour palette helps me make sure that the colours work well together. Together I focused on bright colours and I used Distress Oxides in Candied Apple, Carved Pumpkin, Fossilized Amber Mowed Lawn, and Dusty Concord.
Next it was time to put together an inky background. I added the warm colours to my glass mat, spritzed with water and smooshed my cardstock until I was happy with the effect. I made sure to leave some white space and then I dried it with my heat tool on the lowest setting to avoid warping.


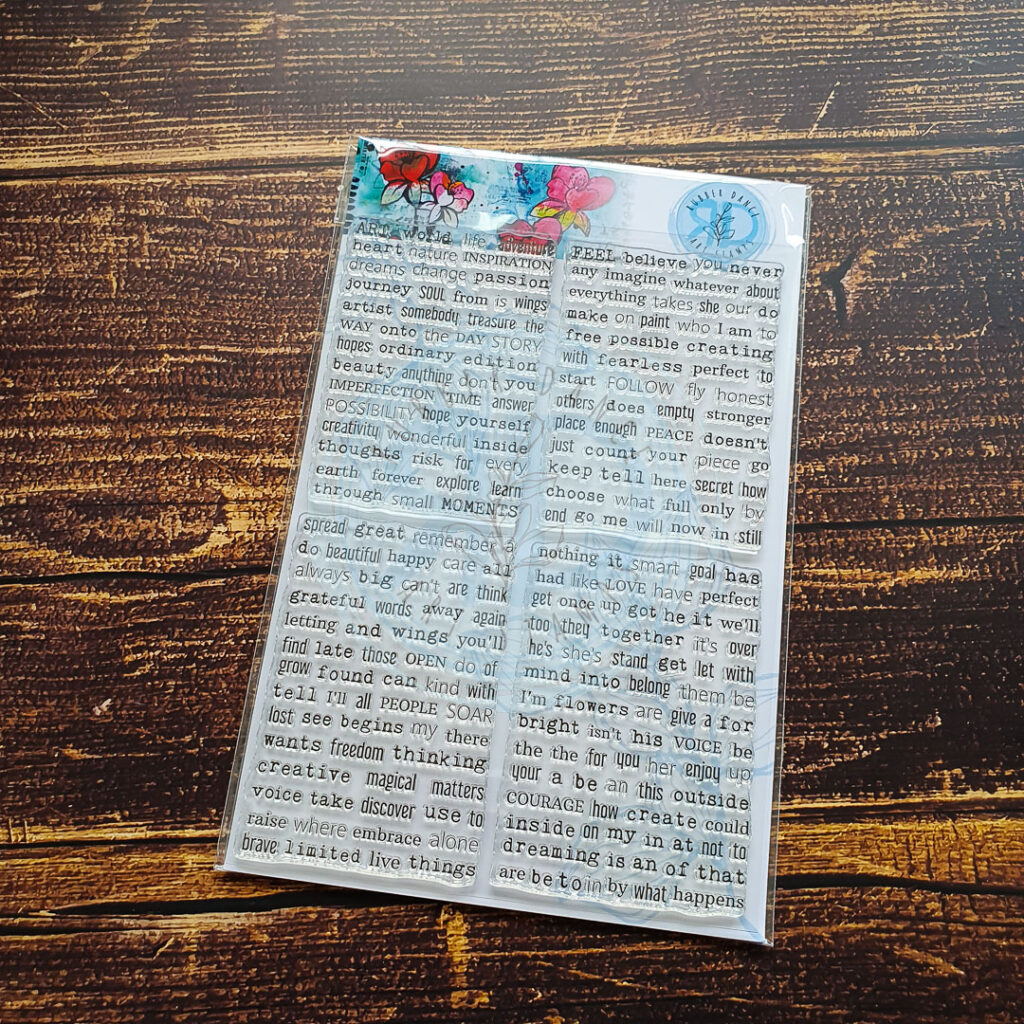
Next I added some Dusty Concord to one of the stamps from Mix a Sentiment to add some background interest. I randomly stamped this in the areas that already had colour. Working diagonally from the bottom left to the top right.


I then used the Big Triangles Stencil to add some embossing ink through it and I used some translucent embossing powders that matched my colour palette. I used the WOW Citrus Quad colours Tomato and Rusty. I added the powder over the areas that had the text because the translucency of the powders would still allow the background colours and text to show through. This is a great way of adding layers to your background and allowing each layer to shine through.
I then stamped and water coloured some floral elements from the Loose Florals stamp set. I mixed colours that matched my colour palette to ensure that the colours would work with the bright background I had created. I then fussy cut them out and then it was time to play around with the layout. For a sentiment I used the Mix a Sentiment stamp set with white embossing powder on black cardstock.
Here are some photos of my finished project:


I hope that you like my finished card and I hope that this has given you some inspiration and got your creative juices flowing!
Happy crafting!
Laura x
Rubber Dance Products Used:


Share this post

Subscribe to our Newsletter


Comments are closed for this post.