
Greeting Cards with Vintage Stuff & Tips for a perfectly stamped Image!
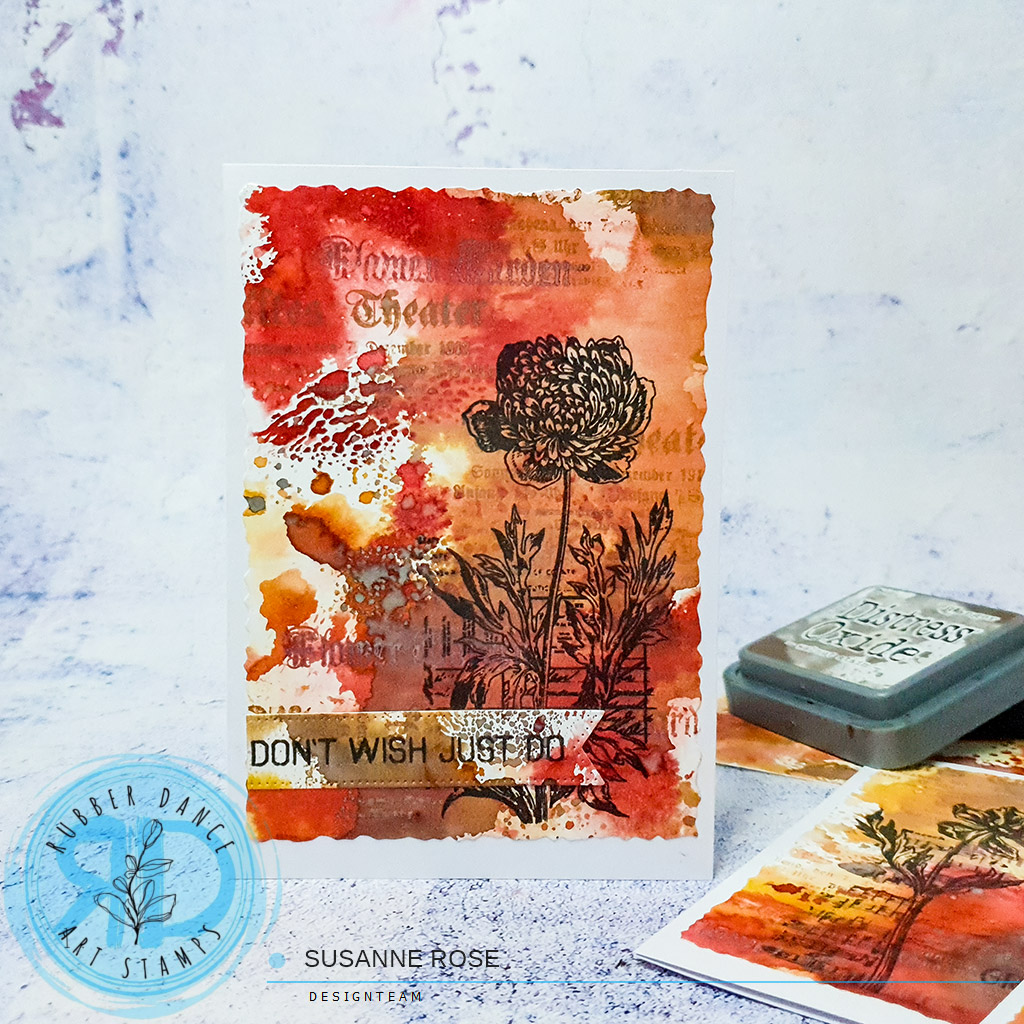
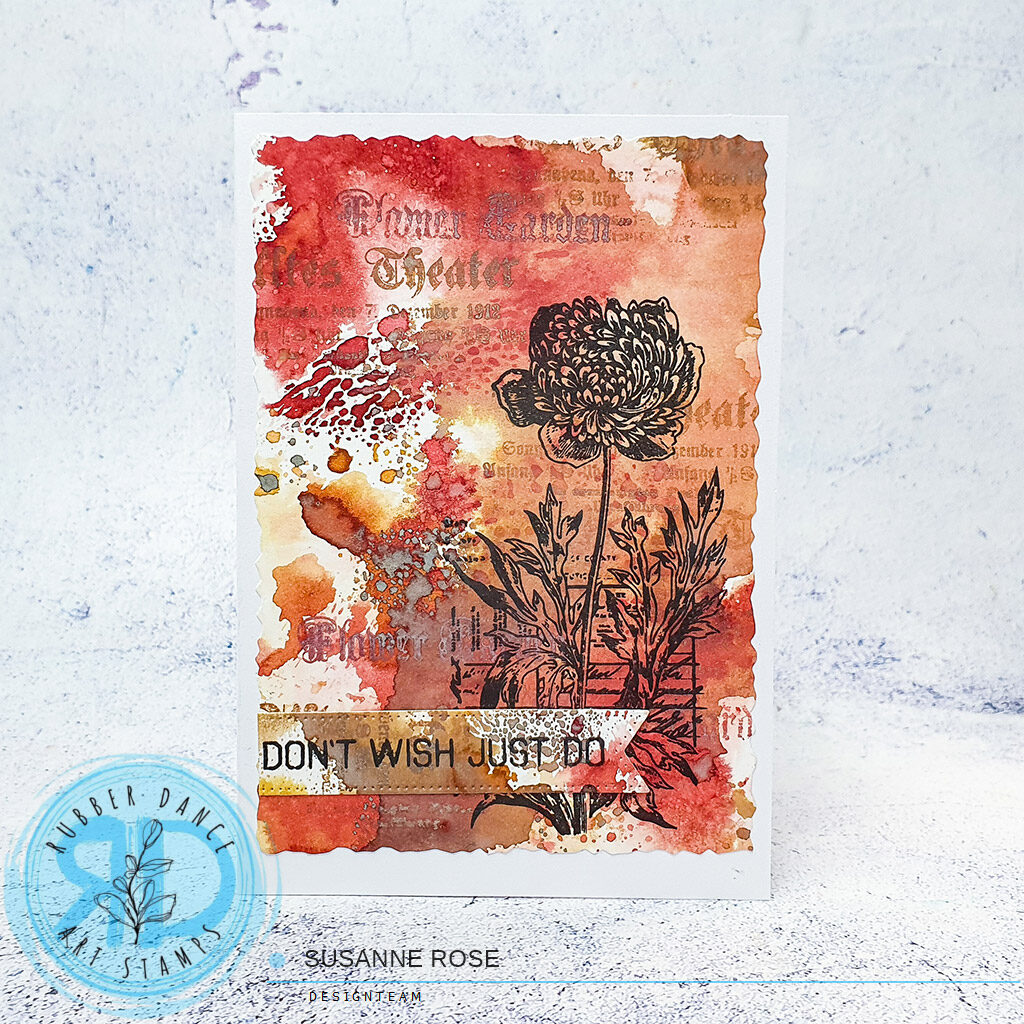
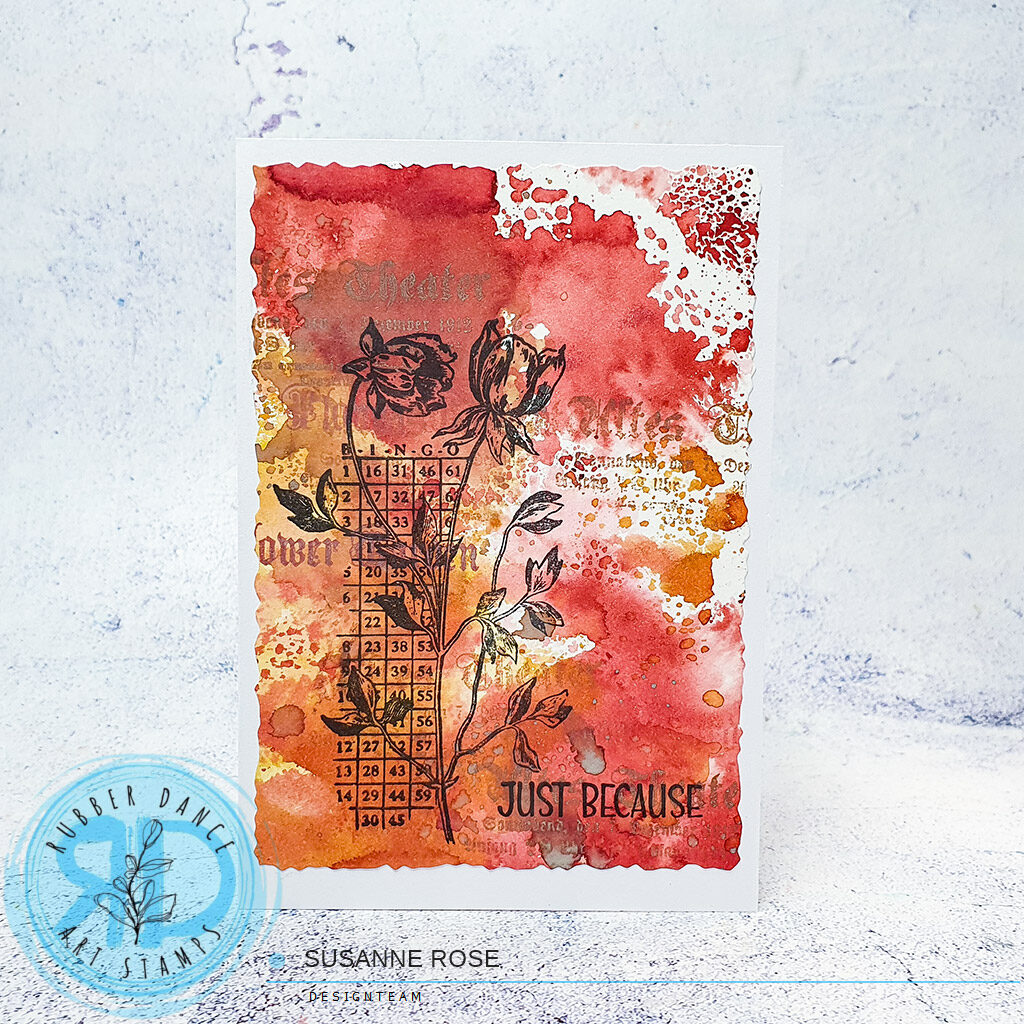
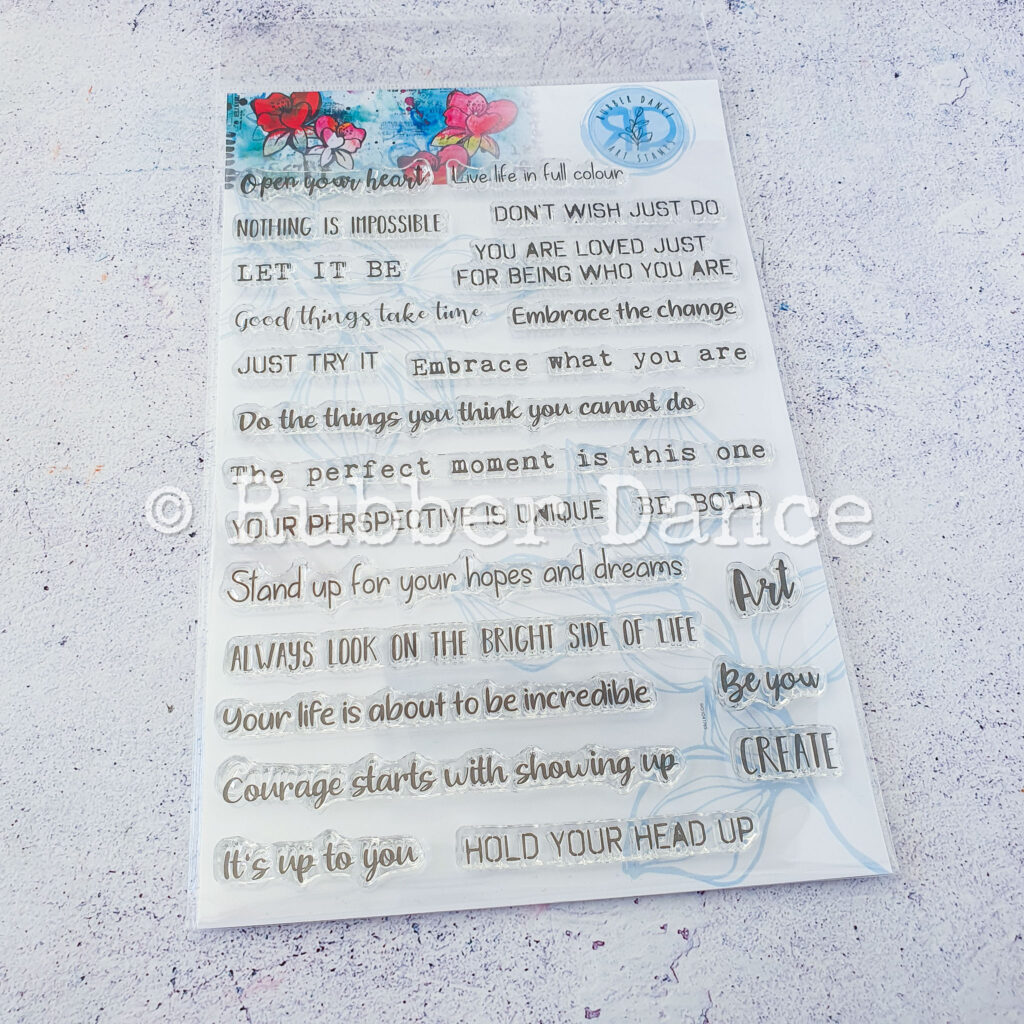
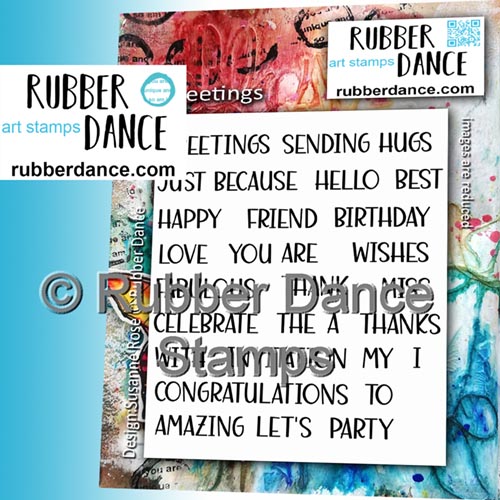
Hi everyone, Susanne here today with some vintage looking greeting cards using our new Vintage Stuff stamp set. I worked with Distress Inks and Oxides to create the background. I just did the smushing technique with shades of Aged Mahagoni, Vintage Photo and Frayed Burlap. To add texture to the background I used the text stamps from the set together with the same inks. The main image is stamped directly to the card! Click on more to read some tips on how to get a clear and crisp stamp image!

It’s not as easy as it seems to get a perfect stamped image! Especially on watercolor paper that used to have a bit of a texture! Here are my top tips to make sure to get a good impression:
- The most important thing is to have a FULL ink pad! And I mean really full! When you buy yourself an inkpad always get a reinker immediately!
- Use the right ink! If you want to have a clear and crisp image you need to have the right ink! Distress Inks for example are great for backgrounds and such, but to to stamp a perfect image! I recommend Versafine Clair on porous surfaces and StazOn on non-porous surfaces.
- Put something soft underneath your paper, such as a piece of foamed rubber. So the stamp can sink a little bit into the paper.
- If your hands are a bit shaky you can use a stamping tool (like the Misti) to do your stamping. With this you also have the option to stamp you image twice, in case you have areas that are not perfect. It’s also good for big images and background.
I hope that helps you and you like the card! Have a nice day,
Susanne xx
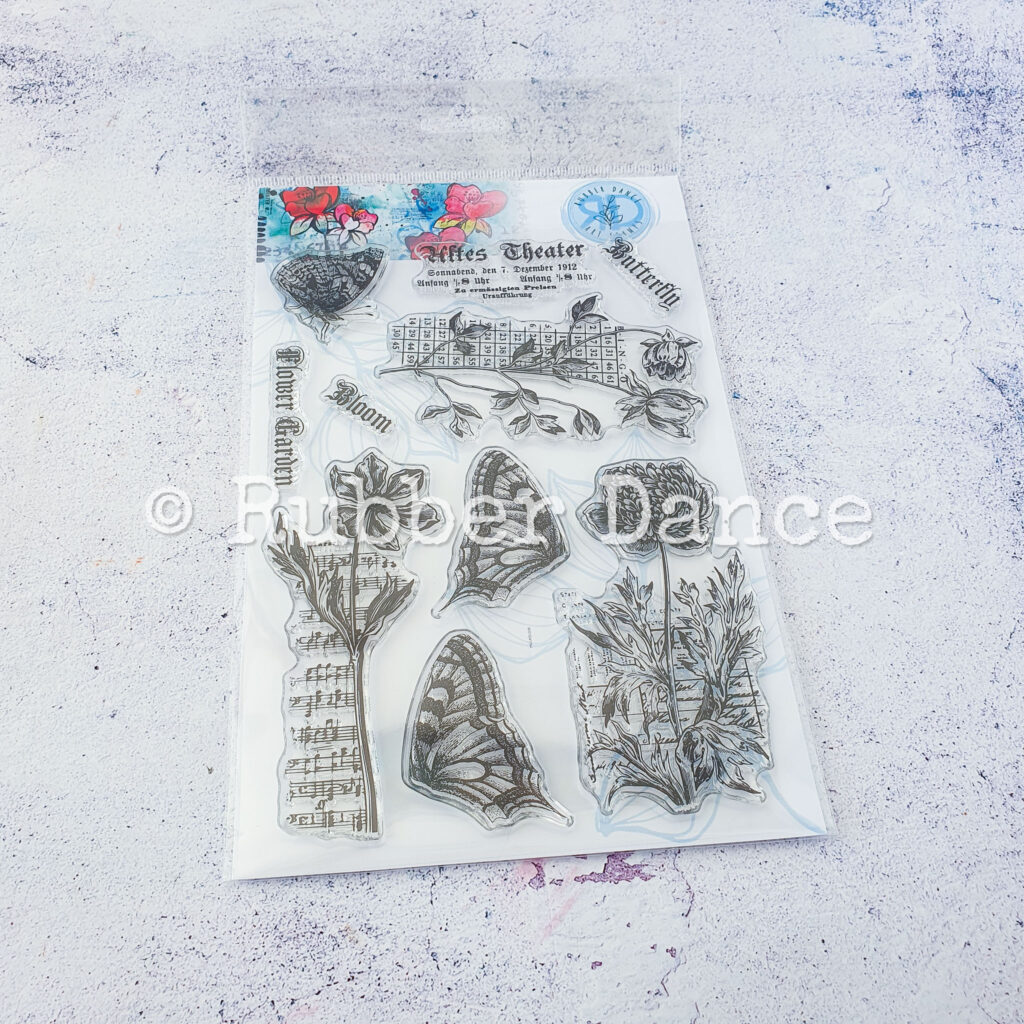
Rubber Stamps I’ve used:
Subscribe to our Newsletter


Comments are closed for this post.