
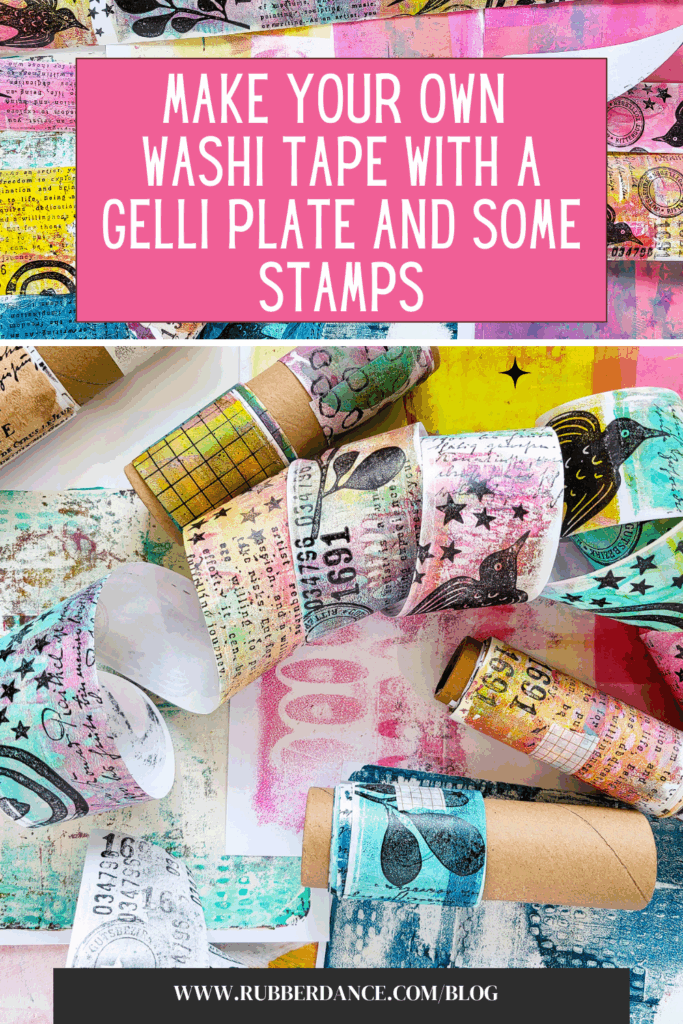
DIY Washi Tape – let’s make some gelli printed tapes

Hi there, Susanne here with a fun DIY video tutorial on how to make faux washi tape with our brand new Carved Collection 6 stamp set! All you need is some gummed paper tape (Nassklebeband), a gelli plate, some stencils and stamps. These tapes are great for collages, papercrafts or for your art journals.
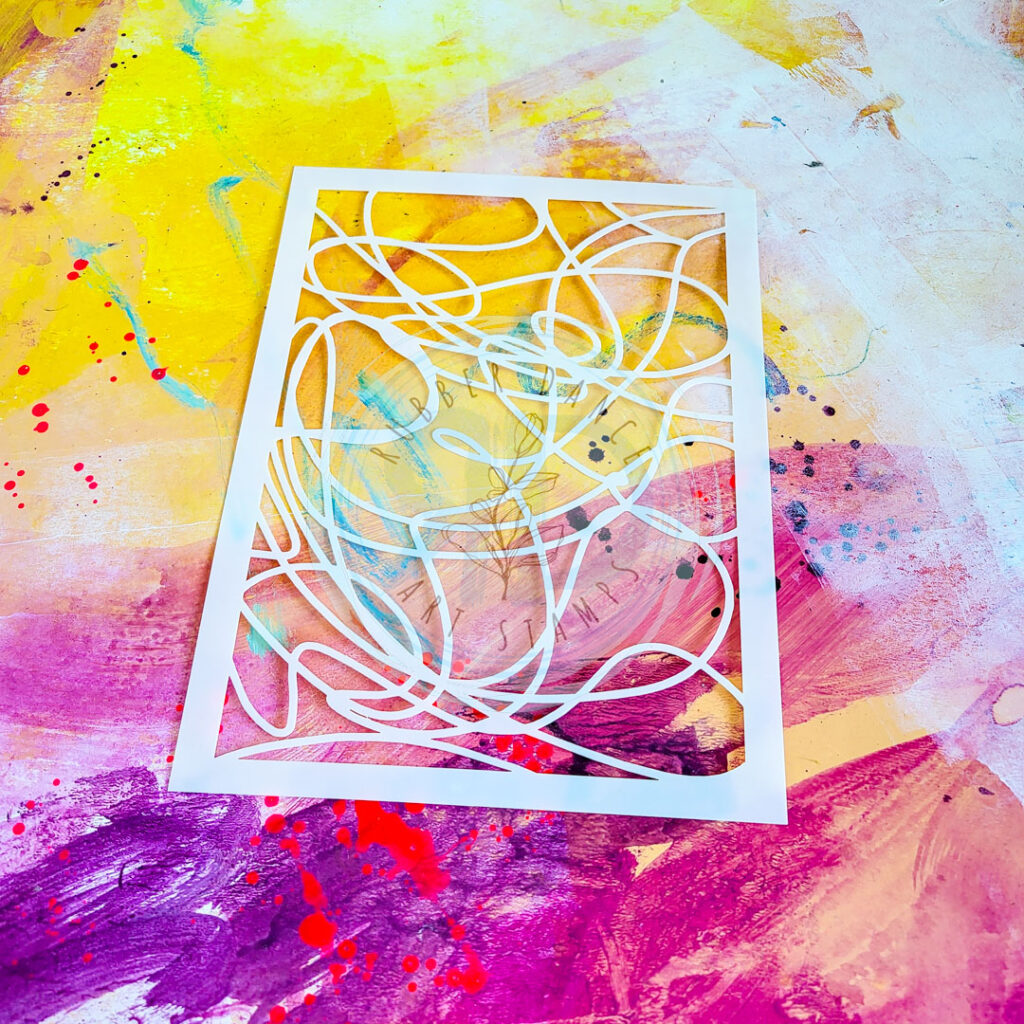
I am using some white paper tape. It has a gummed backside which will activate to a glue once it gets wet. It’s important to check you sides before you print the tape on the gelli plate, that you don’t accidentally print on the gummed side. I picked acrylic paints from Amsterdam in permanent red purple, olive green light, green turquoise and titan buff light. To create some patterns on the gel plate I am using homemade texture plates, that I’ve made with some of our stencils and my die-cutting machine. Here is a tutorial on how to make them.
TIP! If you don’t have a gel plate you can colour your tapes with a thin layer of acrylic paint applied with a brayer! With a brayer you can create a nice and grungy texture. If you have a soft brayer, too you can even add some stencil texture with it. Don’t add too much paint, to avoid that the tapes curl!

After I have printed my paper tapes I let them dry and then stamp them with images from our Carved Collection 6, Mix It Up 4, Mix It Up 5 and Mix It Up 6 stamp set with black ink. Of course you could also use other colours. I recommend using StazOn as this dries super quickly on an acryli surface! Let your tapes dry (hanging over something) at least 12 hours!!! If they are not bone dry they might stick together once you role them up! I am using an empty card board role from my shipping labels, but you could simply use a toilett role, too!
Enjoy watching my tutorial!
Hier findest du das Video auf deutsch: https://youtu.be/YyXHQKBl37c
I hope I could inspire you a little bit, thanks for stopping by today!
xx Susanne
Products from Rubber Dance:


Share this project:
Subscribe to our Newsletter


Liebe Angelika. Das ist Nassklebeband. Du findest es im Shop für Künstlerbedarf. LG
Hallo Susanne,
Wie heißt das selbstklebende Papierband, beziehungsweise der Hersteller und wo bekomme ich es?
Herzlichen Dank auch für die tollen Inspirationen und Anleitungen!
Viele Grüße
Angelika