
Stencils, Alcohol Inks & the Gelli Plate

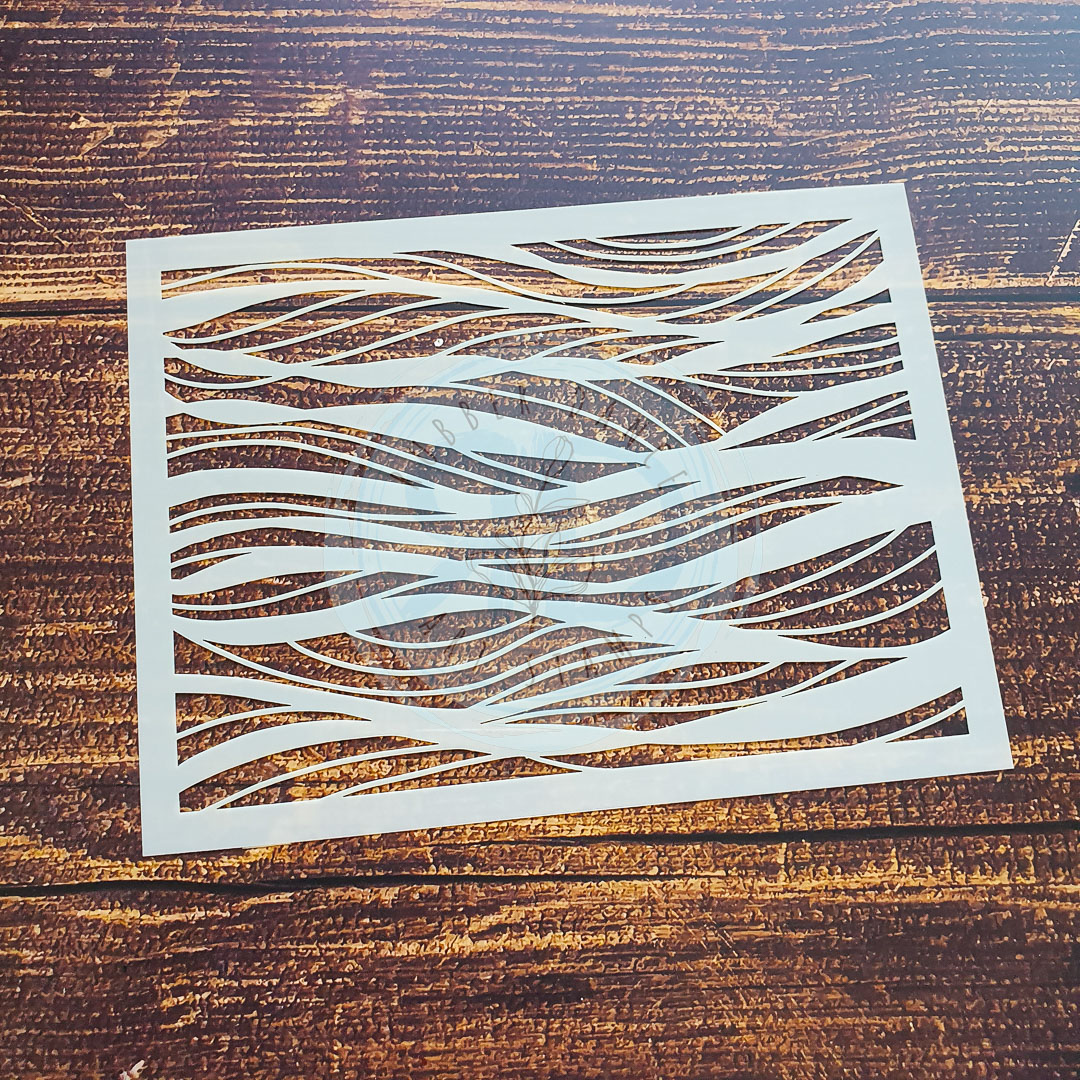
Lindsey (doodlings_cards) with a tutorial for using alcohol inks with stencils on a Gelli plate together with stencils! For today’s project I am using our Organic 1 and Organic 2 stencils. They have wonderful patterns for all kinds of different projects.
I used two Gelli prints simultaneously, because I’m impatient & don’t like waiting😁 But it would be fine to just use one plate and take your time.
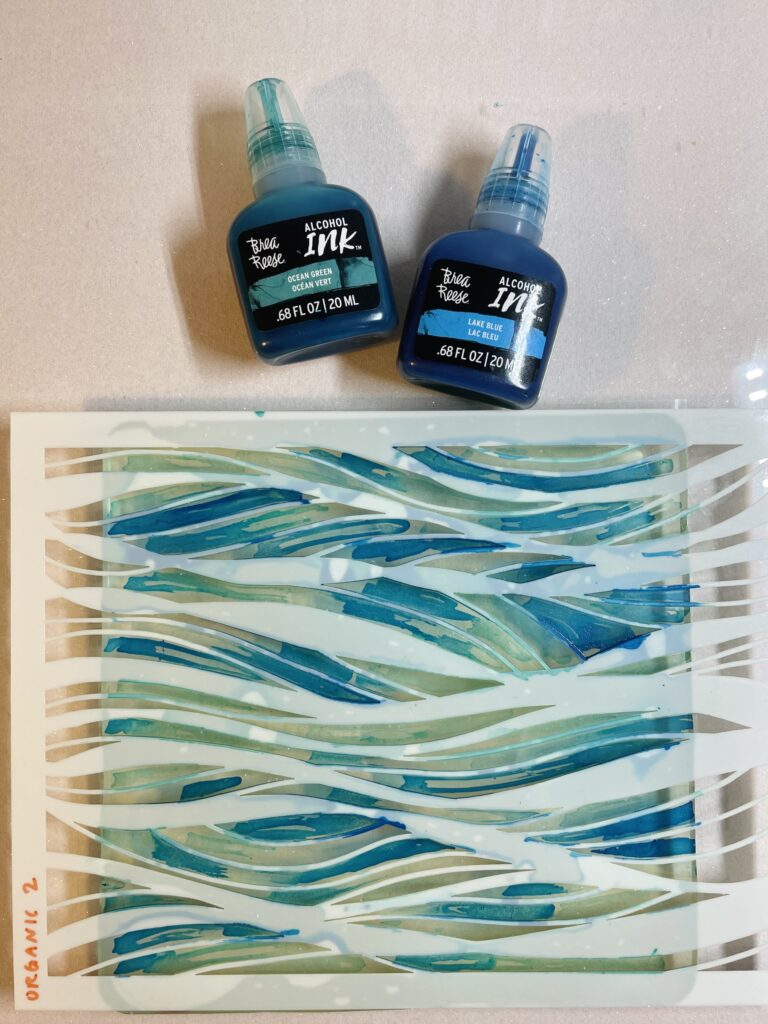
With two Gelli plates, I could use two different stencils at the same time. I chose the stencils Organic 1 and Organic 2 and different blue/green coloured alcohol inks. My choices were specific as I wanted to make some backgrounds for “seascapes”.

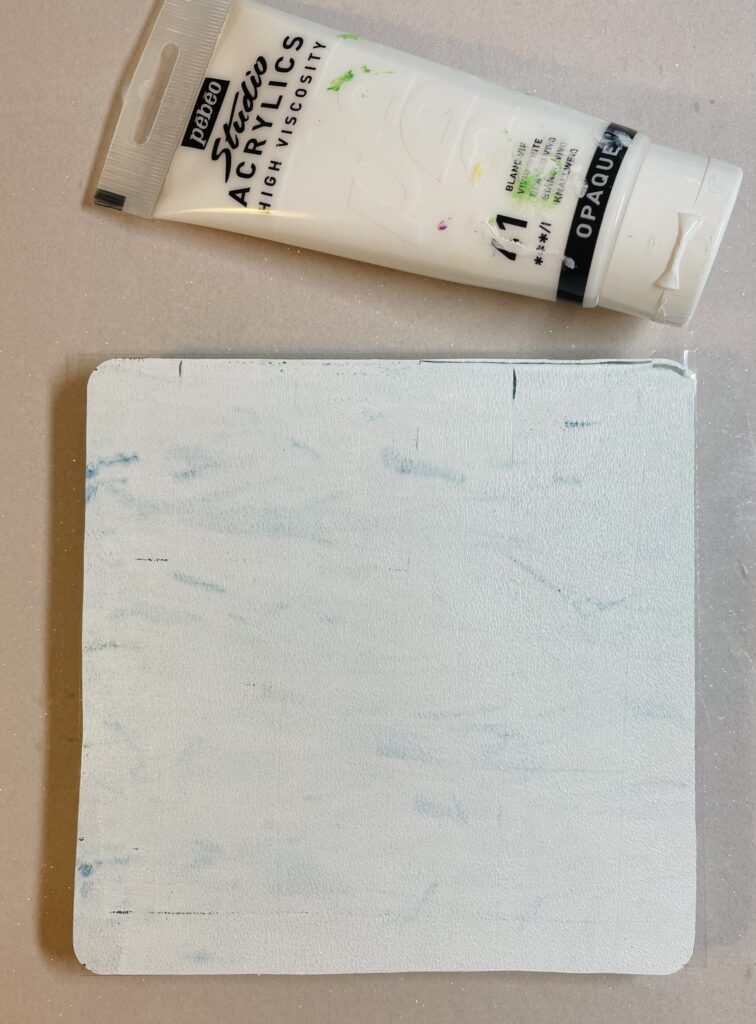
I placed the stencil on the Gelli plate and lightly pushed it to make contact in most places. Then you add drops of alcohol inks randomly on the stencil. I chose just two colours but it’s personal choice. You will see that the ink creeps underneath the stencil in some areas. Then wait for the ink to dry.
If you’re impatient, now is the time to do take your second Gelli plate and second stencil! and different colours!

When you can see that the alcohol inks are dry, peel off the stencil.
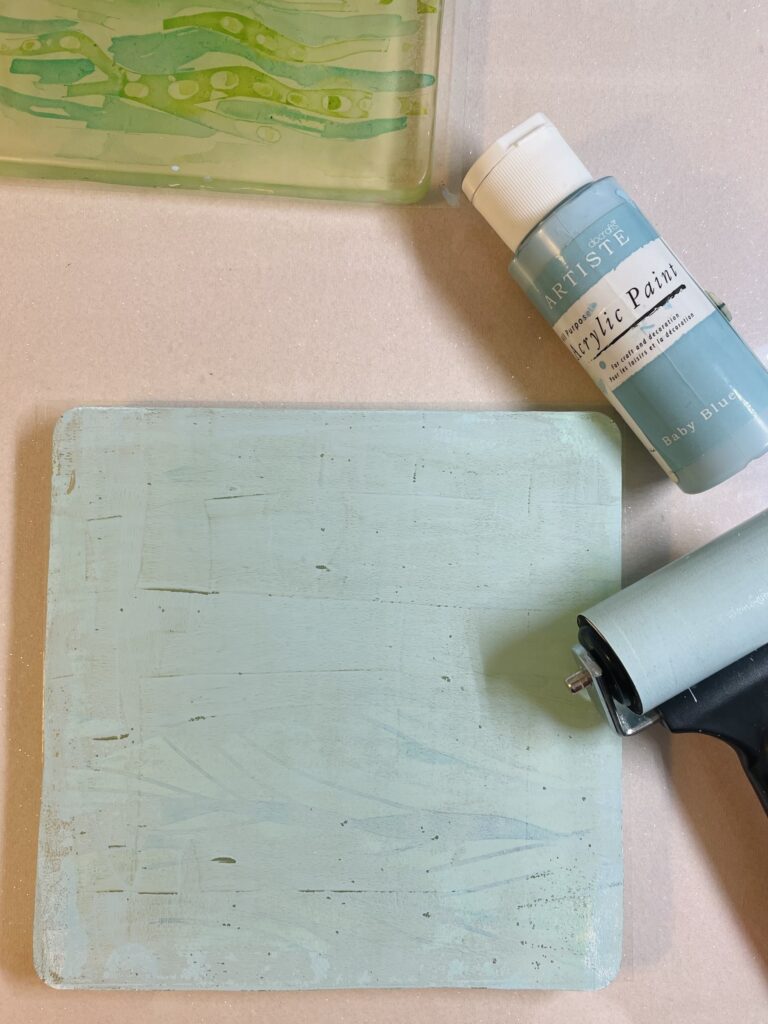
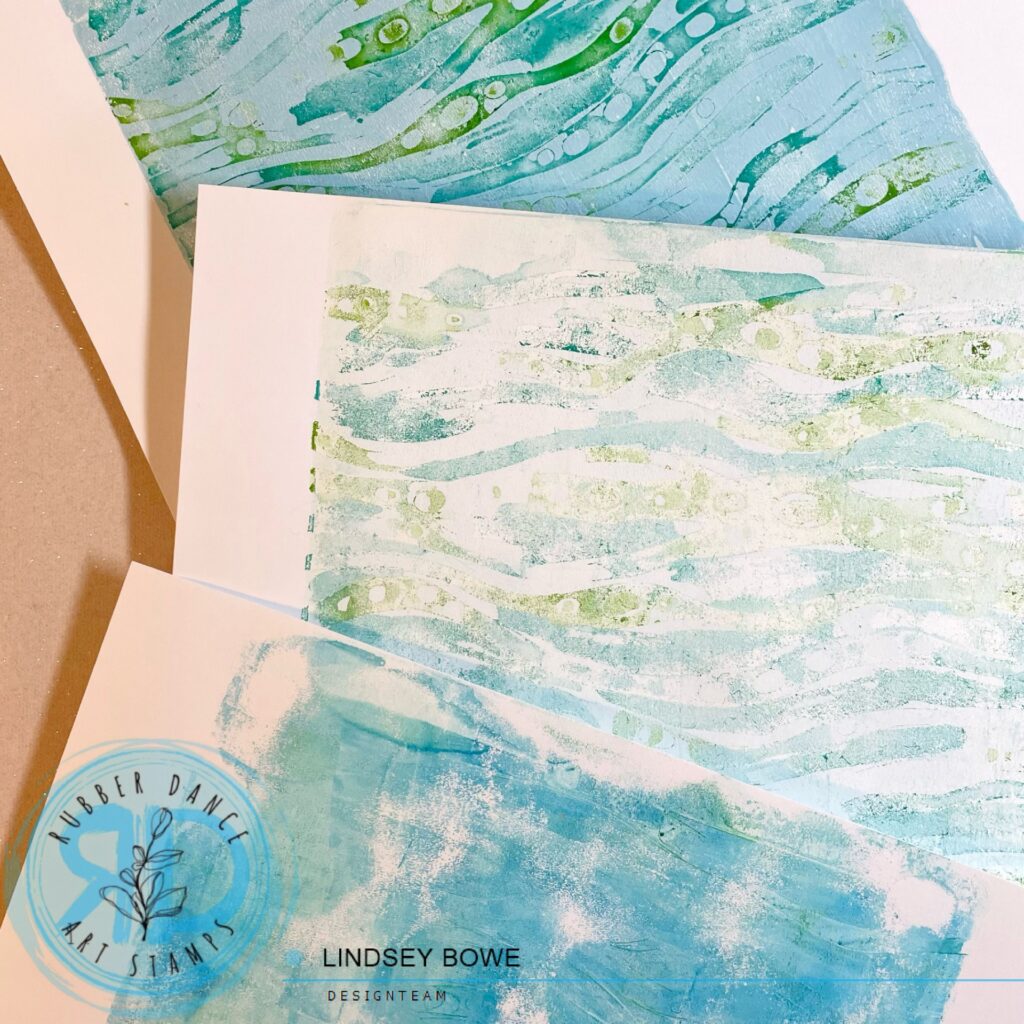
Then brayer over a light layer of acrylic paint. Here’s pictures of stencil Organic 1
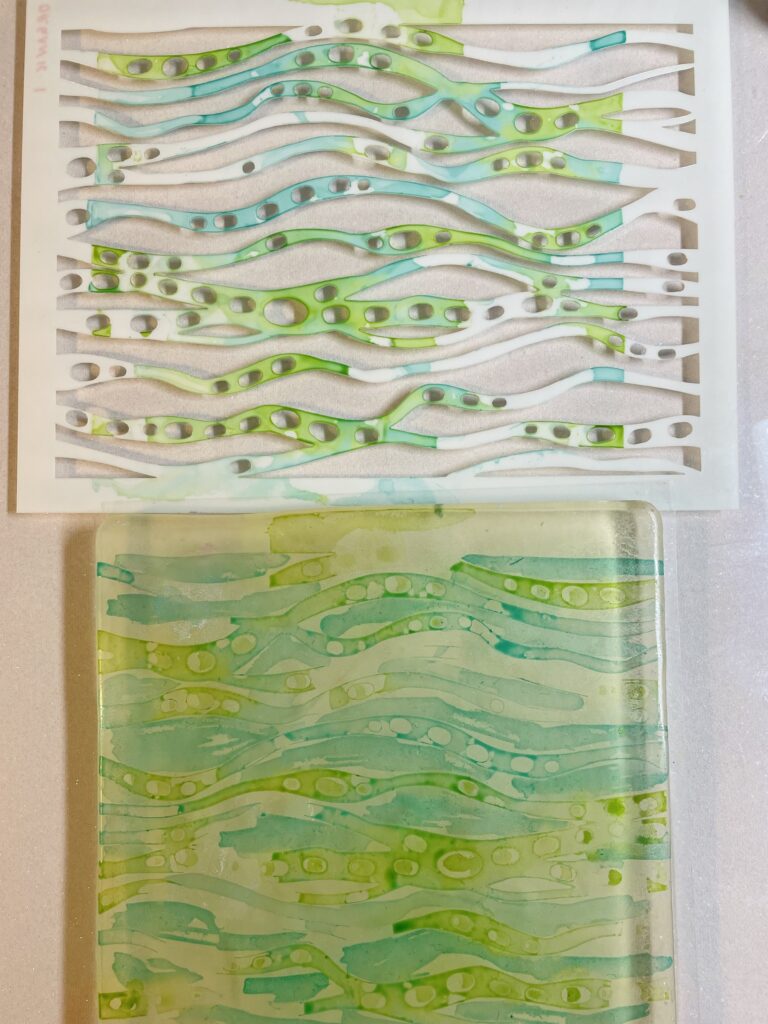
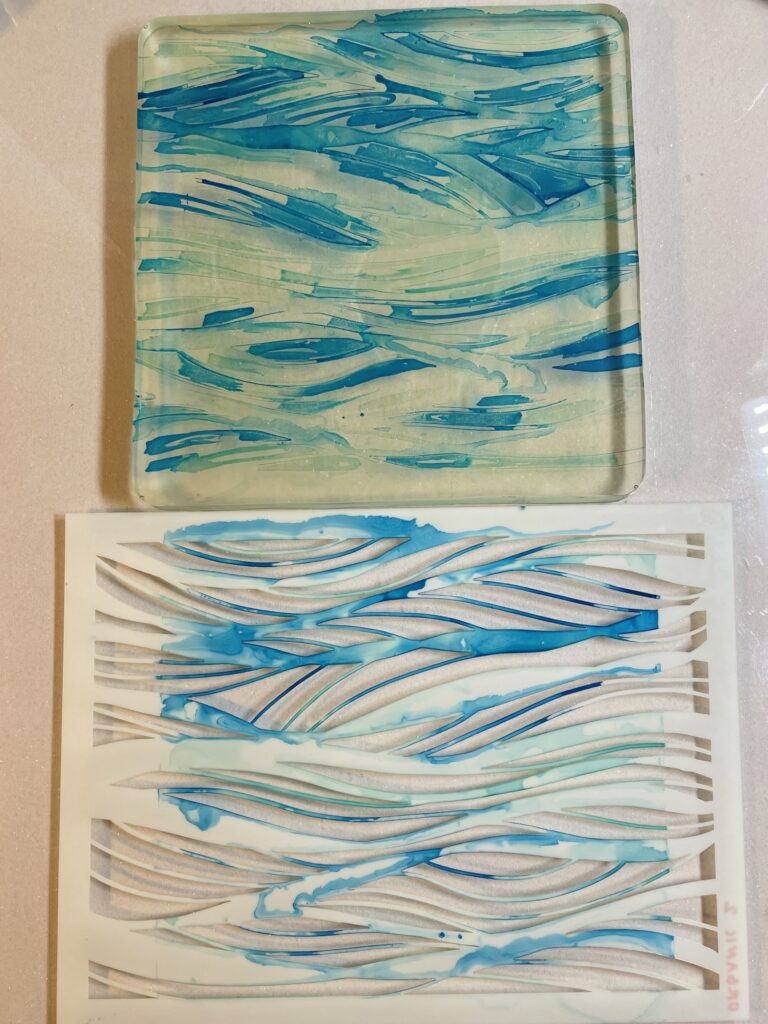
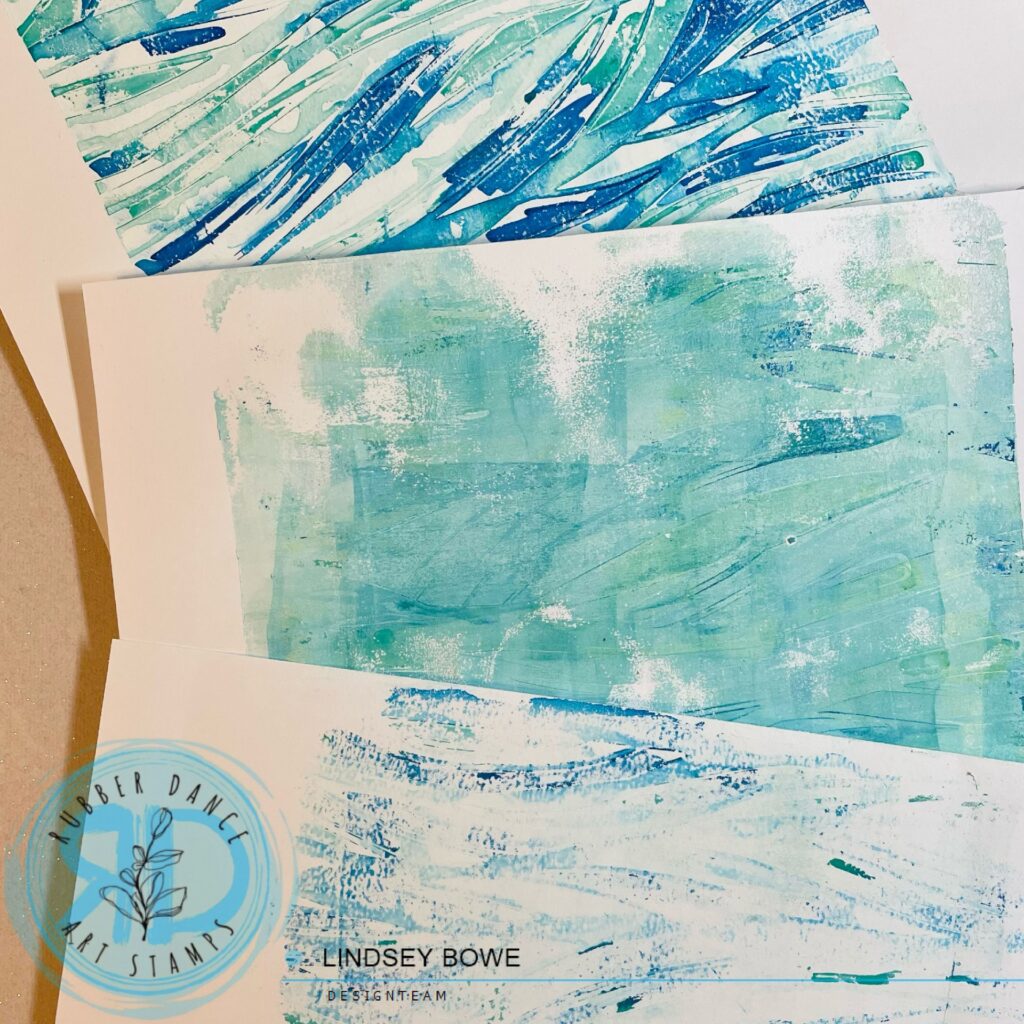
And stencil Organic 2.
I’m thinking these “seascapes” will be perfect to use with the NEWLY RELEASED Ahoy 2024 stamp set! 😁
I pulled 3 prints from each Gelli plate. The 1st print will always be more defined.
But you also get some lovely softer “ghost” prints with subsequent pulls – feel free to add another layer of thin acrylic paint to ensure you pull all the layers of ink & paint off the Gelli plates.
Here’s a couple of close ups for you.
Thanks so much for stopping by today!
Lindsey x
Instagram @doodlings_cards
Products from Rubber Dance:

Subscribe to our Newsletter


Comments are closed for this post.