
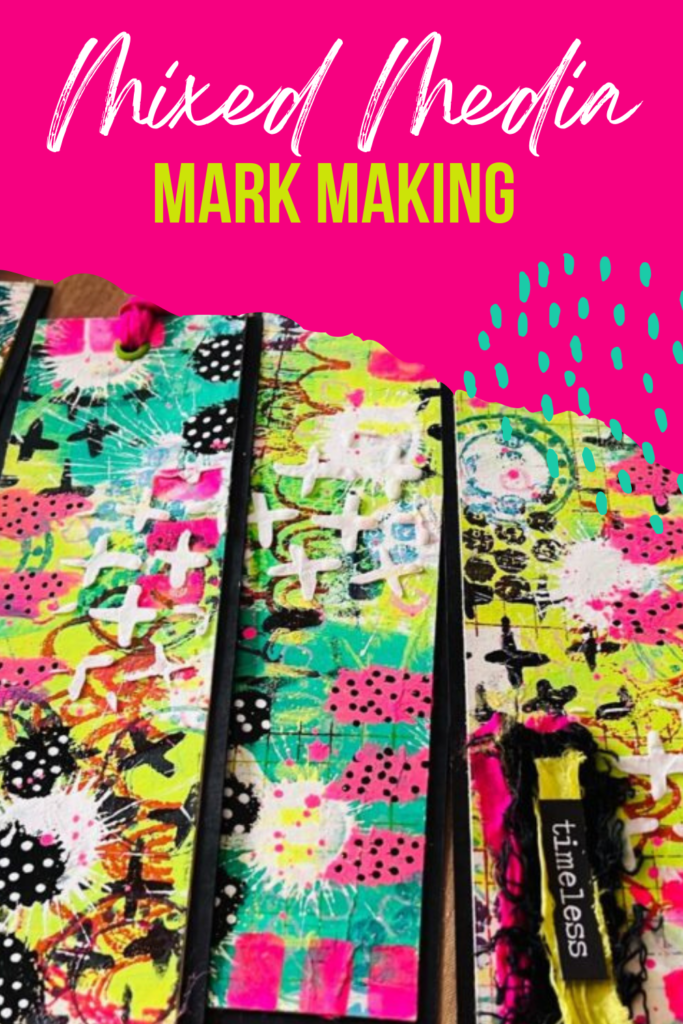
Bold Mixed Media Tags from Cardboard

Hi everybody, Sara here today with a fun mixed media tutorial! We take a recycled cardboard box and make it into a piece of art. For my mixed media tags I am using the fun Cross-It stencil together with stamps from Mixed Media Marks 1 and Pencil Marks 1.
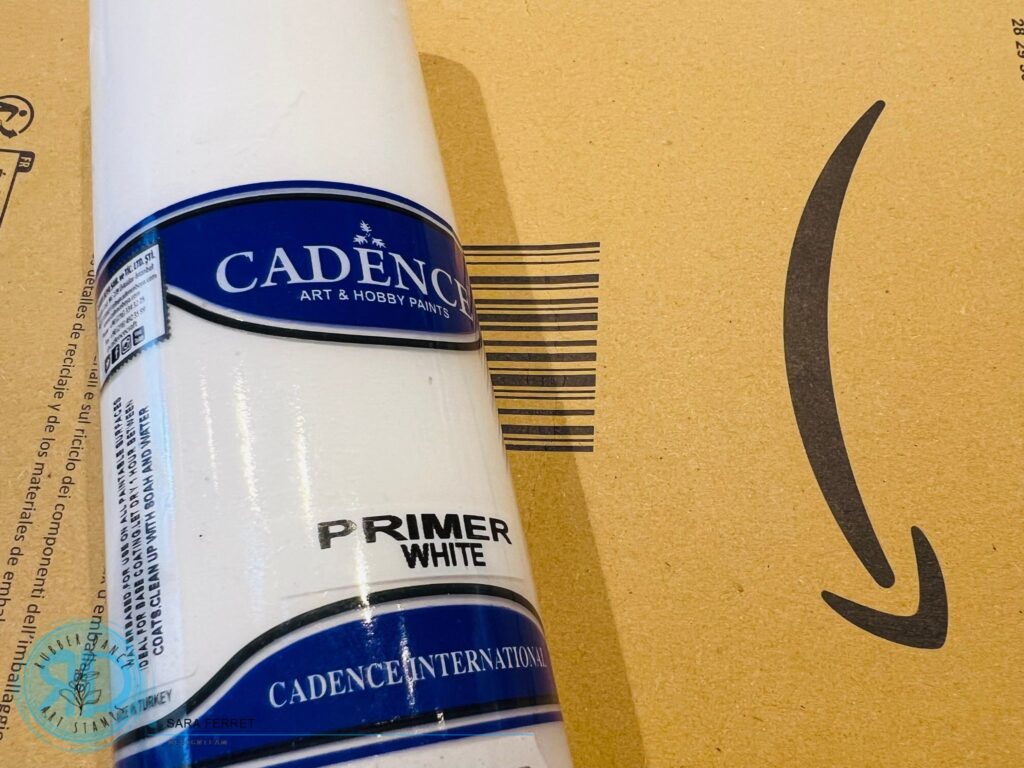
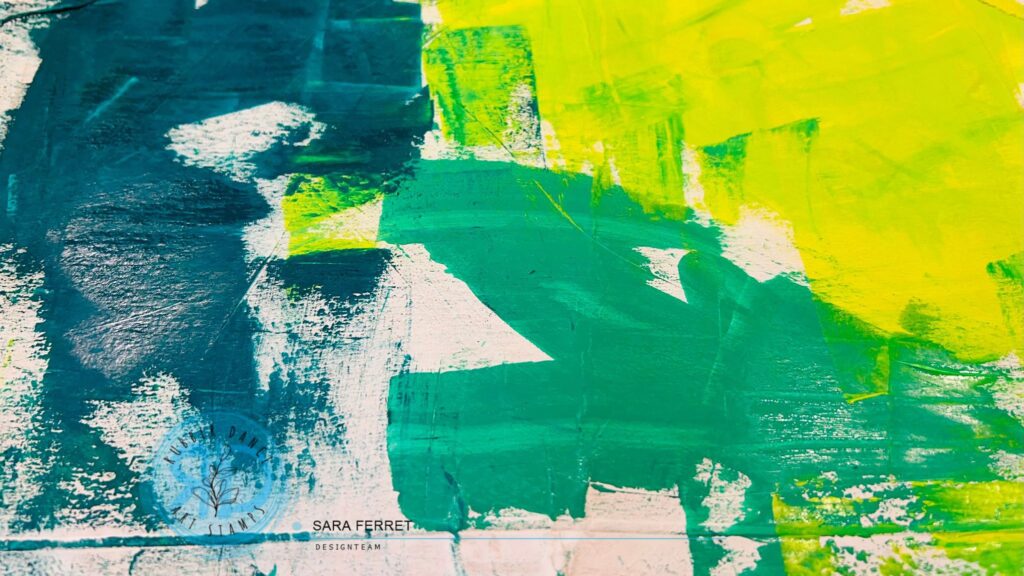
I use half of the envelope and cover it with Gesso so I can make the surface non-porous. I have selected three colors of gouache, in similar tones, green and turquoise. I spread them on the bottom with a spatula.
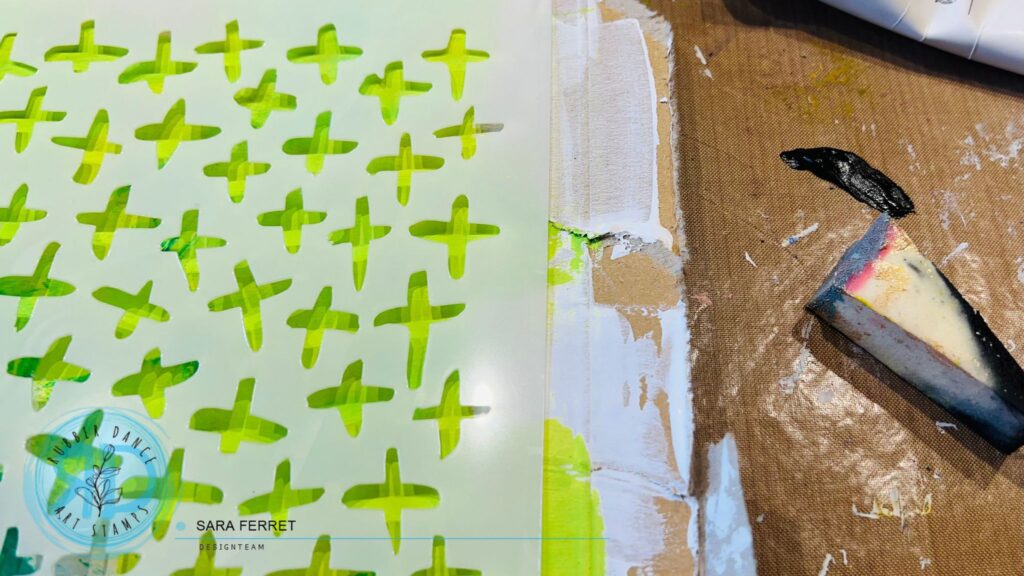
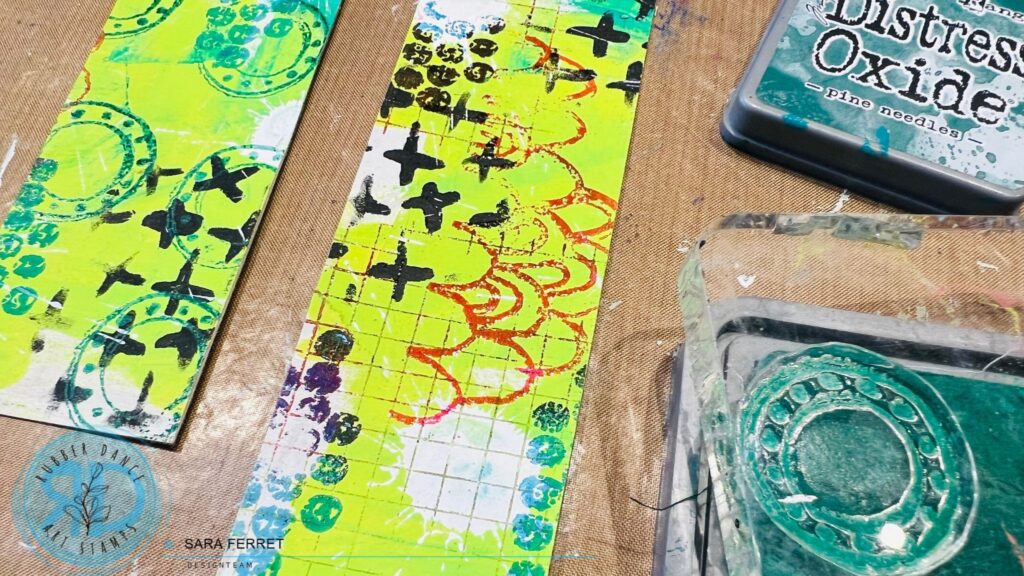
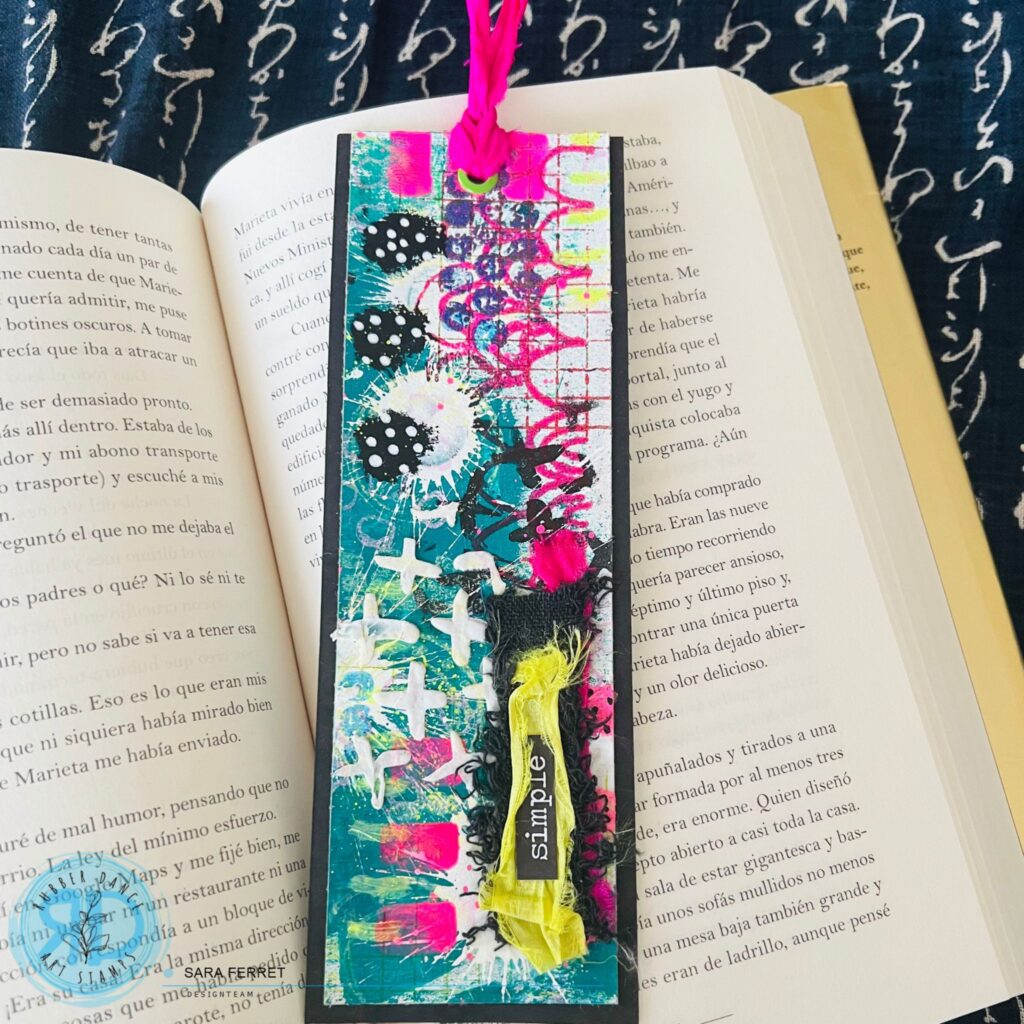
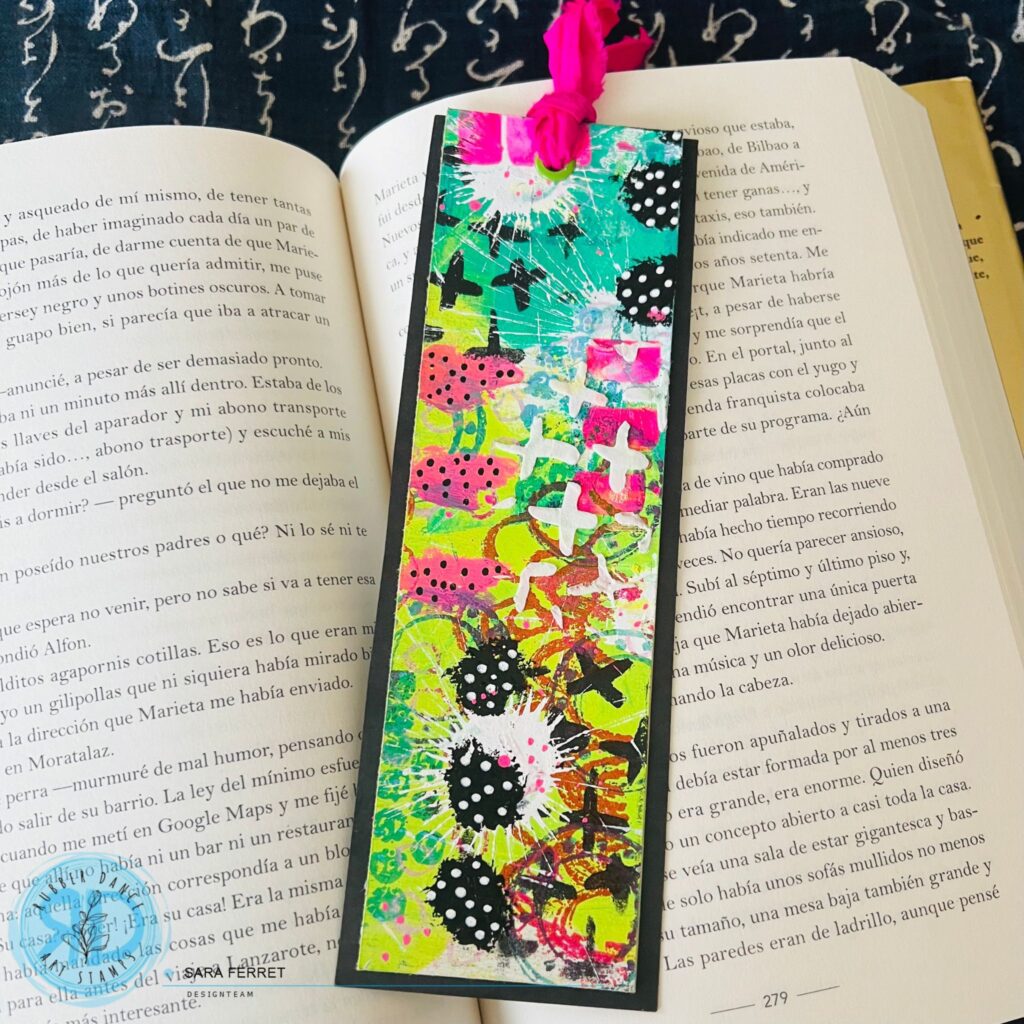
With the Cross It, a makeup sponge and black acrylic paint, I put crosses in various places in the background. With the white posca mop’r marker I make several white drop marks with splashes.
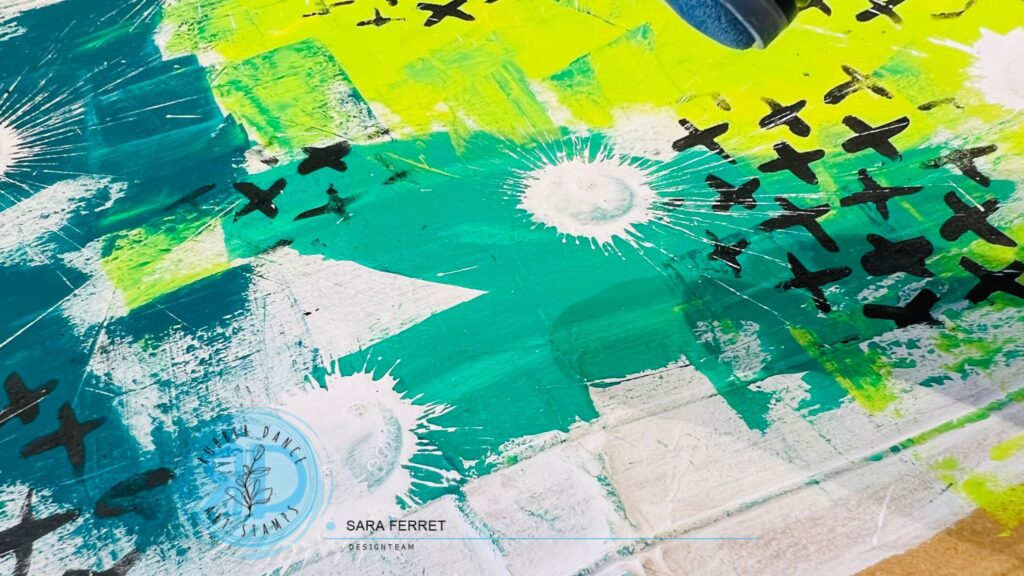
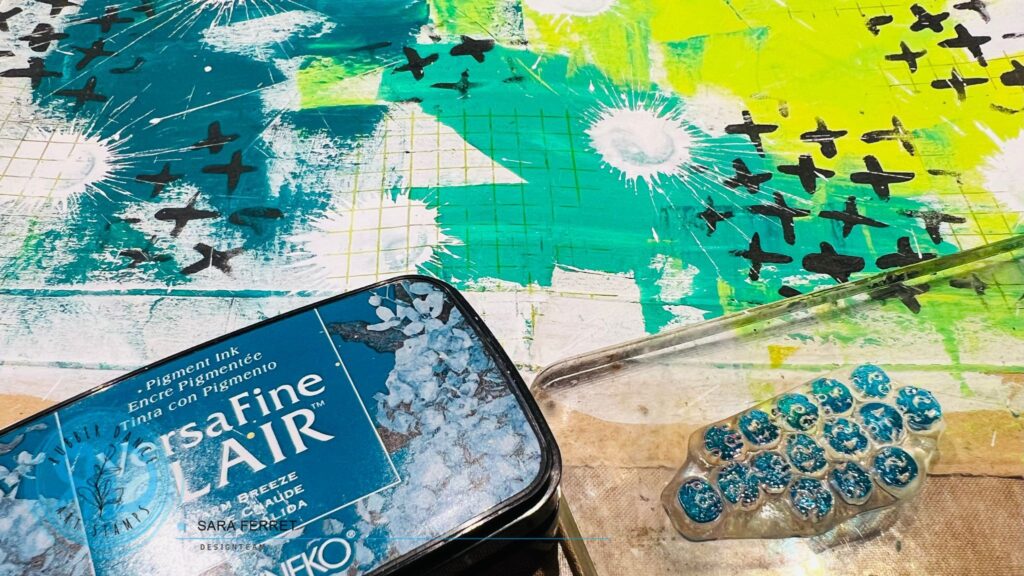
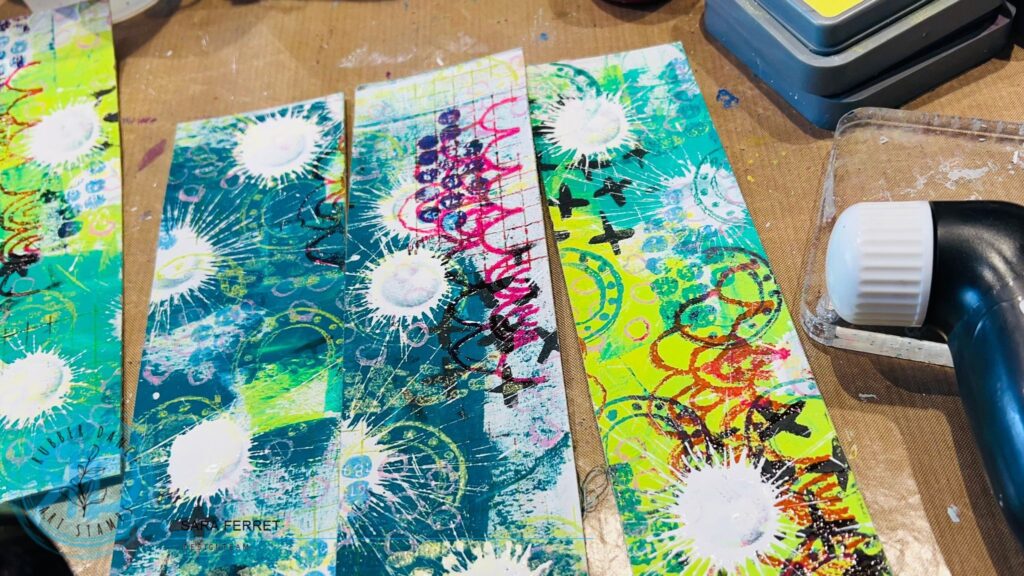
I use the Mixed Media Marks 1 stamp set with Versafine Clair in green and stamped the grid in several places on the background. I stamp the dot pattern in blue.
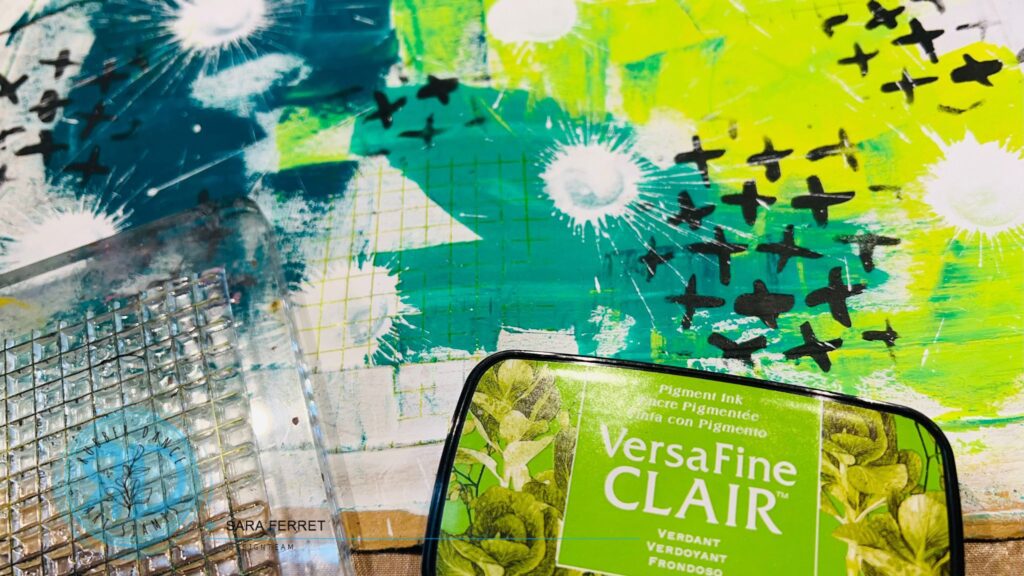
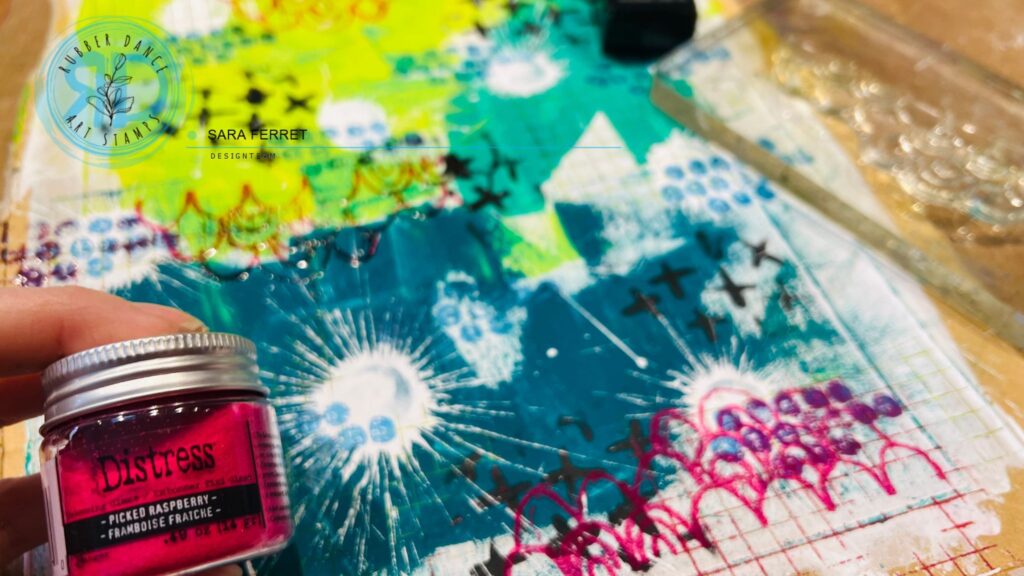
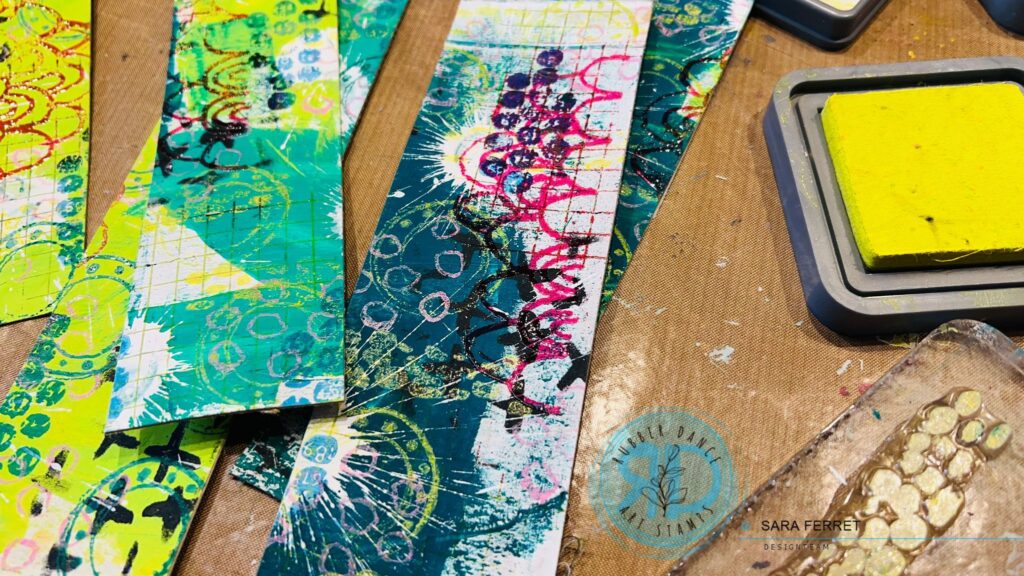
I stamp the wavy border from Pencil Marks 1 with clear embossing ink and used it with Distress glace in picked raspberry in various places on the background. Once I have the background full of textures, I cut the cardboard into strips that will become my tags. In total there will be five.
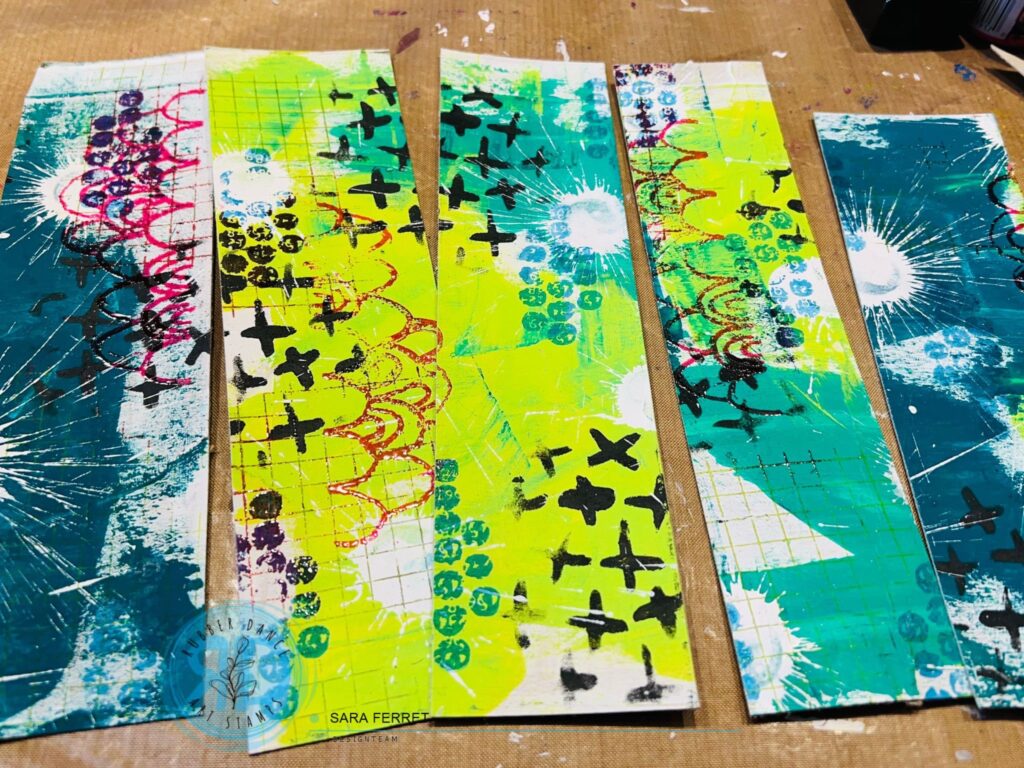
With the stamp of circles with dots and the light green distress oxide ink I stamp it on different parts of the background of the bookmarks that have a darker part, and those that have a lighter part I use the same stamp with darker ink.
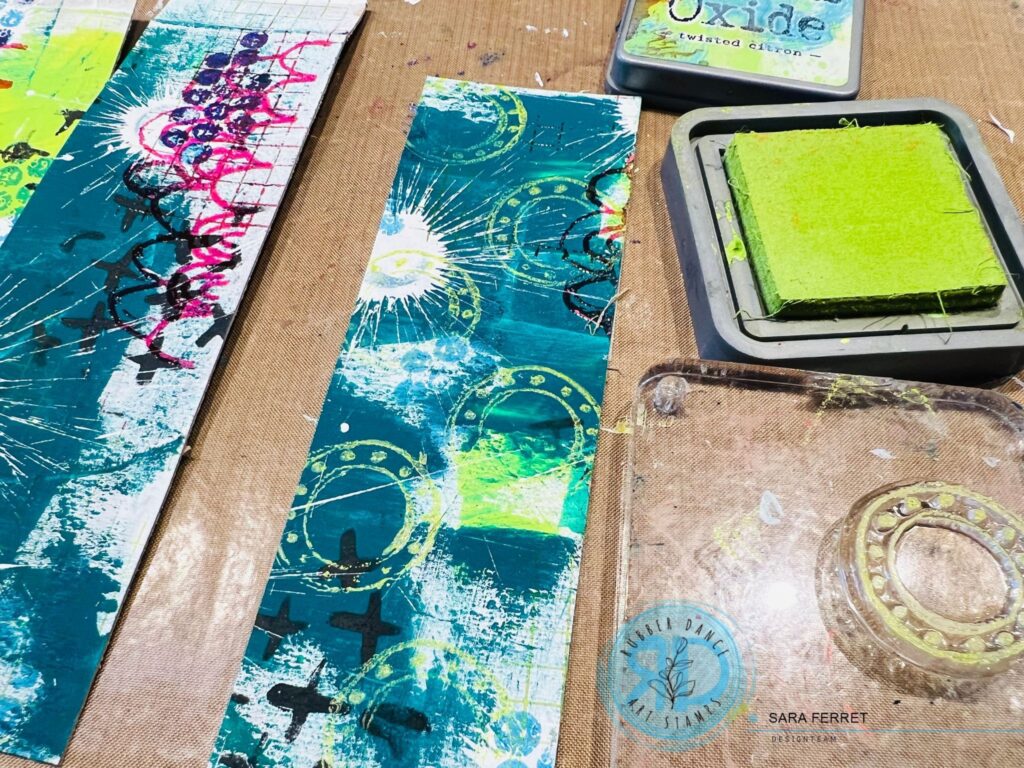
Then with the small circle stamp I repeat the same action but with pink distress ink. And I repeat this step again with the stains with yellow distress oxide ink.
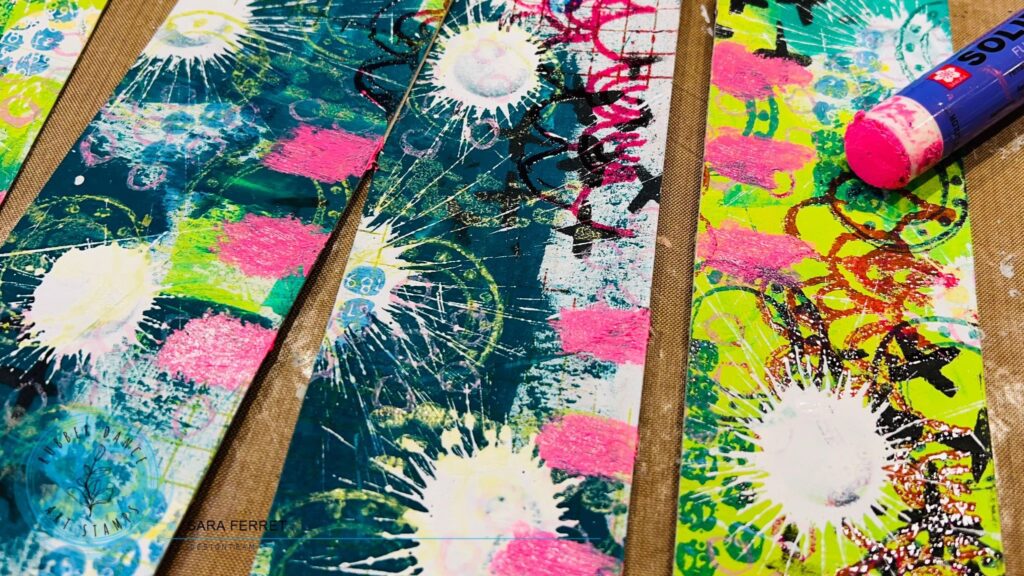
To create depth I use the white posca mop’r marker again and go over several white drop marks with splatters on top of the ones I had made before.
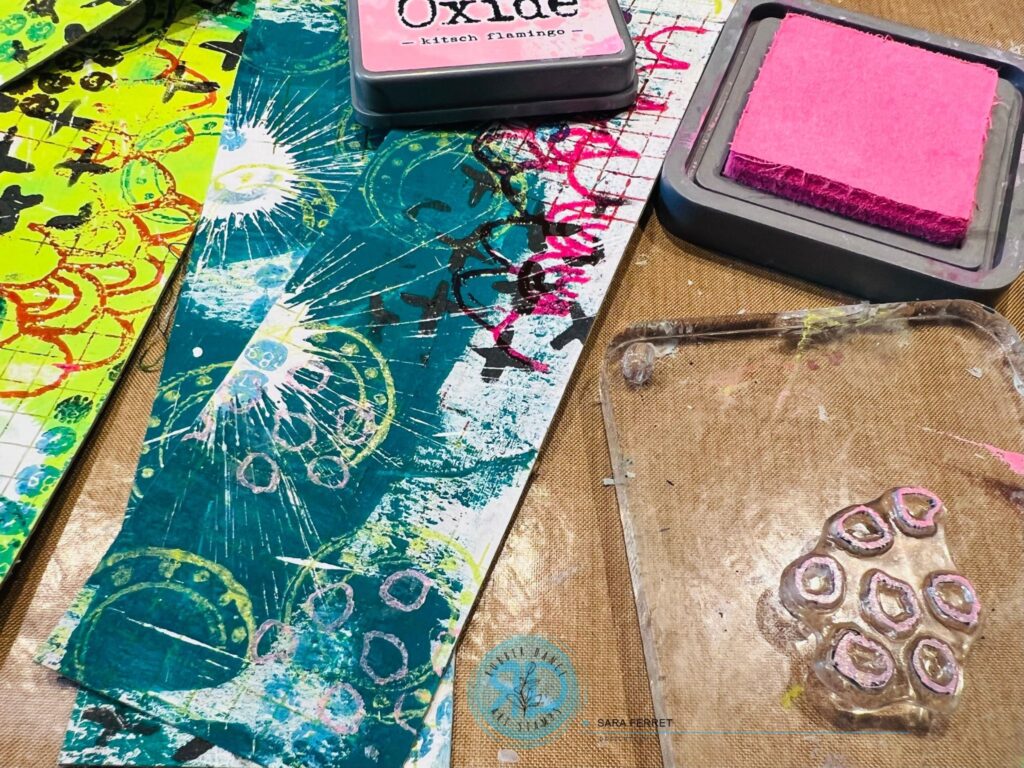
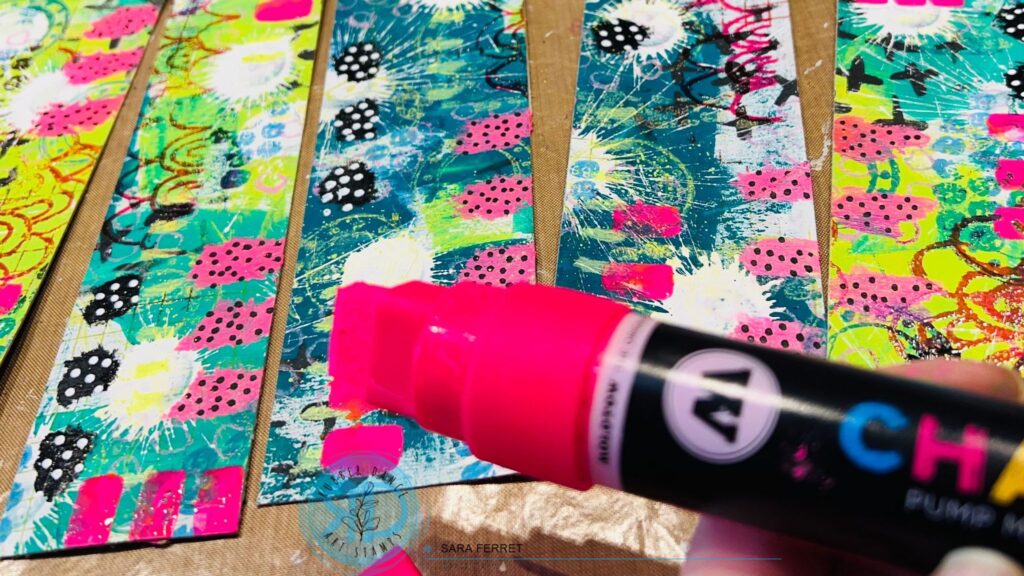
With the fluorine pink solid marker I make three marks in one or two places of the bookmark, I try to make them like big scripts. I repeat that process with the black one in circles, I also draw them in groups of three units. I let it dry completely and become permanent.
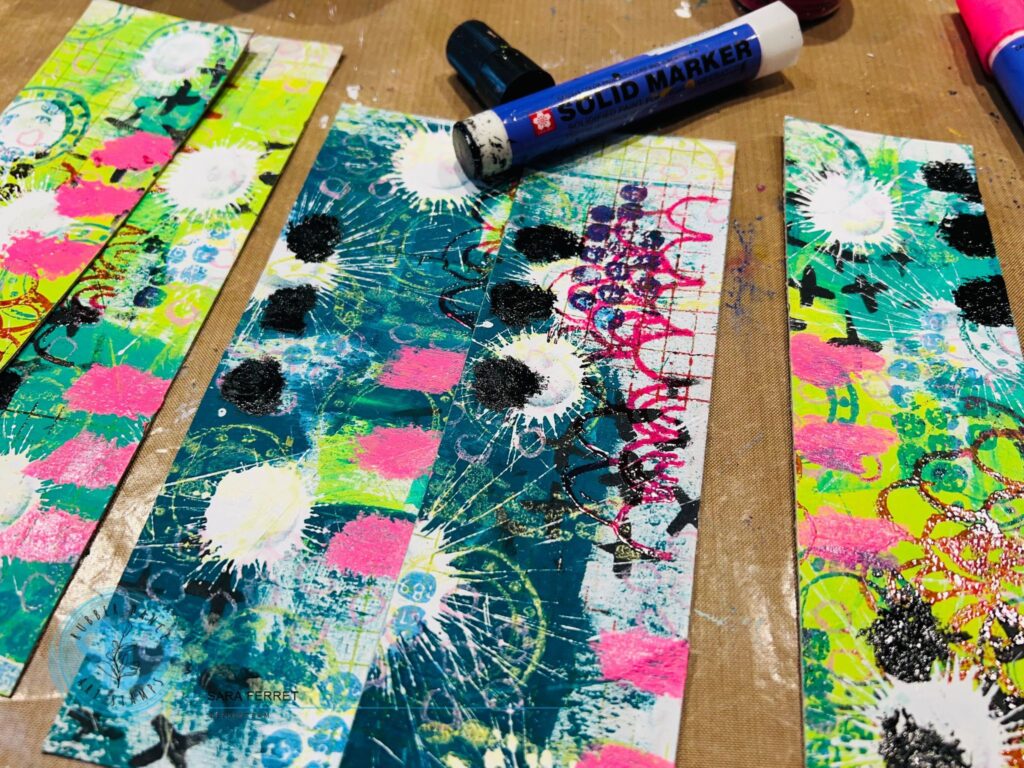
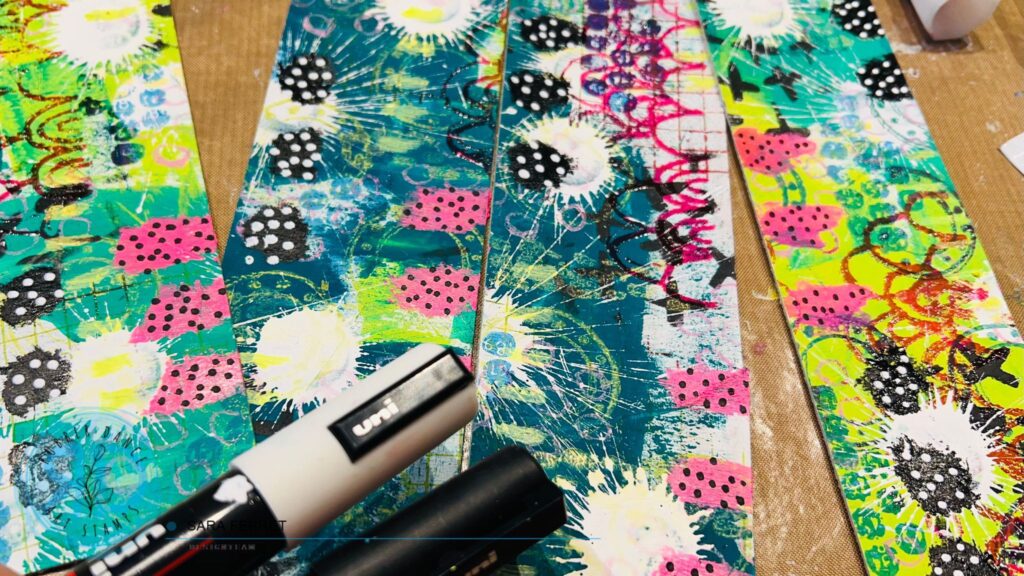
With the posca markers, I make black dots on top of the pink marks and white dots on top of the black marks. Then with a fluorescent pink chalk marker, I also make groups of three scripts spread across the background.
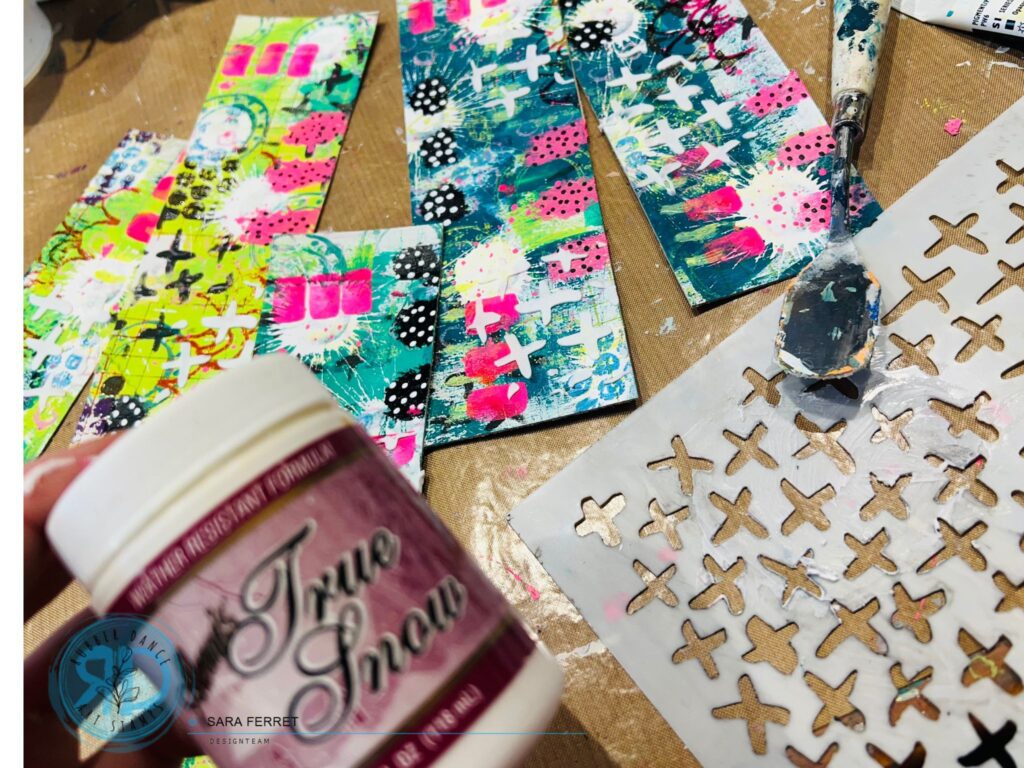
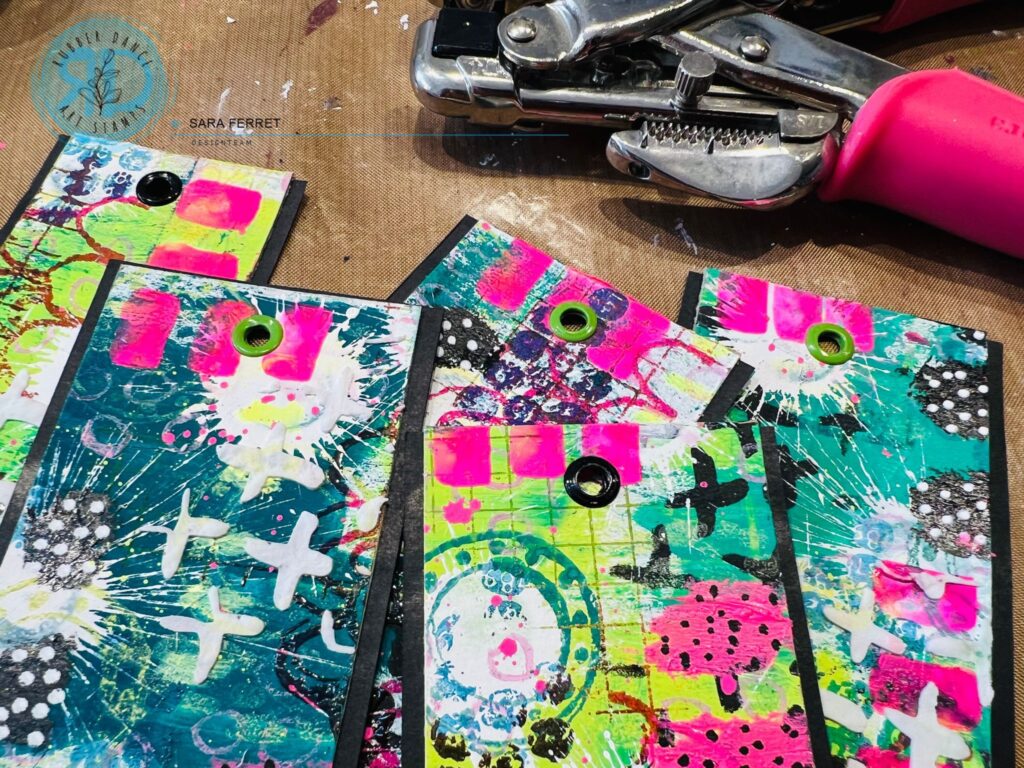
I now add some texture again with the Cross It stencil and a palette knife. I have used true snow paste, because I like the texture when it dries. I glued the bookmarks on top of black cardboard, leaving a border on the sides and then I make holes with the crop-a-dile and add an eyelet in each one.
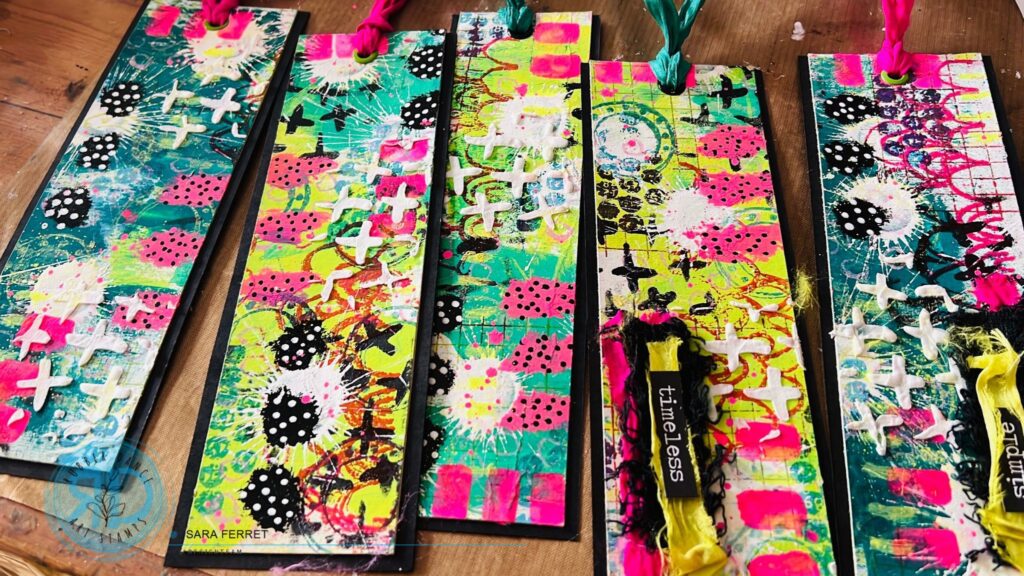
I added Sari de Sara (Sariribbon) at the top of the bookmarks, with colors related to the creation, in a couple of them I have put a piece of sari ribbon with a sentiment on top.
I hope you like the idea, if you are inspired by this project I would like to see it, tag us on social media INSTAGRAM: @sara_ferret @rubberdance
Happy reading 📖
Rubberdance products I used:
Products from Rubber Dance:

Share this post
Subscribe to our Newsletter


Be the first to write a comment.
Respond