
Gelli Printing Tutorial with Stencils

Hello everyone.
It’s Sixela on the blog today with a gelli printing tutorial using the Rubber Dance Organic 4, Dotted 1, Ornament 1, Marks 3 and Leaves 2 stencils.
In my creations, I regularly use Gelli Plate backgrounds. That’s why today I decided to show you how I make them.
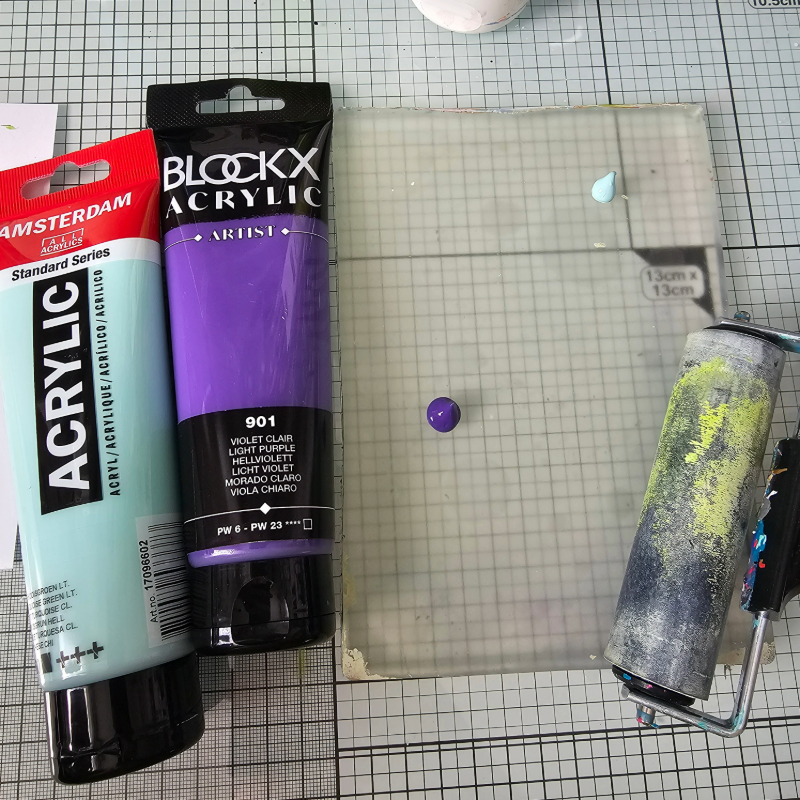
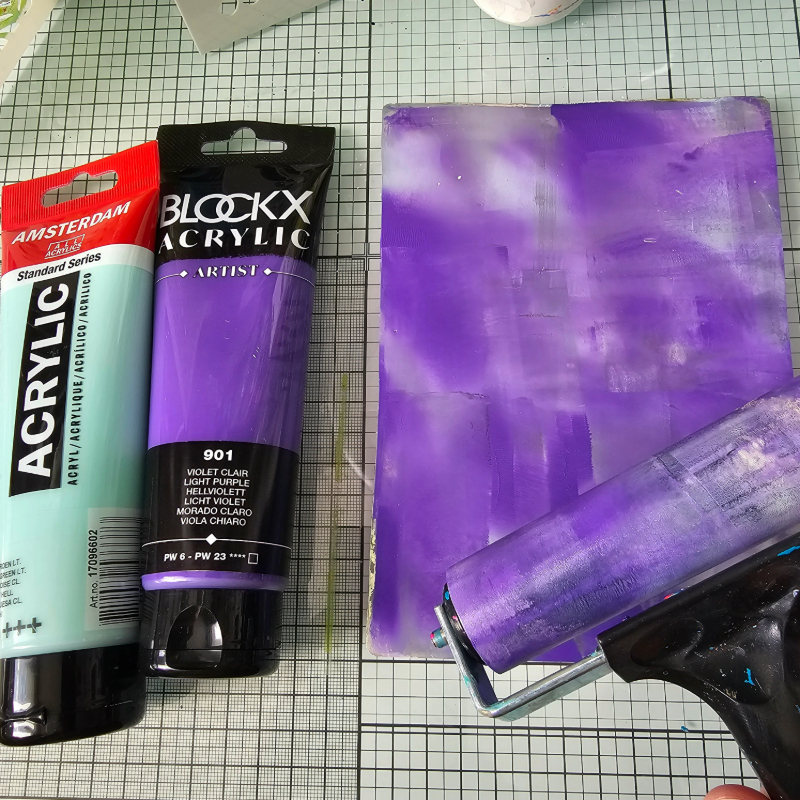
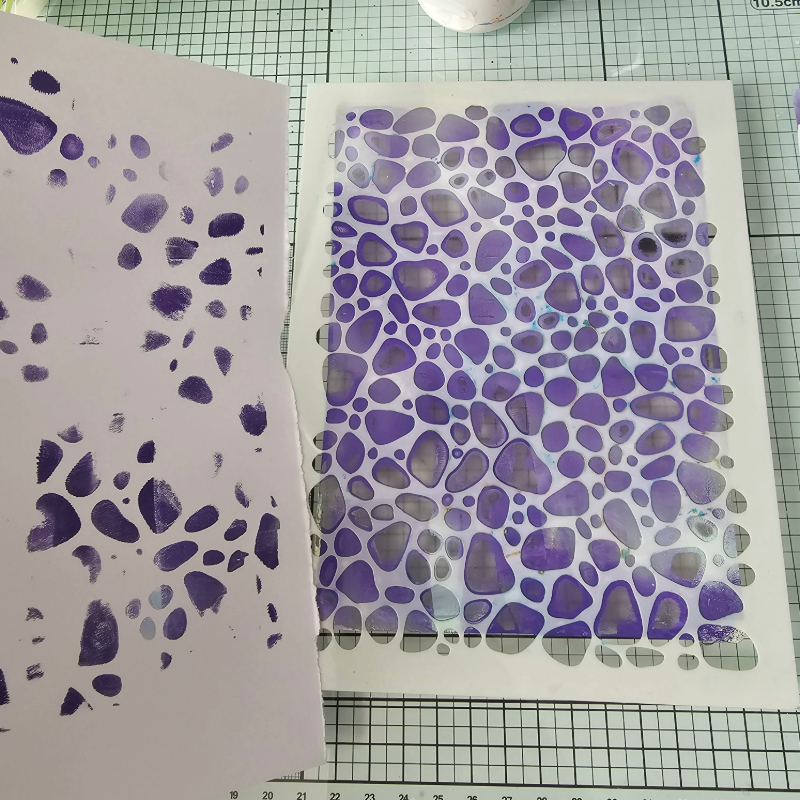
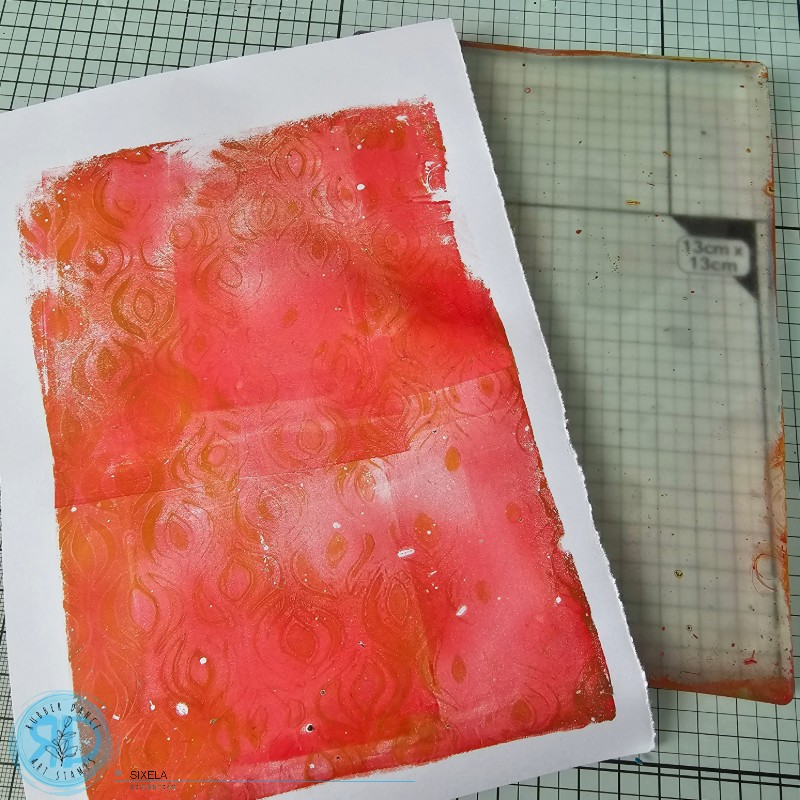
Place a little sky blue and purple acrylic paint on the Gelpress. And Roll out the paint with a roller. Put down the Organic 4 stencil.
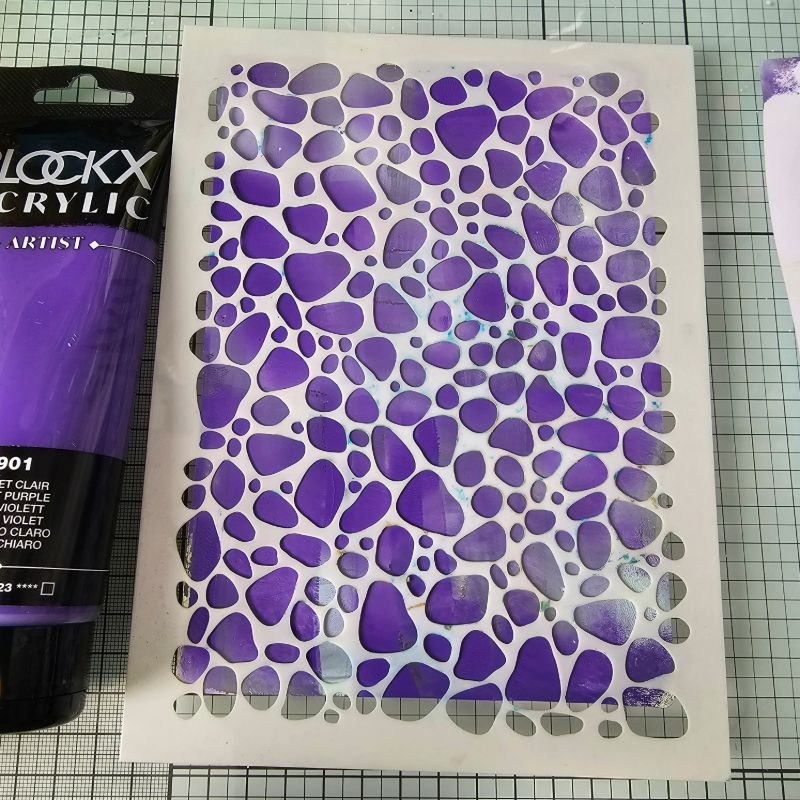
On top, place a sheet of scrap to collect the excess paint. And removes the Organic 4 stencil.
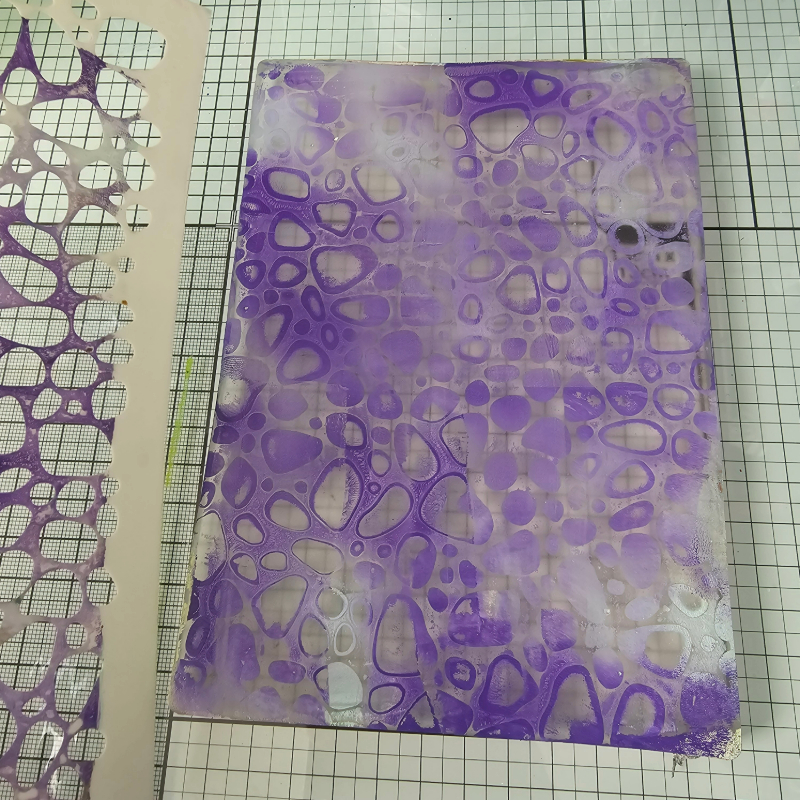
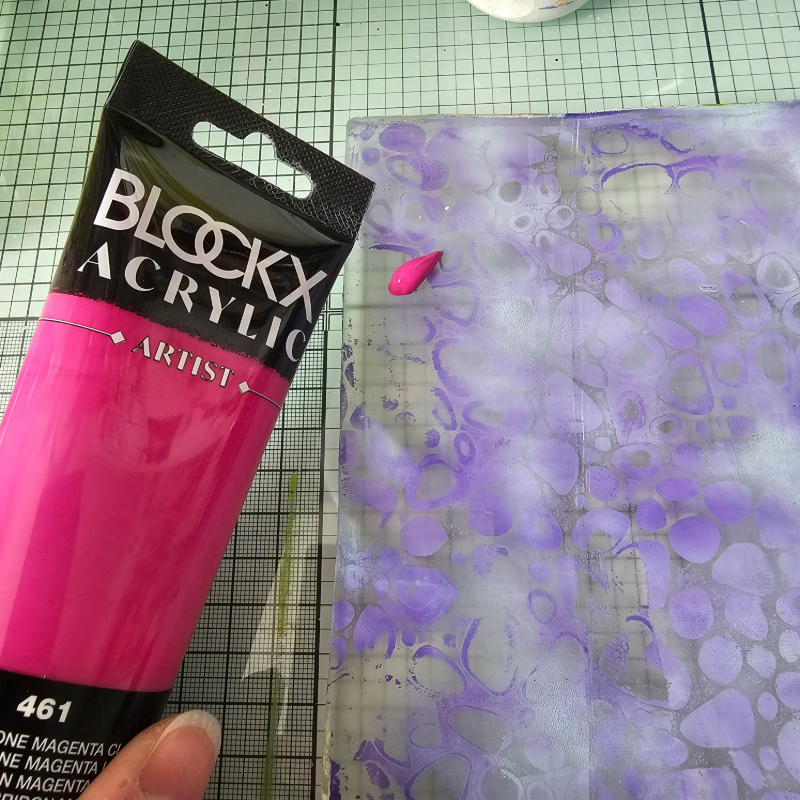
Apply a little sky blue acrylic paint and spread it with the roller.
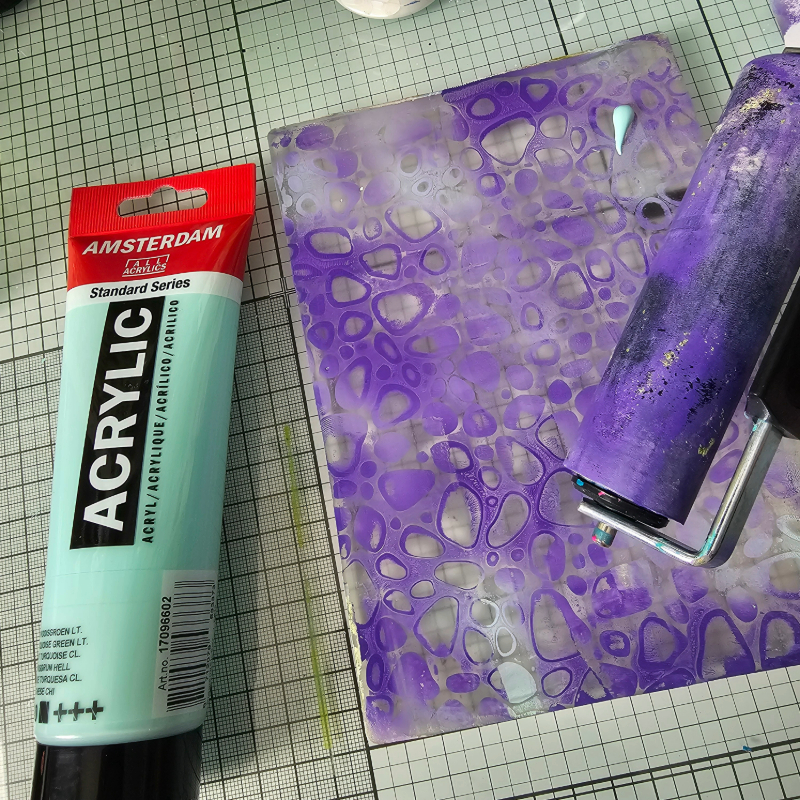
Do the same with pink paint.
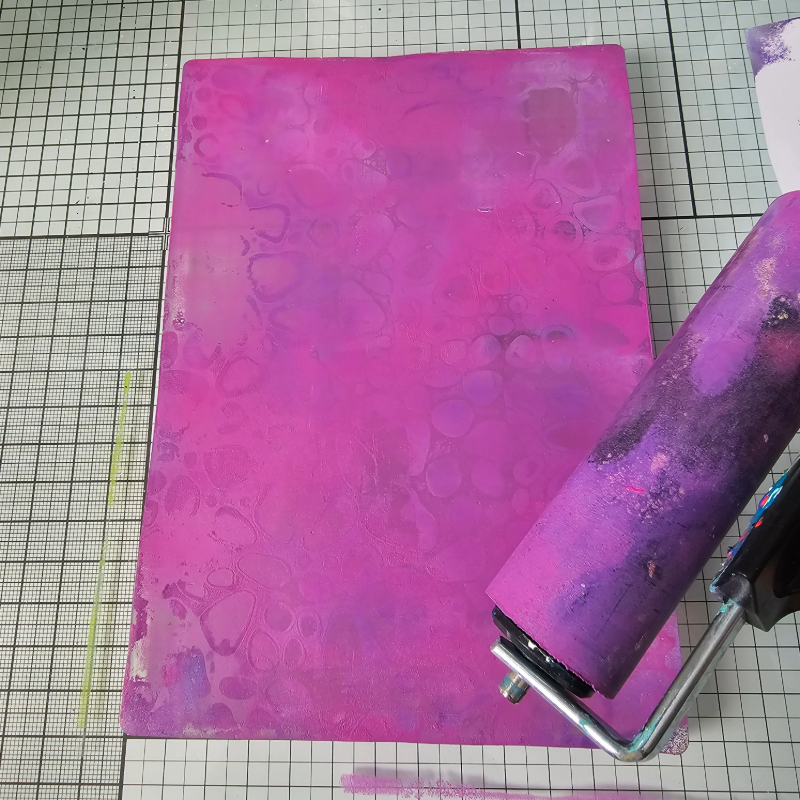
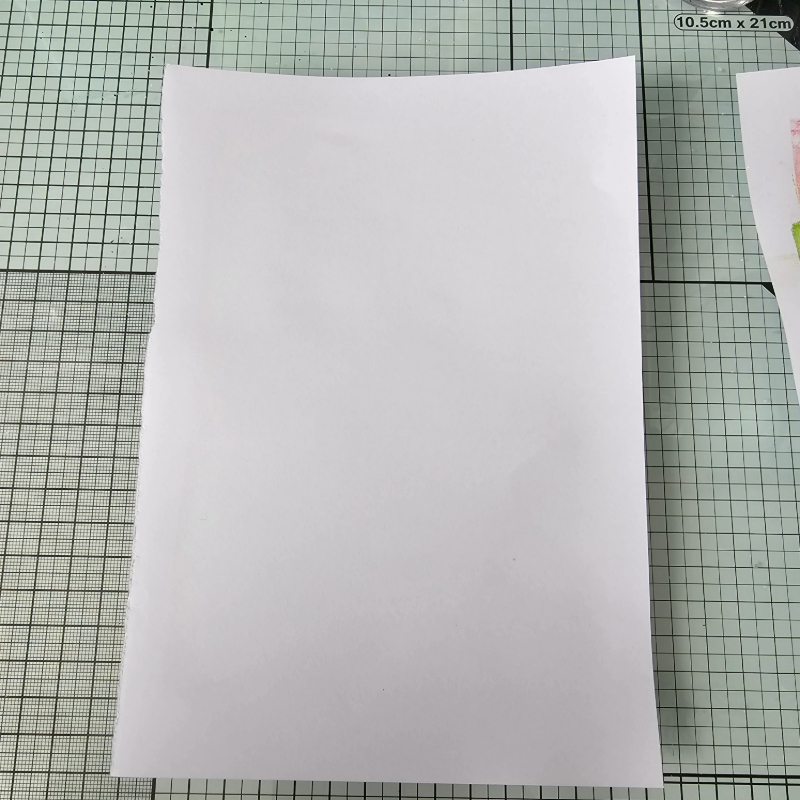
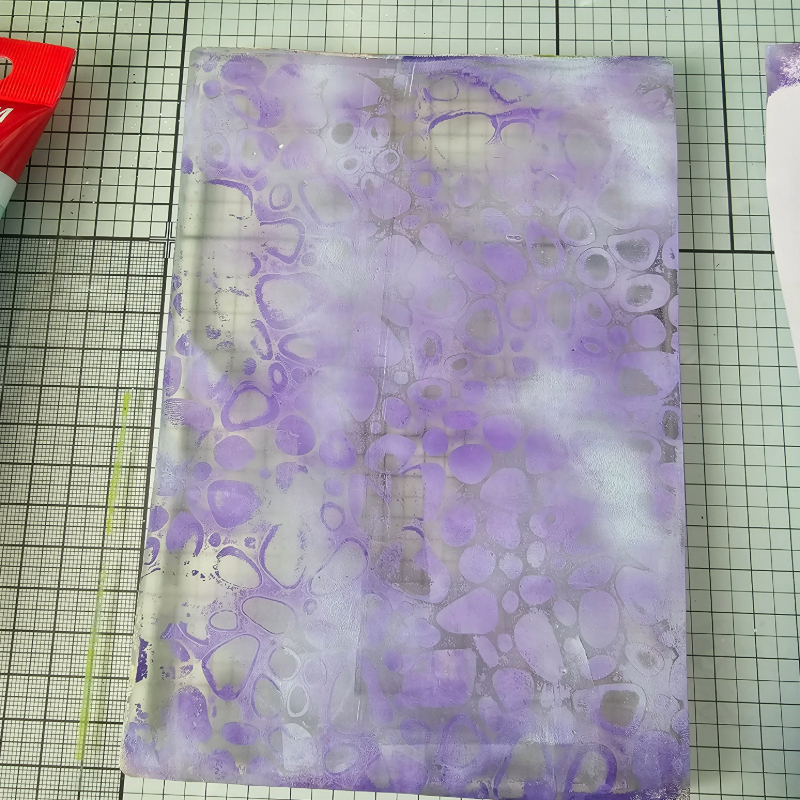
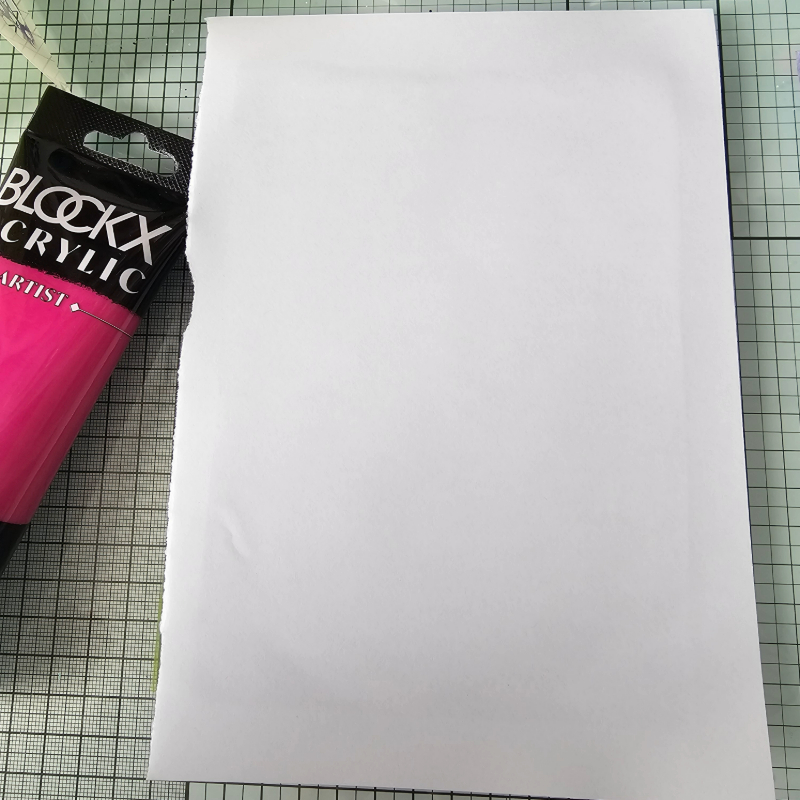
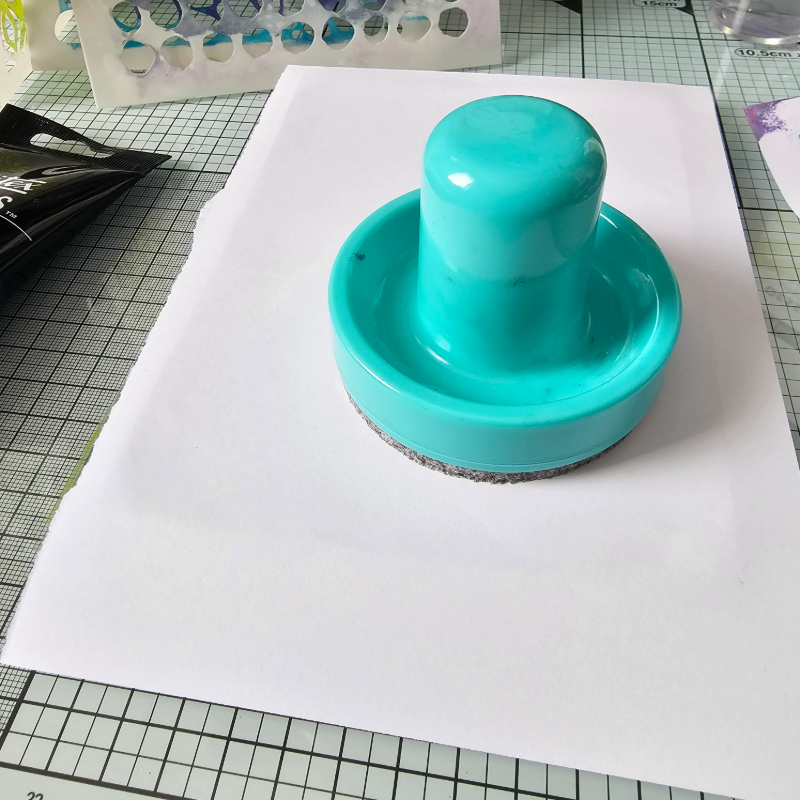
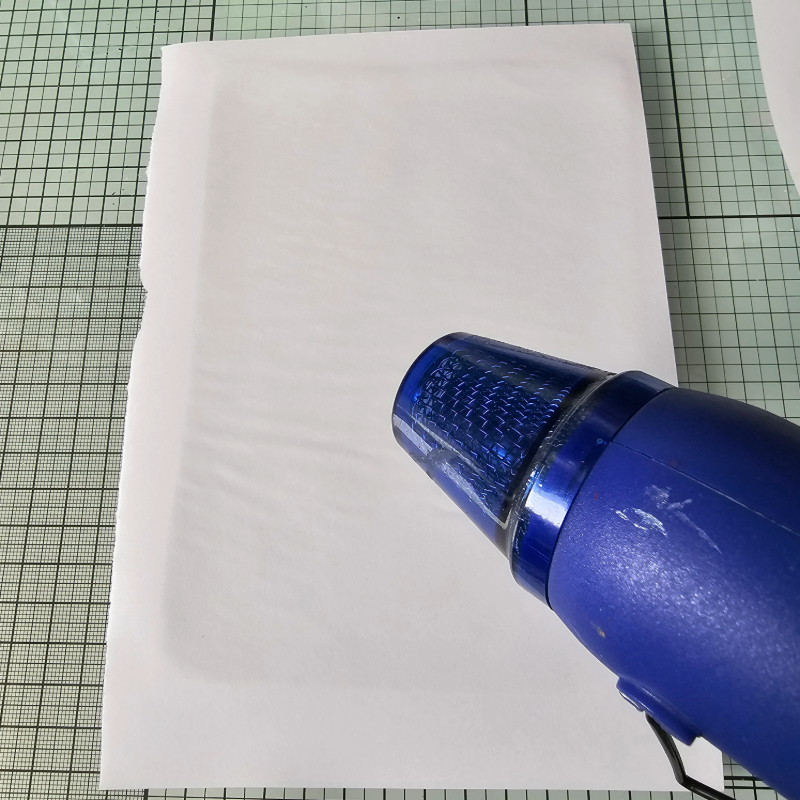
Lay down a sheet of paper (80g printer paper). Apply the paper well with a gelpress, either with a tool or with the palm of your hand. Wait for it to dry well. I’m not very patient, so I use a heatgun.
Then pull your paper out by gently pulling on it. Here are some other background examples:
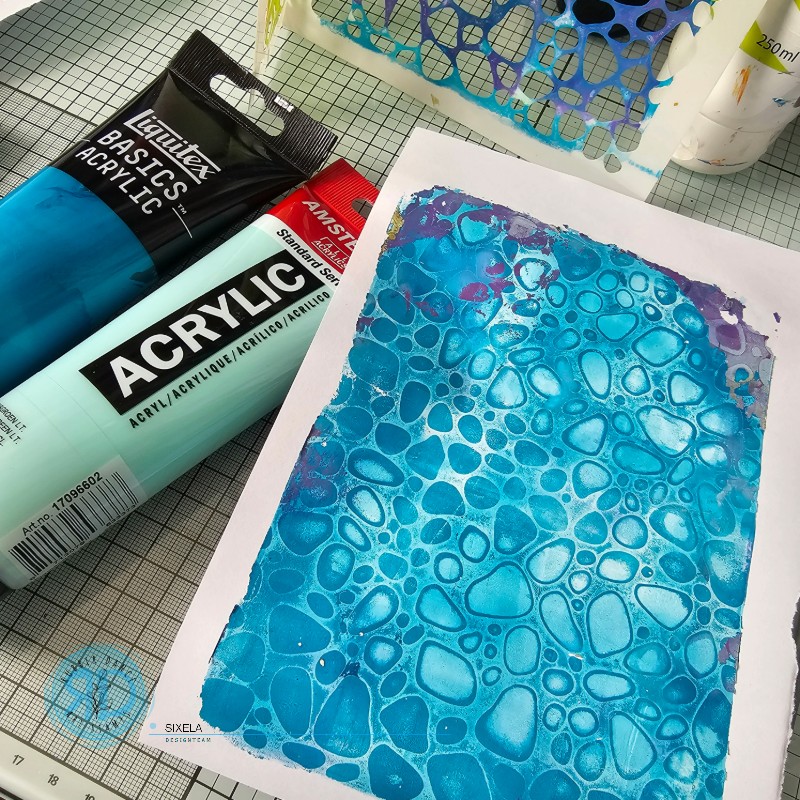
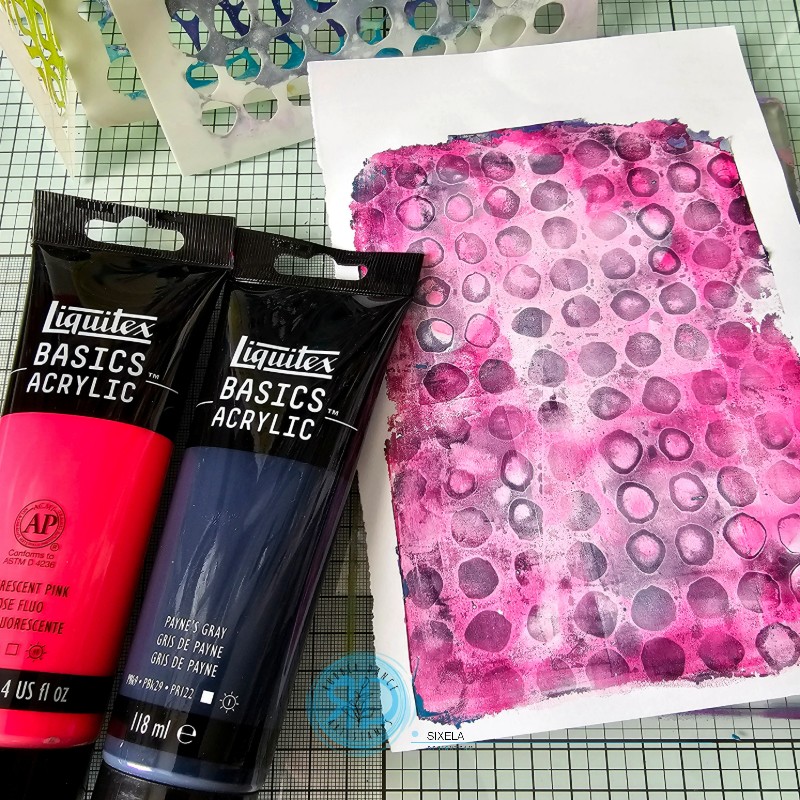
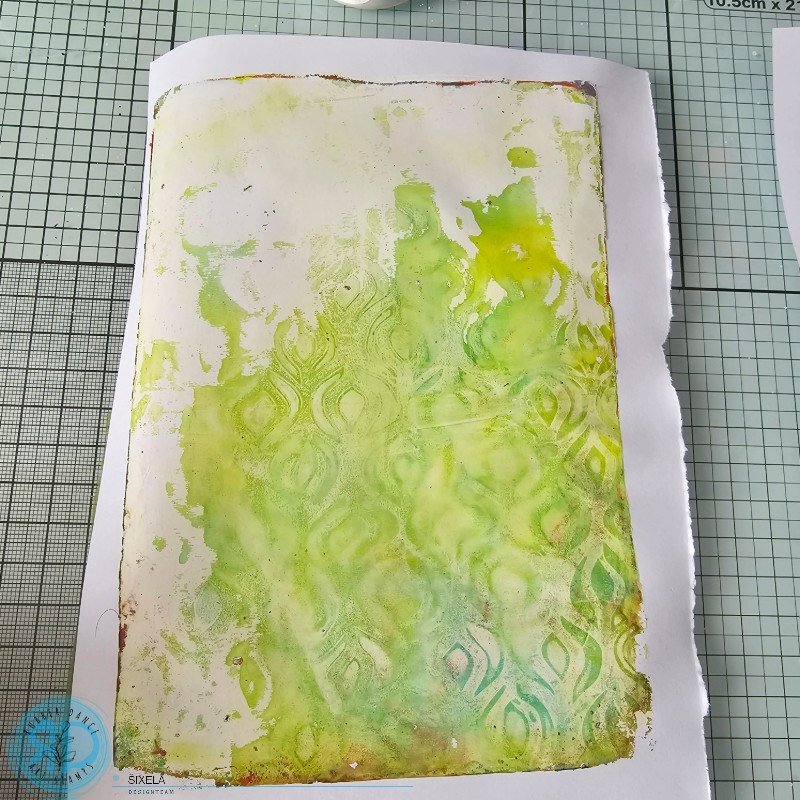
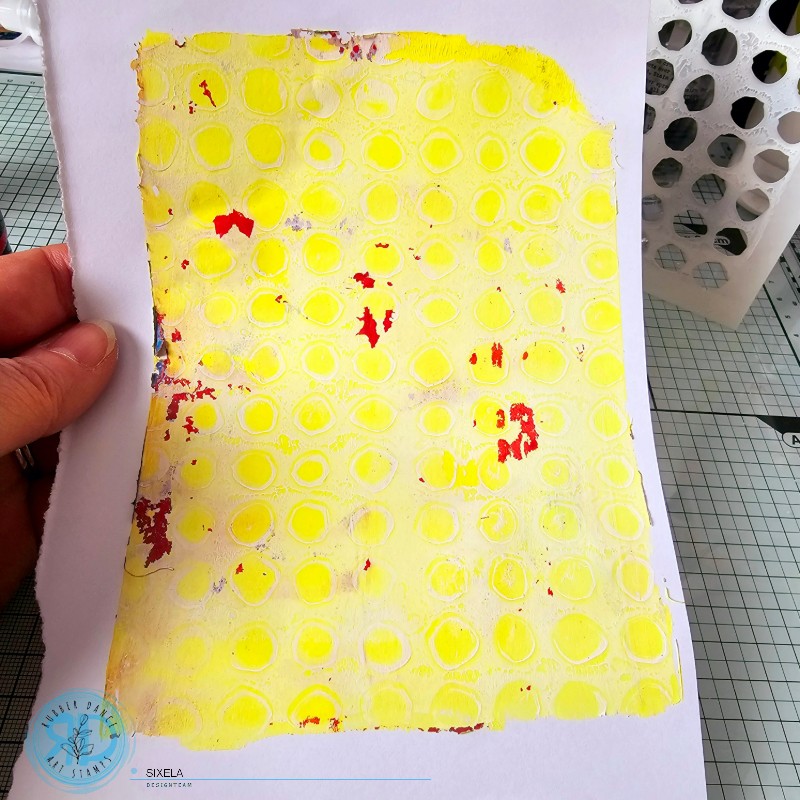
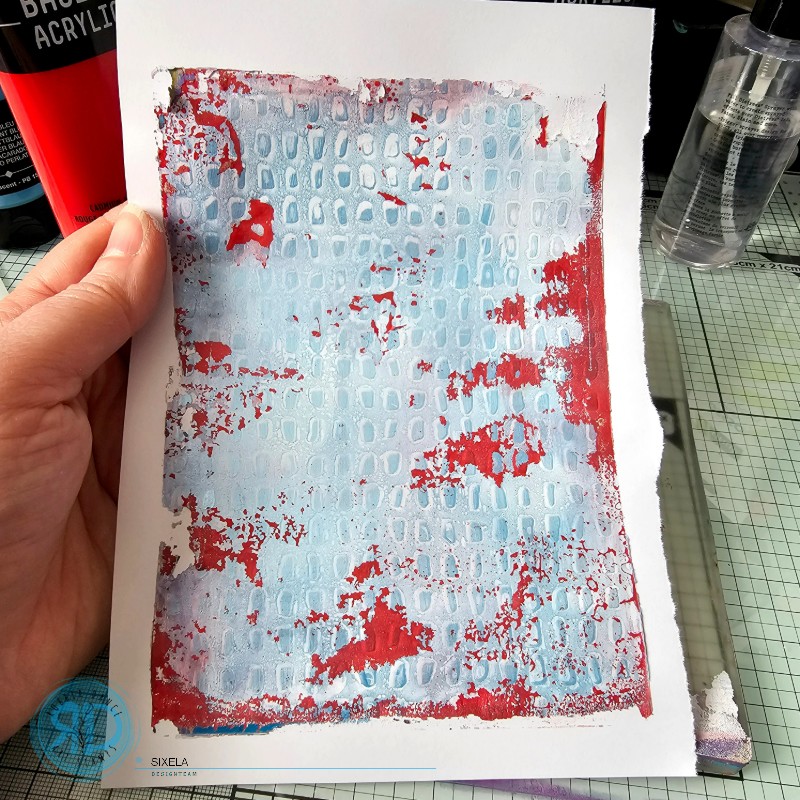
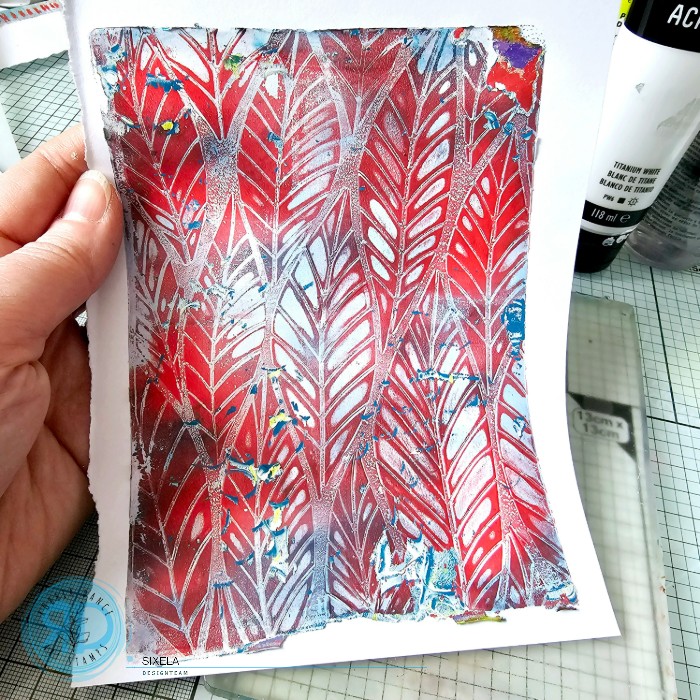
So have fun varying the colors and stencils. Once you start with the Gelpress, you can quickly spend several hours on it because it’s so pleasant. And above all, don’t clean your Gel Plate every time you change color, that’s what will make your background so charming.
If you really want to clean your Gelli Plate, just spray a little water and wipe with a soft cloth.
I wish you a very nice day.
Sixela
Instagram @sixela_creation
Products from Rubber Dance:


Subscribe to our Newsletter


Be the first to write a comment.
Respond